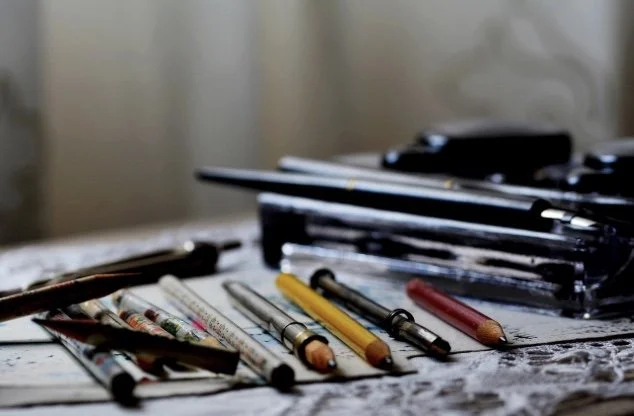
Drawing Materials
…start simple, then explore with enthusiasm…let your materials expand with your confidence
Drawing materials don’t need to be complicated, and you don’t need lots of things straight away - just a few well-chosen items, and a willingness to begin. Whether it’s the simplicity of graphite pencils, the boldness of charcoal, the subtle layering of coloured pencils, or the freedom of expressive pen work - each material has its own character and something valuable to teach you.
Play with them, explore what each can do with curiosity, and don’t be too precious about it - just allow your knowledge and confidence to grow gently, without pressure. As your skills develop, so will your materials, and with each new product you add to your art box, doors will open to new marks, fresh ideas and more creative possibilities.
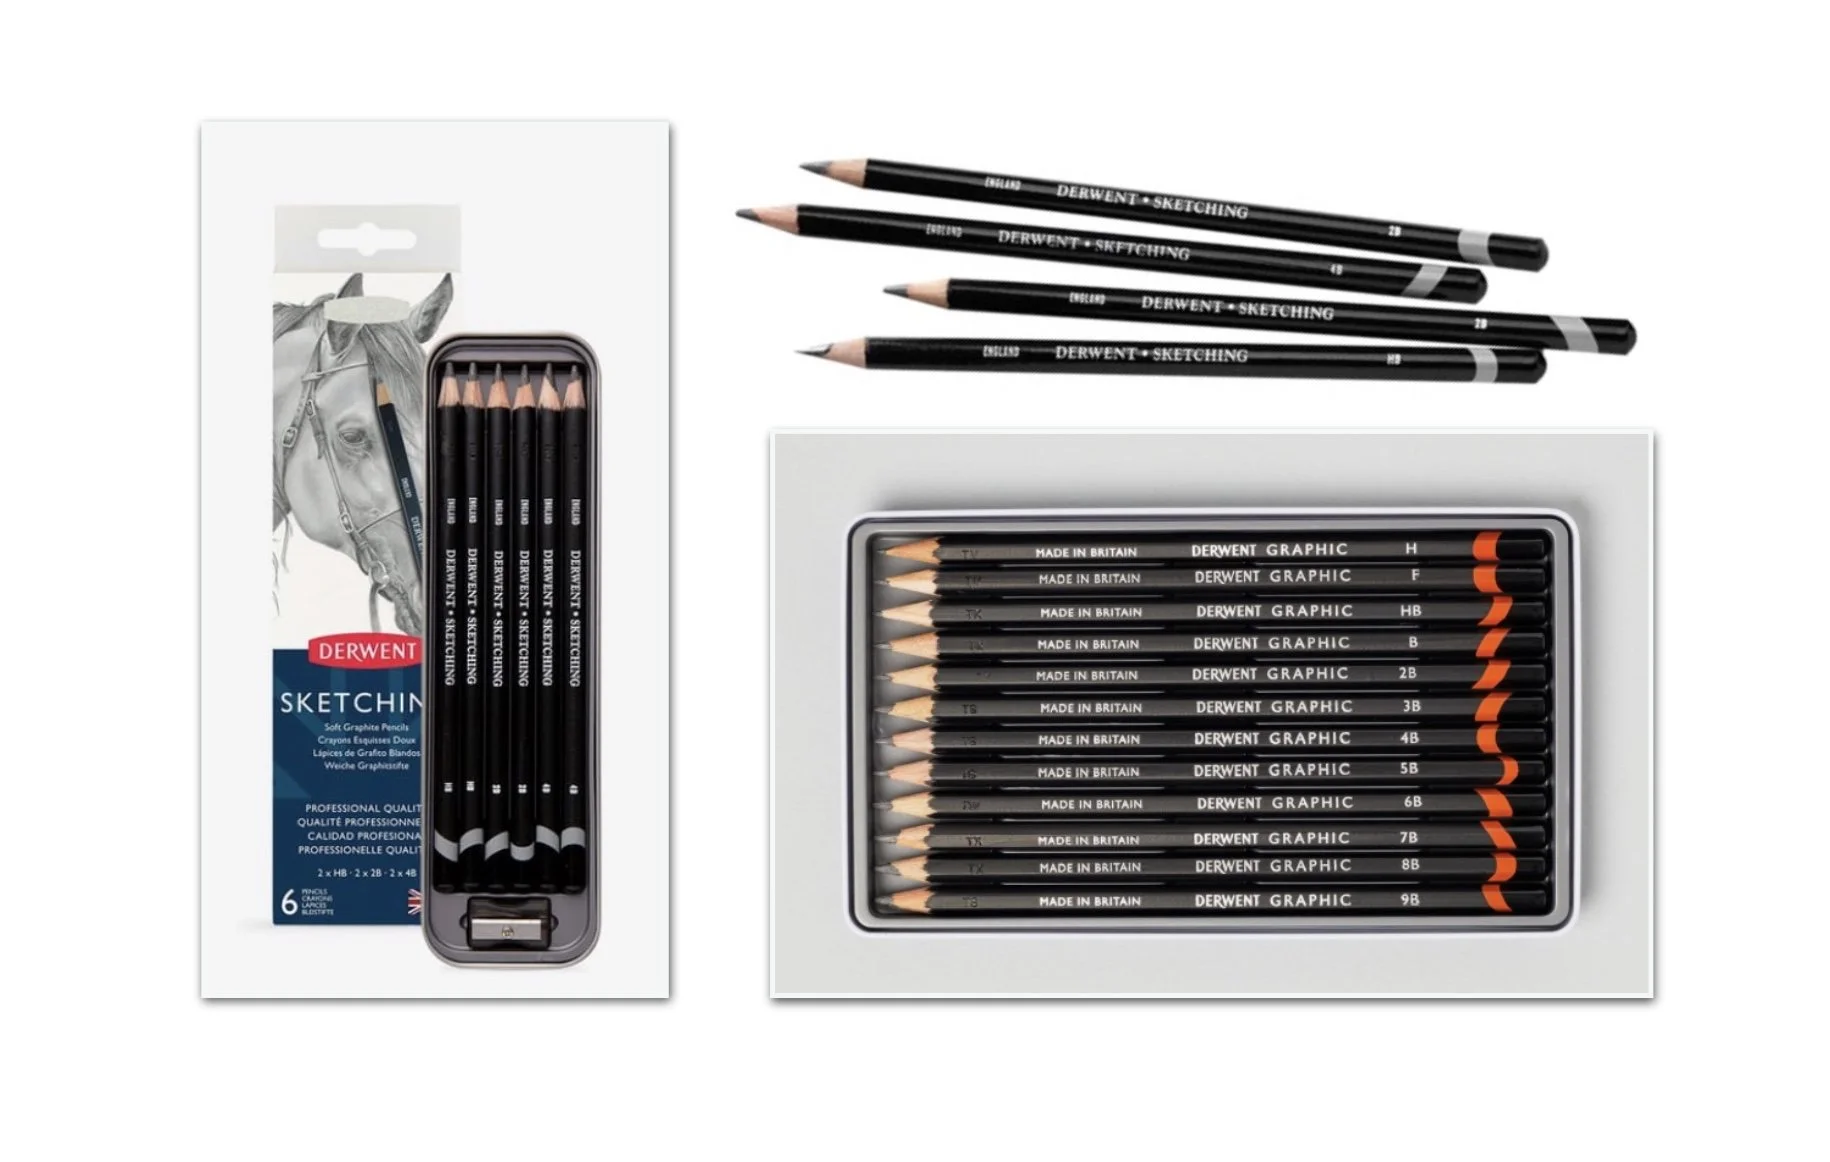
Graphite Pencils…our usual starting point
For most beginners, graphite pencils are the perfect place to start. You don’t need a full set, in fact, buying individual pencils is often more cost effective, as large sets frequently include grades you rarely use.
A simple starter selection:
HB or 2B - for light sketching and initial outlines
4B or 5B - for mid tones and stronger shadows
7B or 8B - for deep shadows and rich dark areas

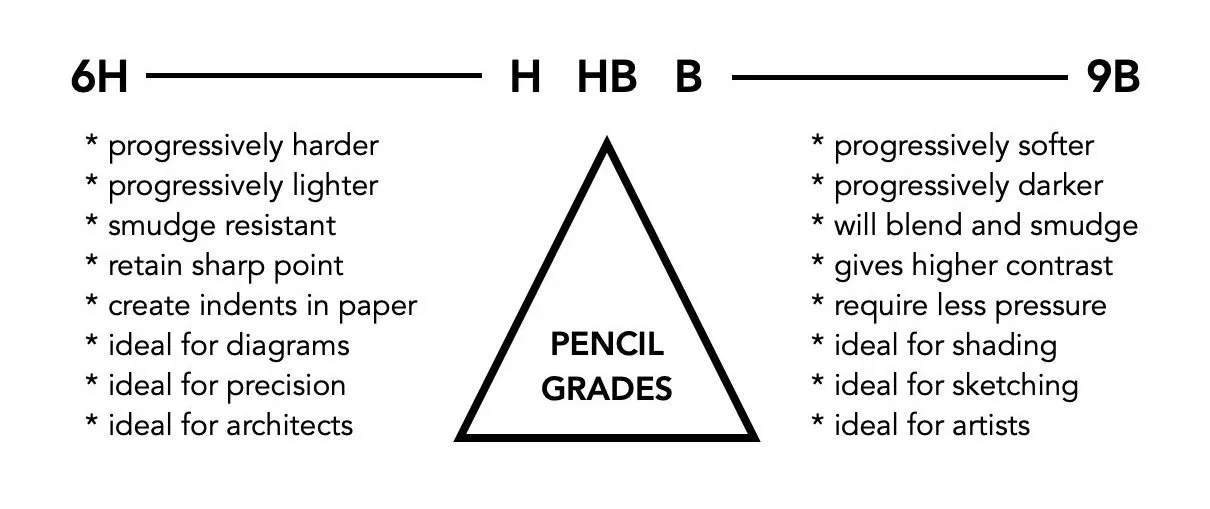
Why are there different grades?
Graphite pencils range from hard (H grades) - which make lighter, sharper lines, often used to create diagrams…to softer (B grades) - ideal for artists, who want to create a variety of shades, from light and delicate, to darker, richer ones. The higher the ‘B’ number the softer and darker the graphite will be.
Using a range of grades allows you to build tone and contrast effectively, without the need to press too heavily into the surface of the paper. When we apply too much pressure with a low number B pencil to achieve a dark tone, it’s often more difficult to remove, if we’ve made a mistake.
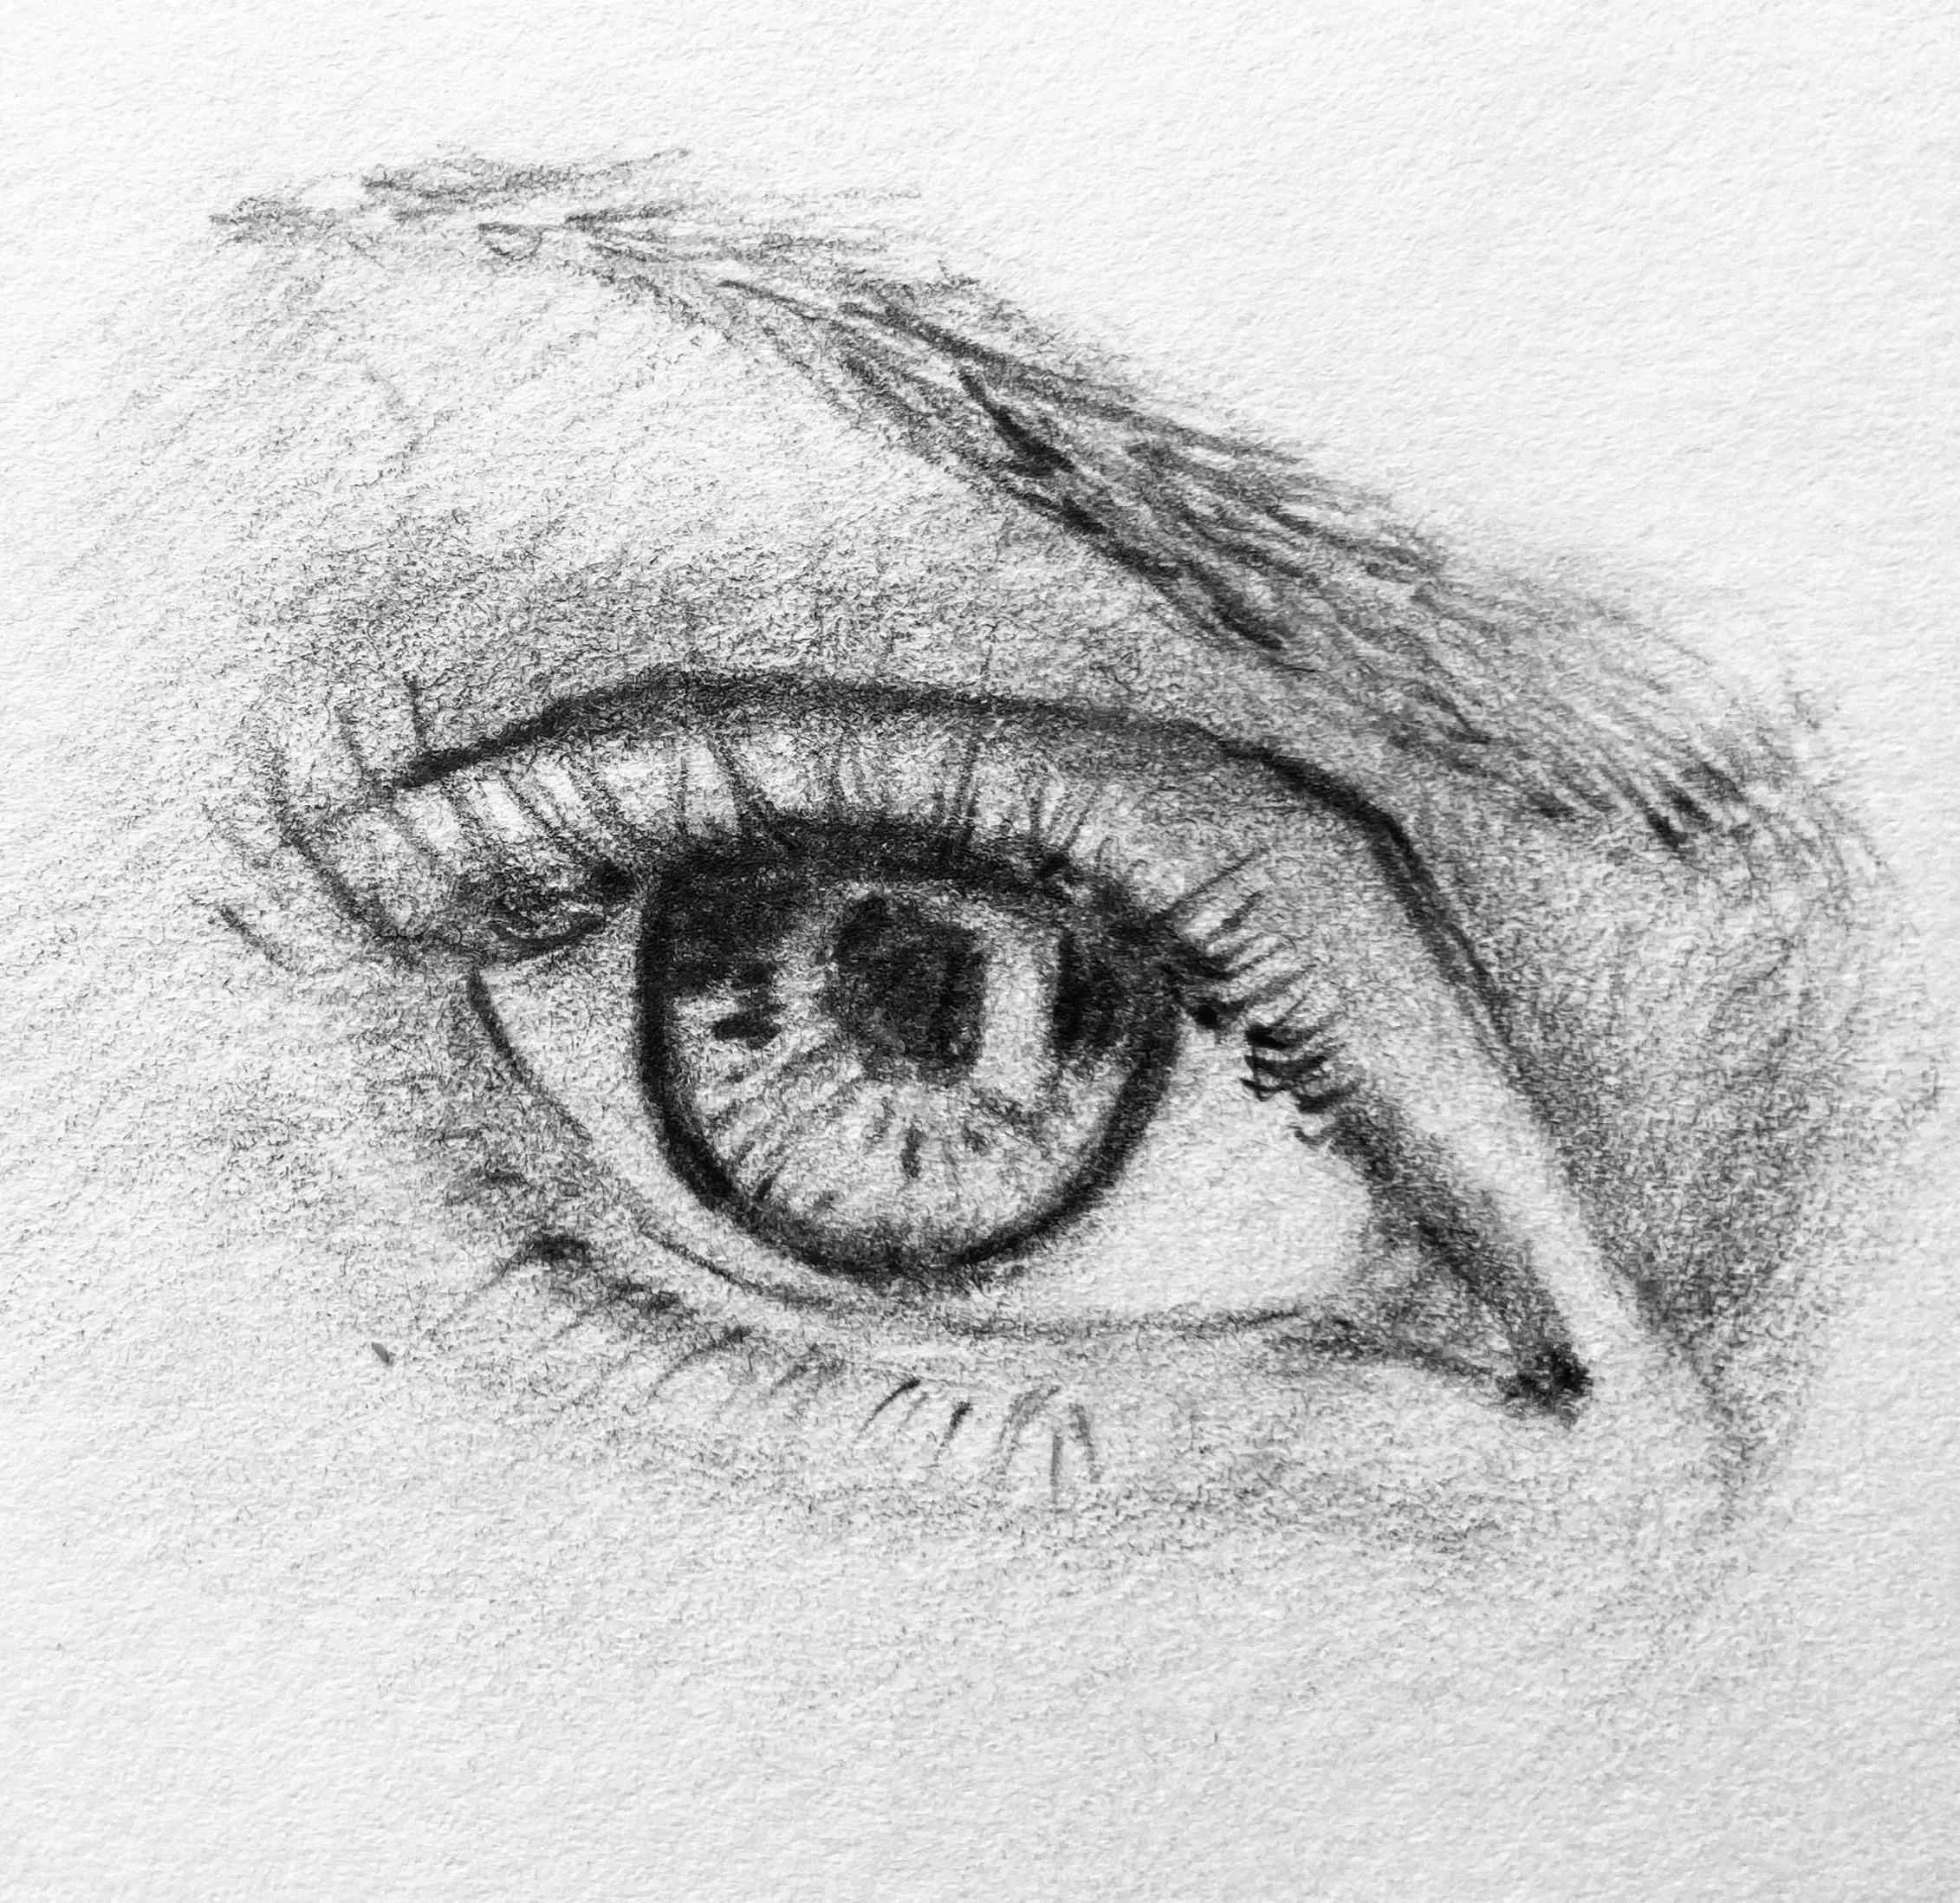
People avoid adding the darks they see, because of this fear of not being able to remove it…but without the dark tones we’re limiting what we can achieve. Dark areas make the light areas work better, and it’s those dark tones that create the depth, weight, and realism we need in a drawing, which is essential for making our objects appear ‘real’ and three dimensional.
It’s good to get to know the tools you’ll be working with, so simple exercises like the one shown here will not only introduce you to how the pencils feel, but will also provide you with an opportunity to practice the pressure you apply…creating a sample to refer back to in the process.
Exercise: gather together all your pencils, (even if different brands) and create a small sample chart in your sketchbook, as shown here. I’ve used diagonal marks, but it really doesn’t matter what mark you make, it’s more about focusing on the pressure you apply, and taking control of it:
Start on the left hand side making a very light mark, then gradually increase the pressure you apply as you move the marks to the right. You’ll notice that with higher number (grade) pencils you’ll achieve darker marks much sooner, and with less pressure. Note which pencil you’ve used.
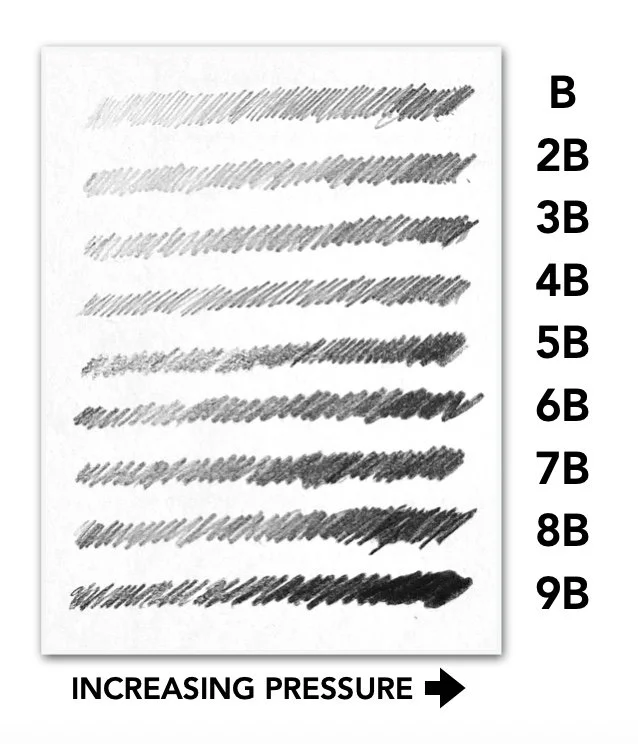
Sample Chart
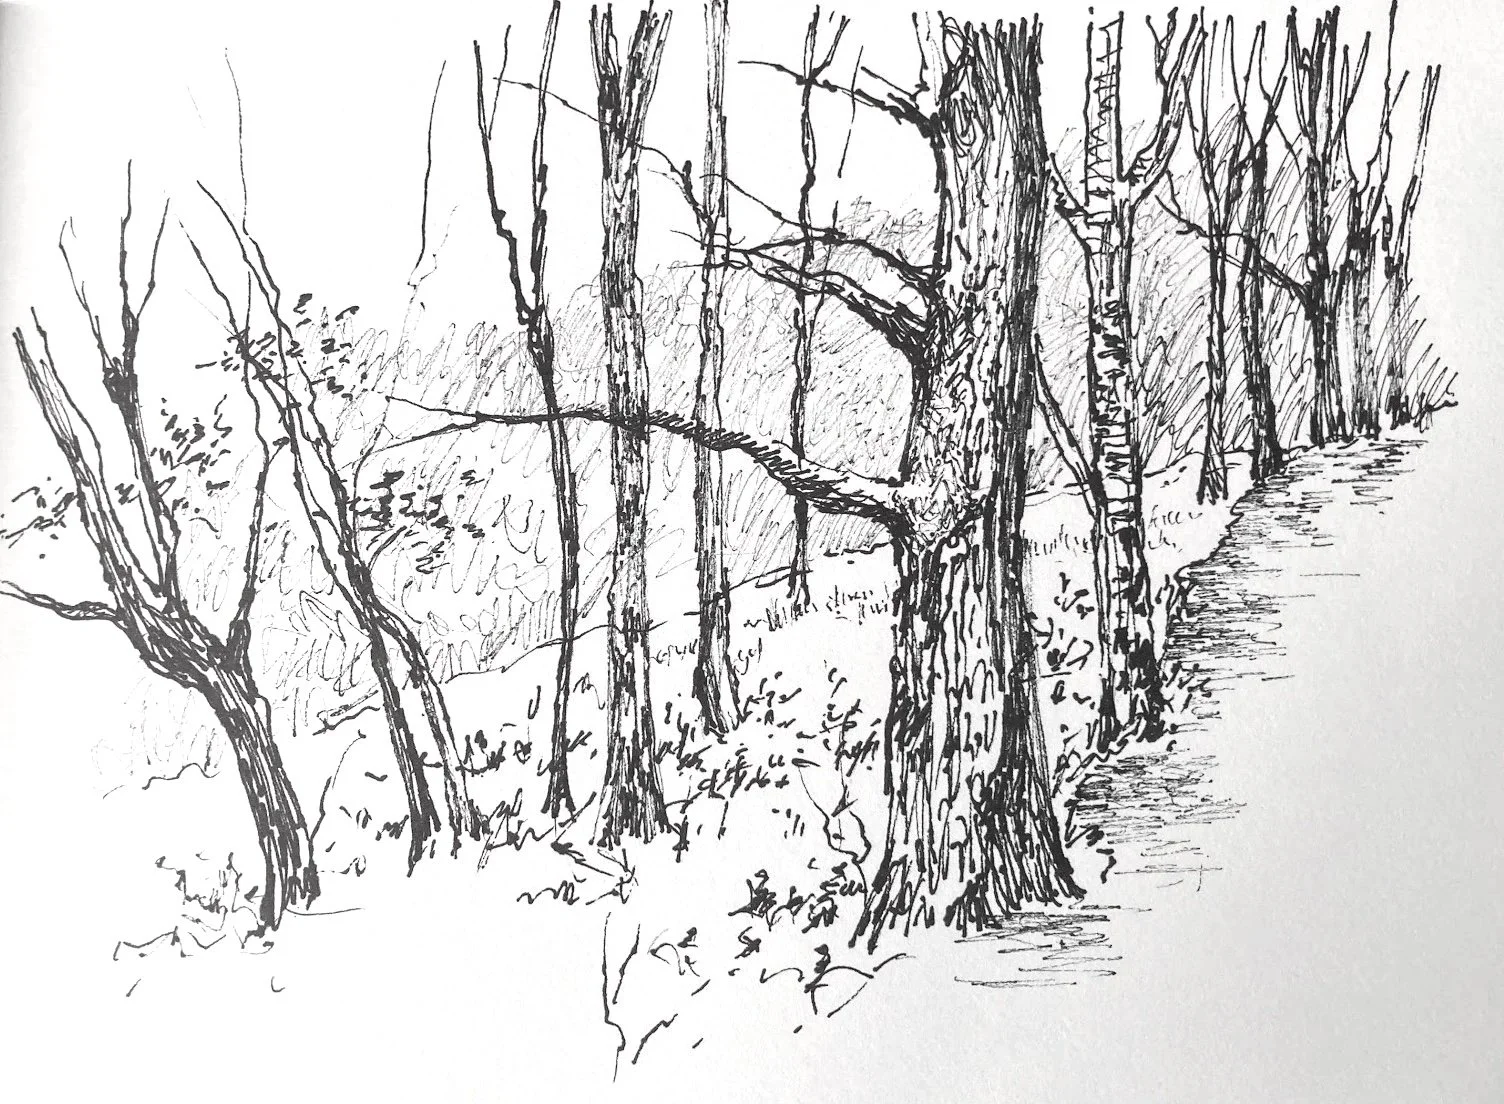
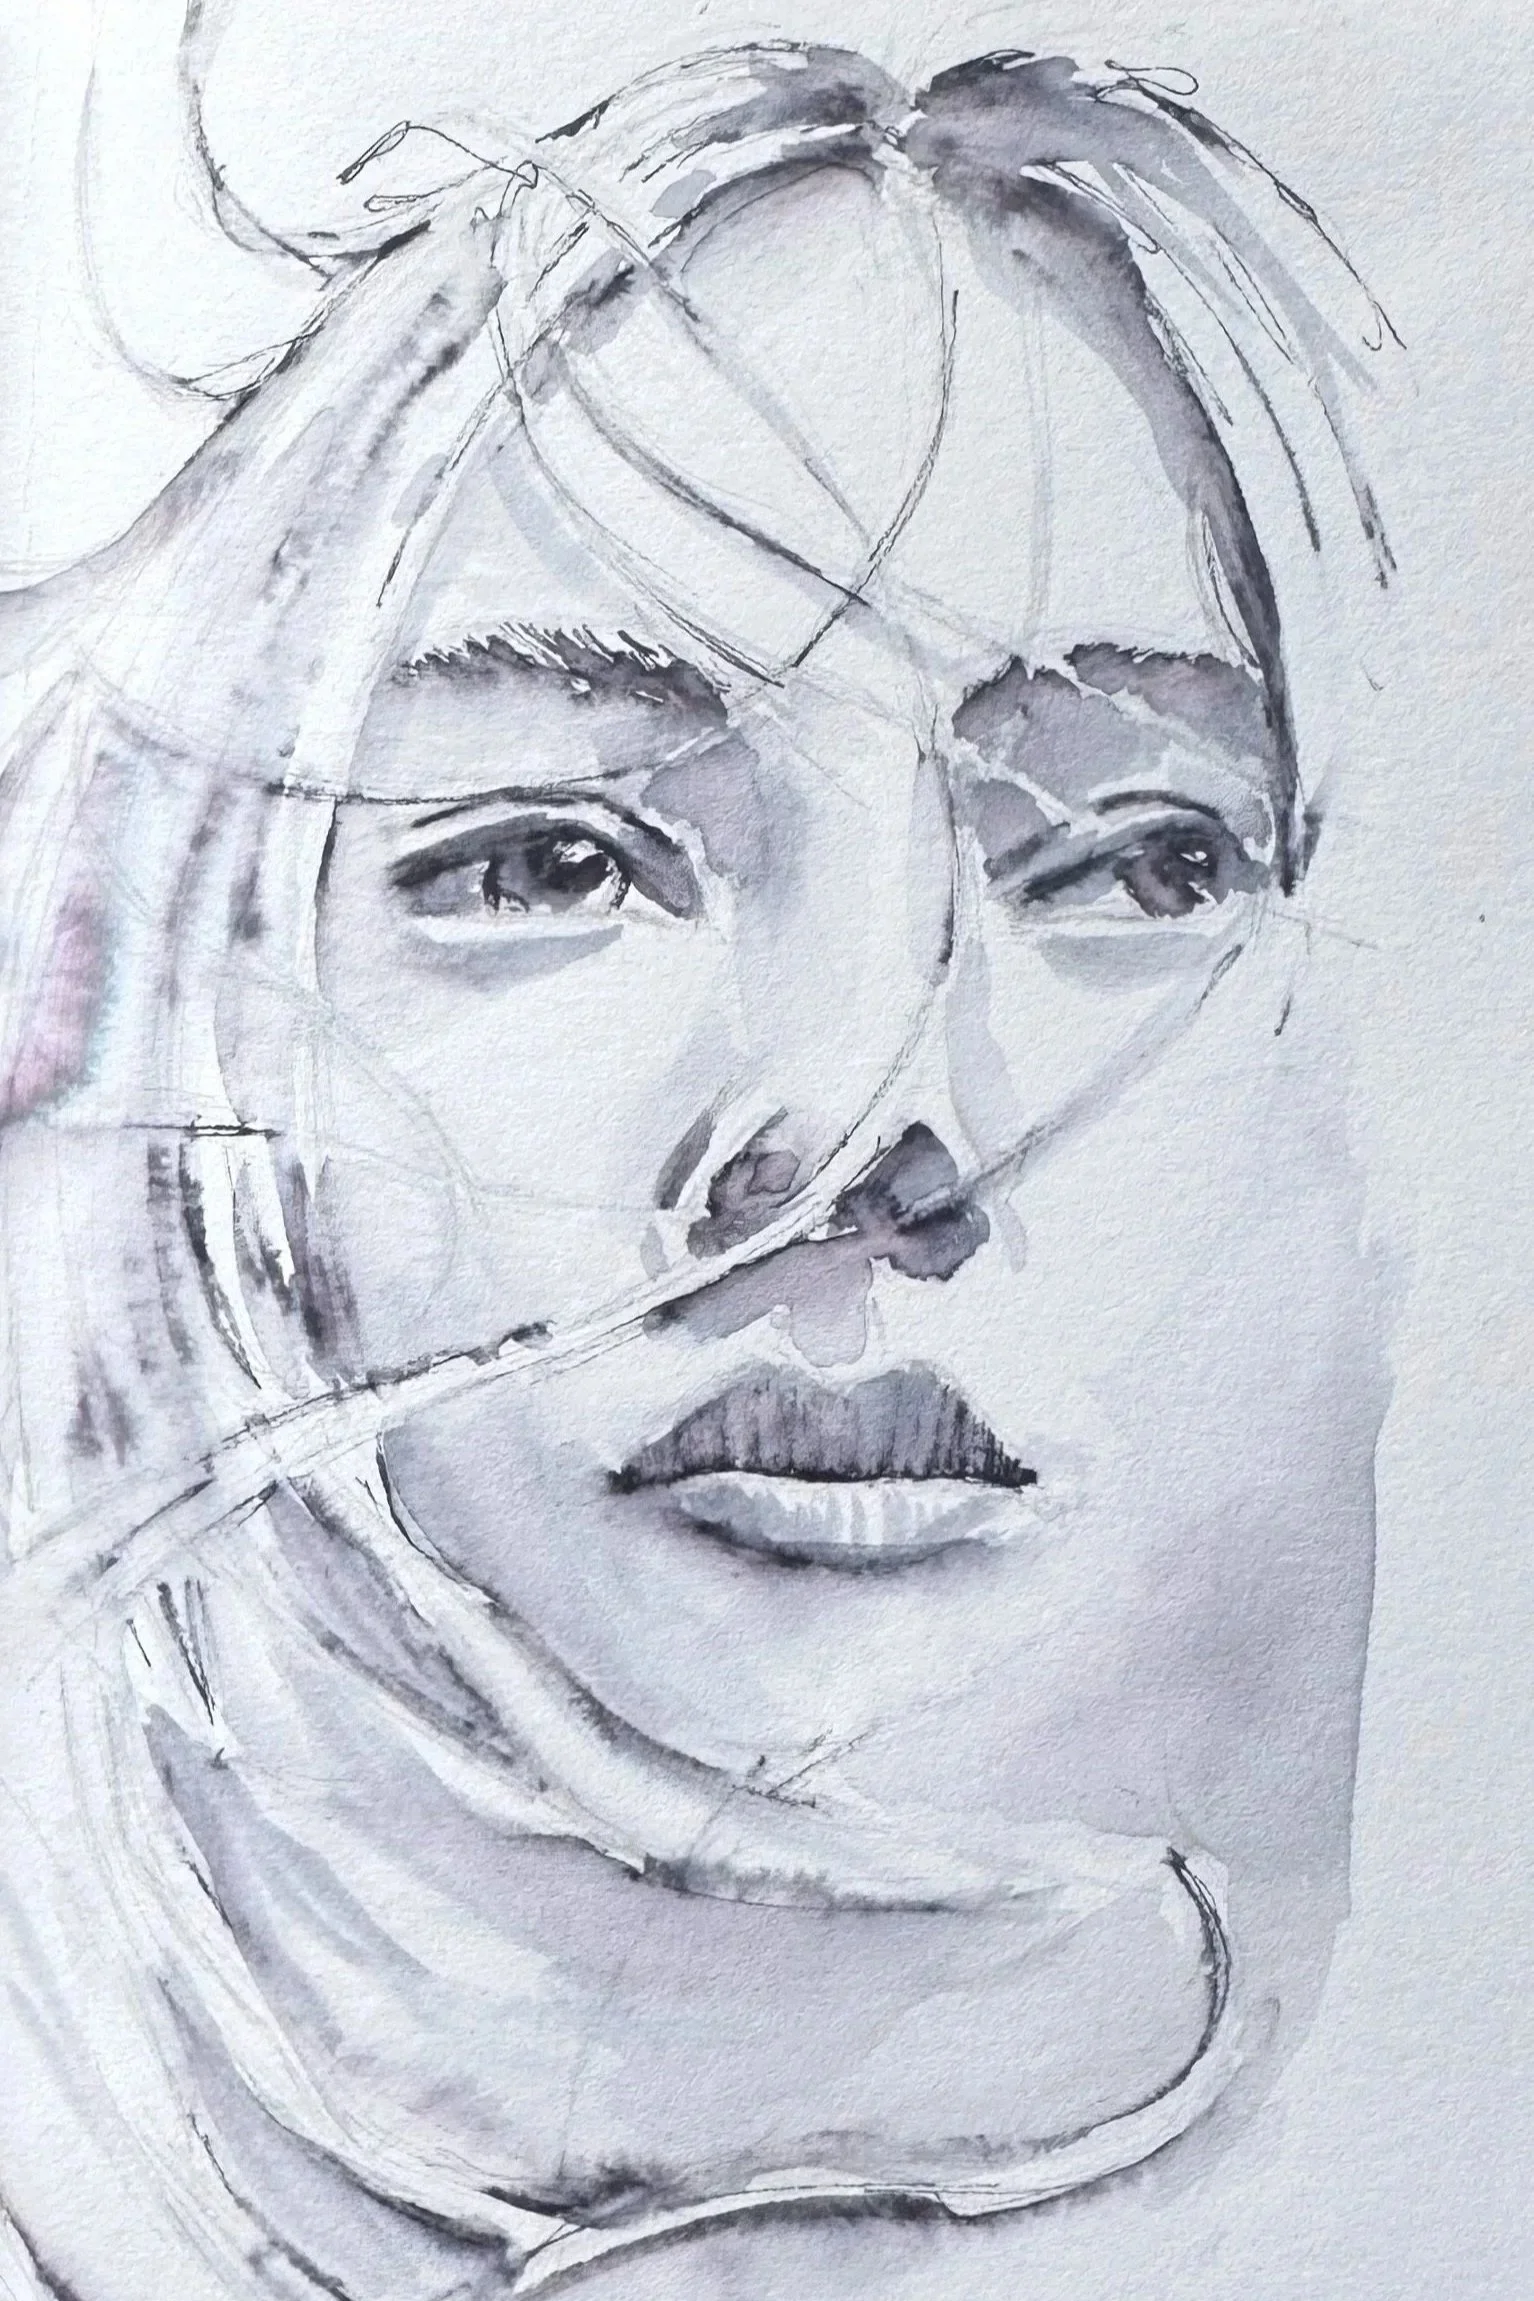
Pens - for lines, confidence and commitment
Pens are one of the most direct and expressive tools you can draw with. Unlike pencils they can't be easily softened or erased, so drawing with a pen requires a more confident and deliberate way of working.
Every line you make is a commitment on the page, and although that can feel quite daunting at first, it's also what makes pen work feel so fresh and fun to use.
Working with a pen really helps improve your observation skills and confidence, because you have to develop a certain kind of accuracy and bravery when drawing the initial lines. You also learn about varying the pressure you apply, and building up knowledge of which marks are useful to add shade and tone.
Drawing with a pen can be a little challenging when using a permanent pen, as there's little room for correction if something goes wrong, but don’t let that put you off.
Mistakes teach us what ‘not’ to do in future and also encourage us to be inventive in covering them up - if this isn’t possible, they still teach us patience and perseverance - to start again, and have another go, but this time with new knowledge and experience.
There’s also nothing stopping you drawing a light pencil outline first, as a guide, then work on top of it with the pen. This will give you a template and allow you to play with the pen more confidently.
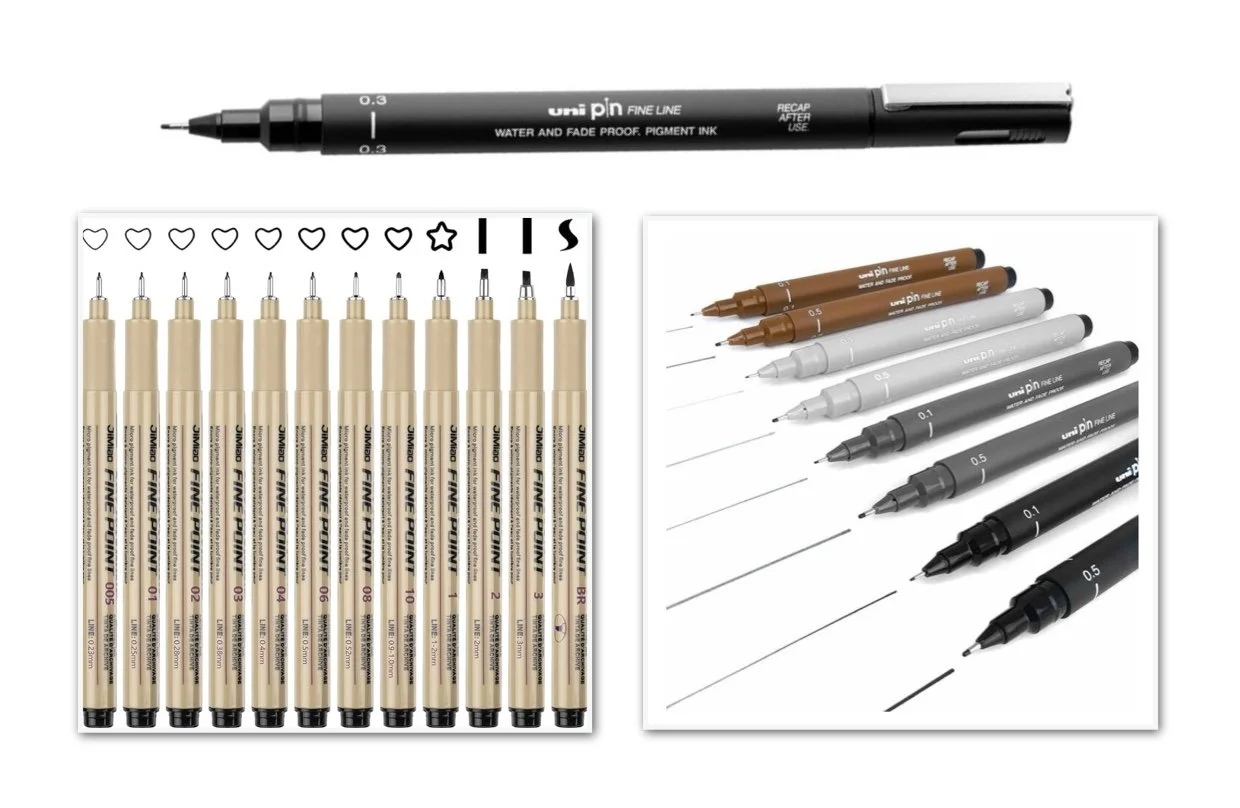
Permanent Fineliners
pros: consistent line width; reliable ink flow; great for detail and control; available in different nib sizes; encourages confident decision making; allows for strong contrast
cons: limited variation in line; can feel a bit rigid or mechanical; can’t erase or easily soften lines
best for: clean line work; sketching; pen and wash with watercolour as it won’t bleed

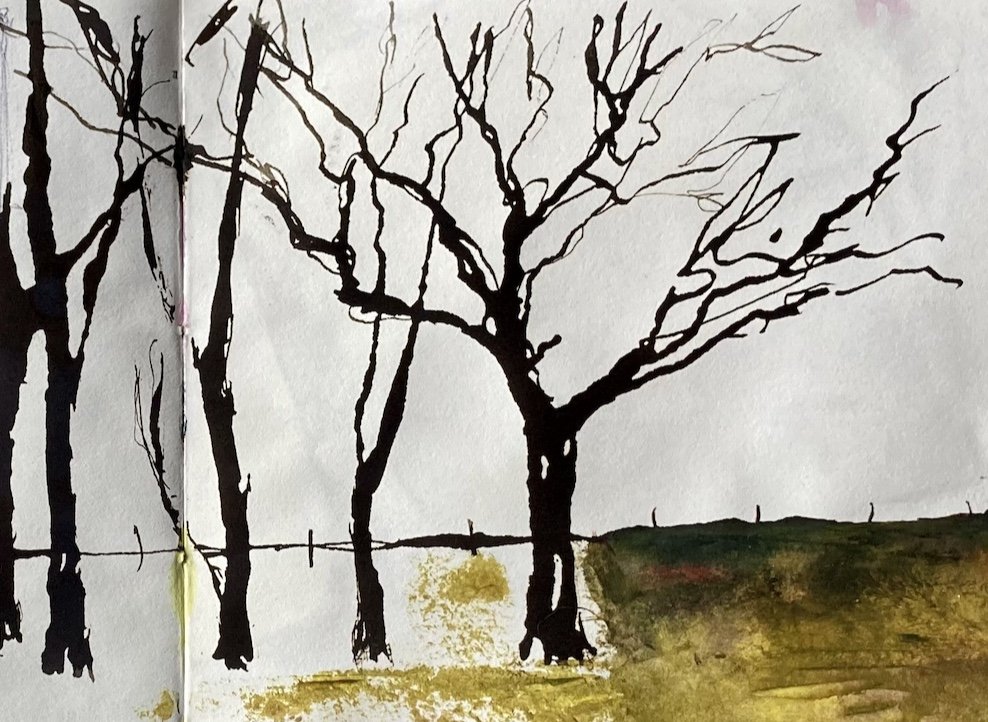
Soluble Pens
pros: water can be added for creating tone; lines can be softened and shadows created; subtle tones can be achieved; very versatile
cons: can smudge easily when wet; lines can be lost with too much water; colour from the pen bleed can muddy paint colours; less predictable results
best for: pen and wash work; combining drawing and painting techniques; ideal for quick expressive sketching, so ideal for en-plein air and taking on holiday
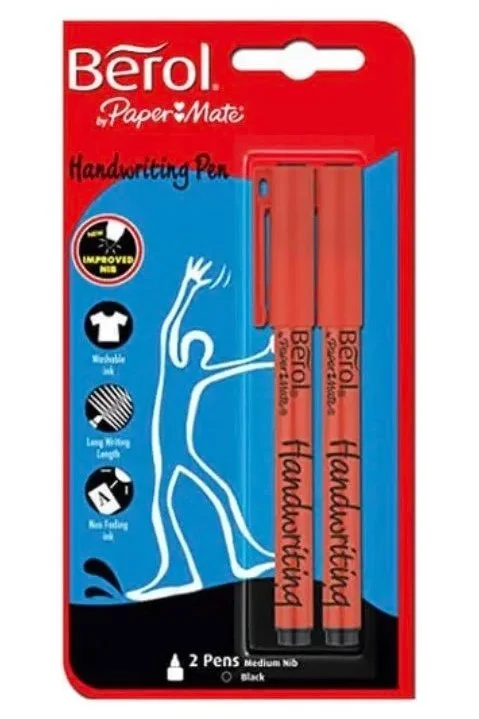
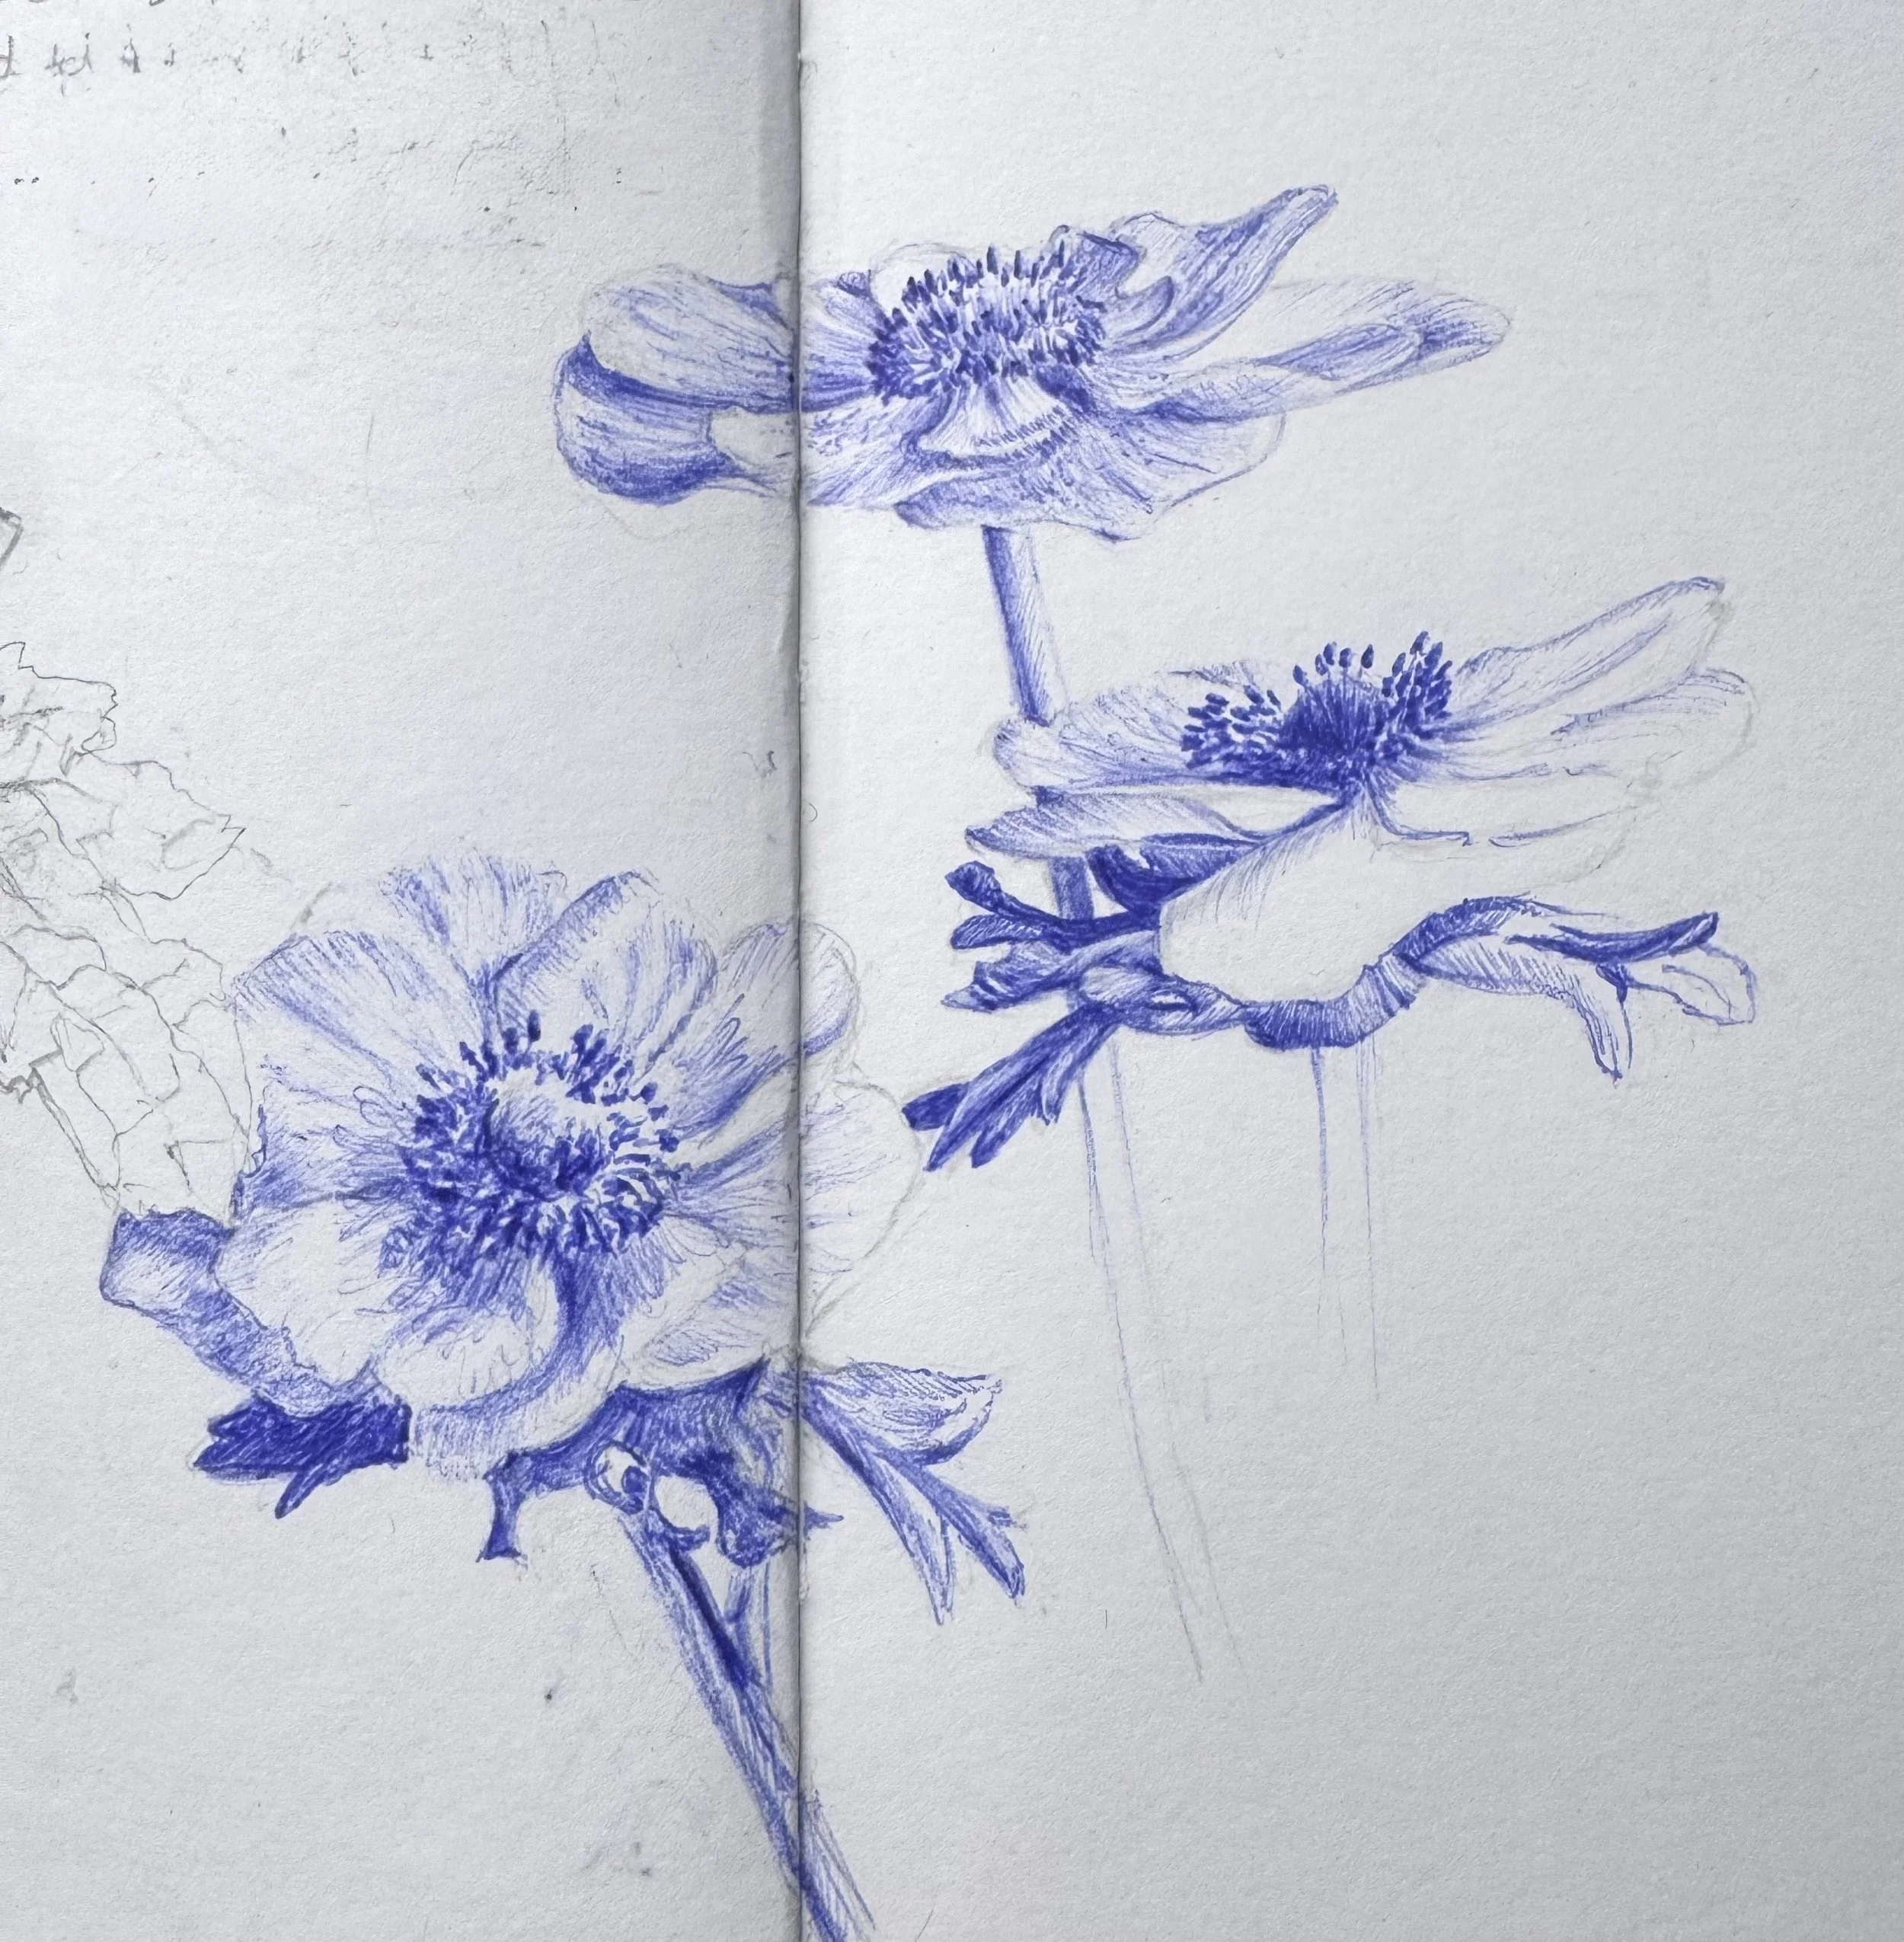
Berol Handwriting pens in black, bleed with lovely tones of lilac and aqua
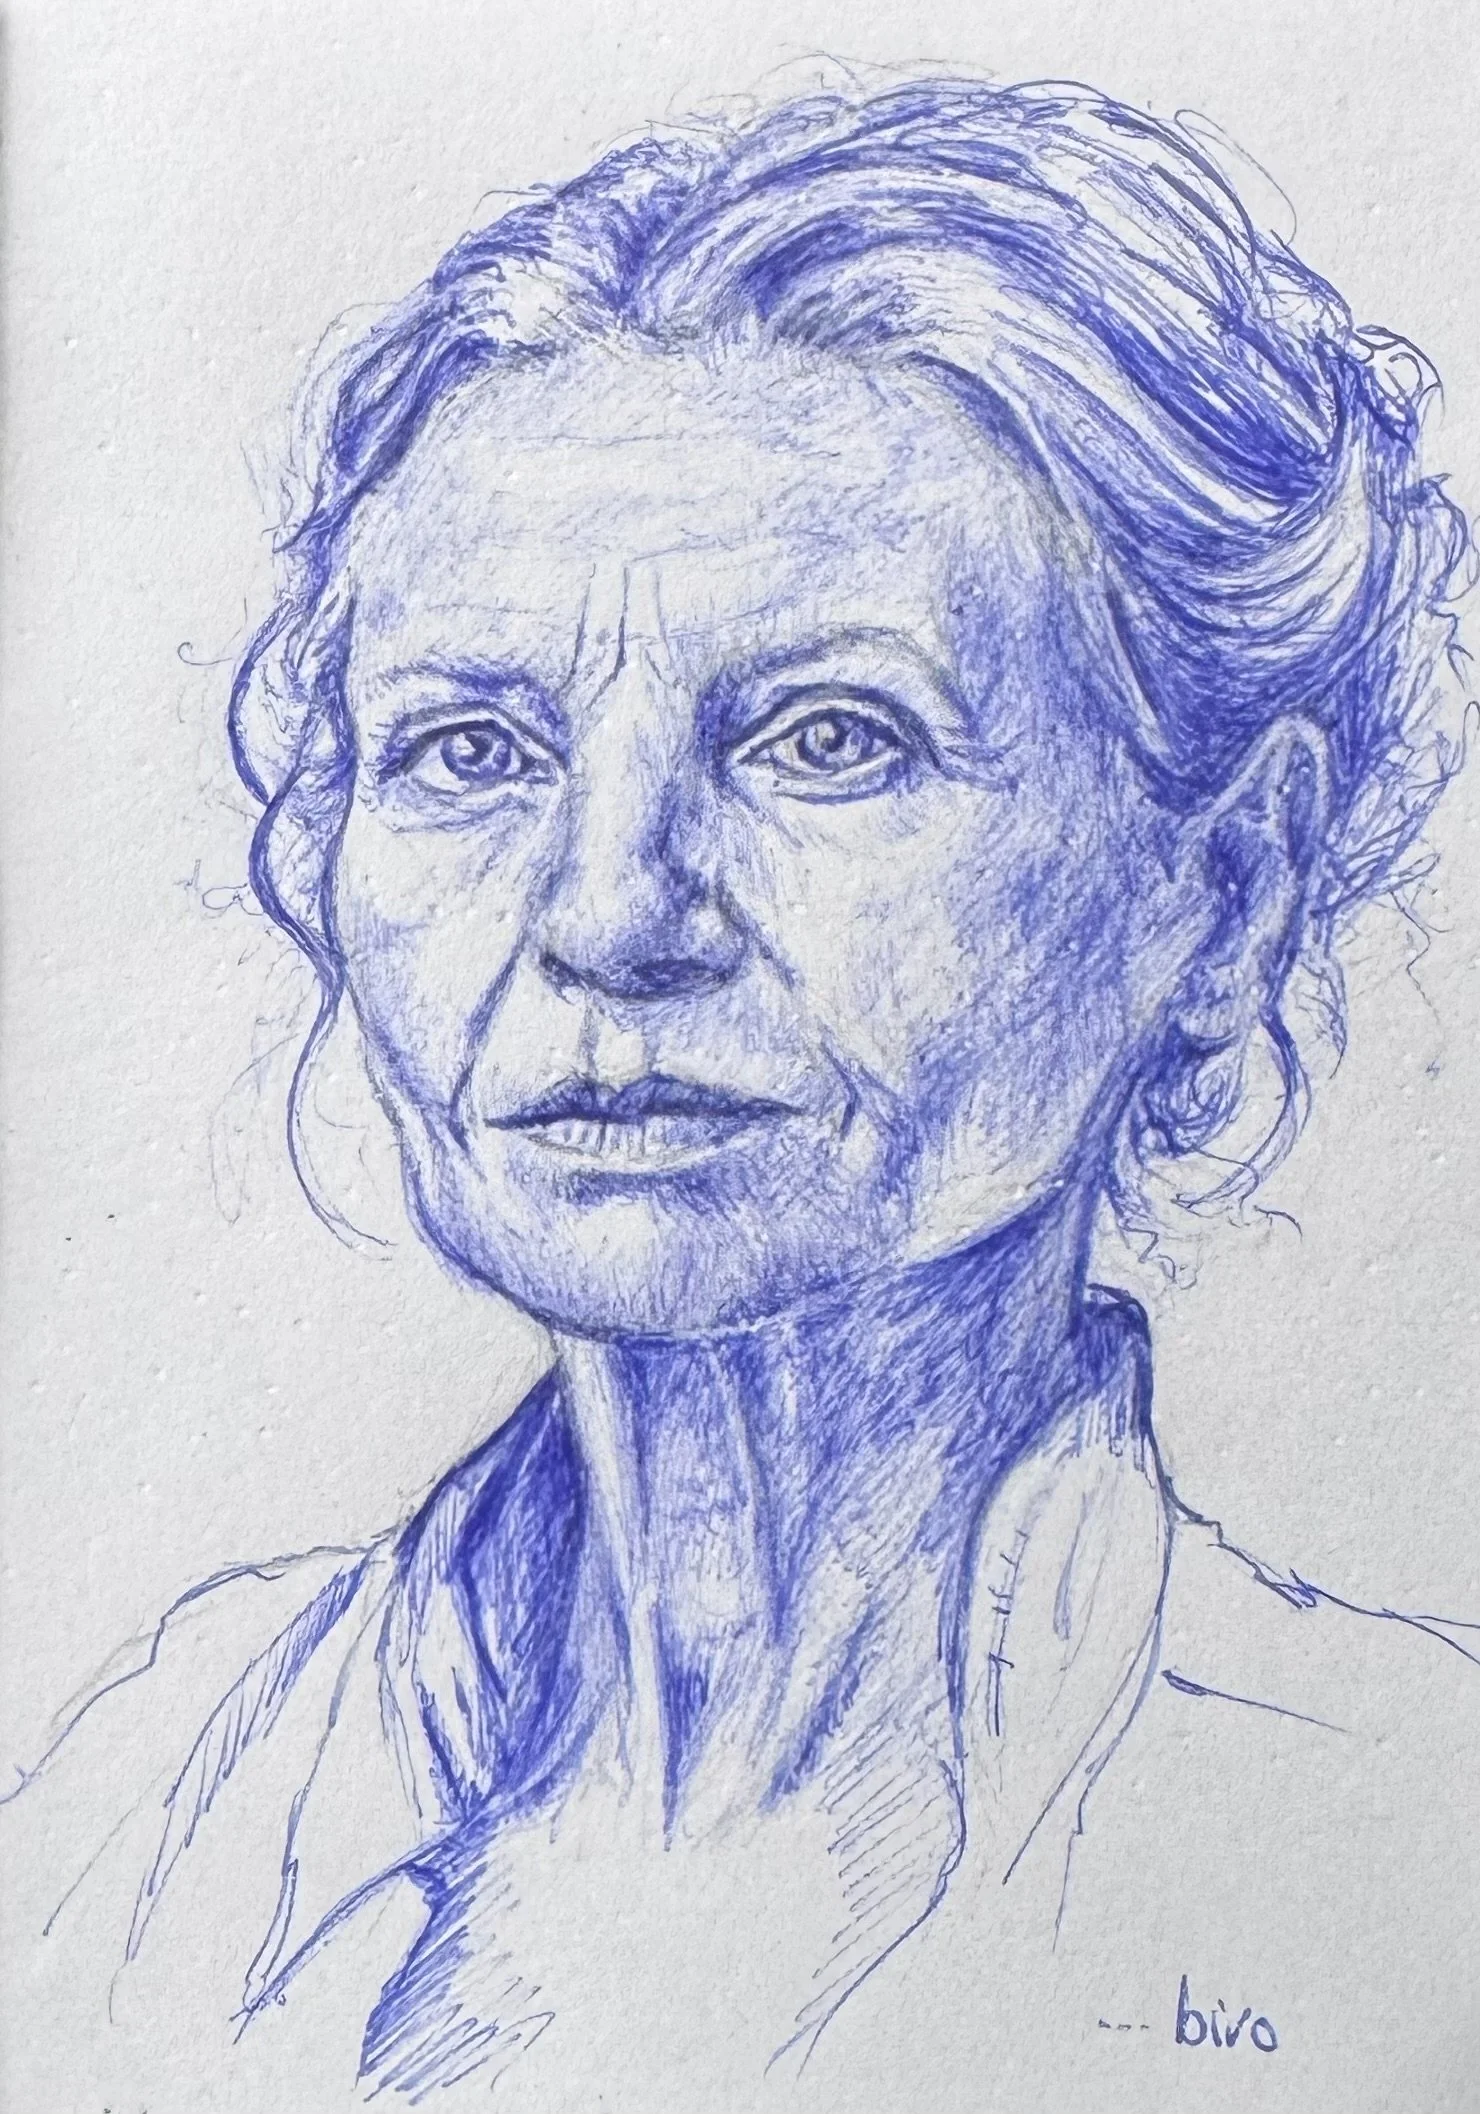
Ballpoint Pens (Biros)
pros: widely available; cheap; variety of colours; surprisingly versatile; tone can be added by altering pressure, and built up through layering and cross hatching
cons: can feel scratchy; less predictable ink flow,;a build up of residue can accumulate on the nib
best for: sketching; shading practice; learning pressure control; easy to take out for en-plein air sketching
Fountain & Dip Pens
pros: expressive; beautiful line variation; encourages flowing confident marks; rich ink application; refillable
cons: can be messy; needs practice to control ink flow can smudge; ink quality varies
best for: expressive drawing; calligraphic lines (thick and thin); experimenting with style; sketching; fluid line work
Pen Drawing Rewards Patience & Curiosity
…it may feel unforgiving at first, but over time it encourages boldness and freedom in your work. The key is to experiment, try different pens, play with lots of different marks, and allow yourself to learn through doing and making mistakes, rather than aiming for perfect results
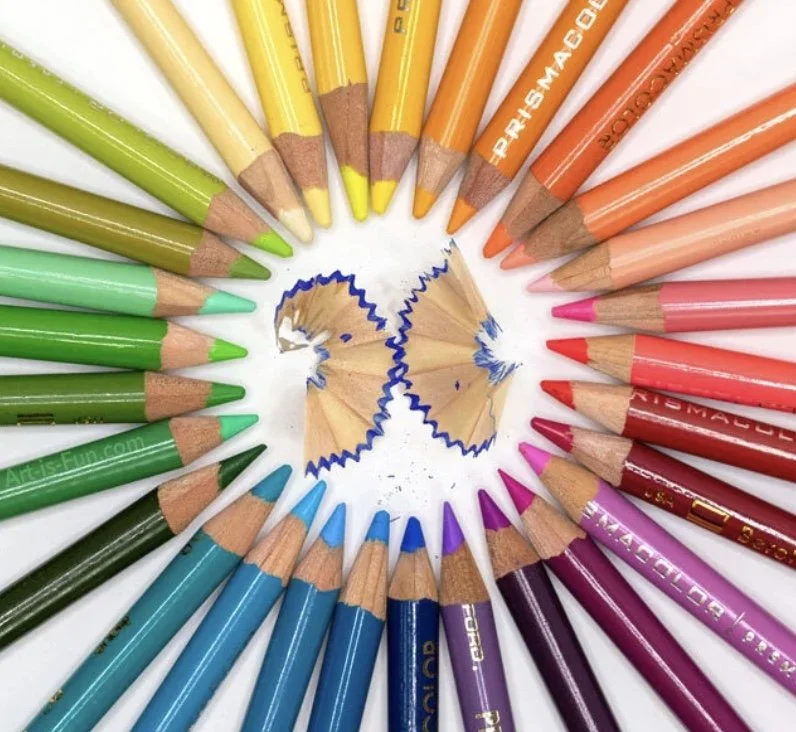
Coloured Pencils - controlled colour
Artist grade coloured pencils are a versatile and surprisingly creative medium that many artists use for both delicate and bold work. While many people still associate coloured pencils with childhood, professional quality pencils offer opportunities for subtle blending, rich saturated colour, and the capacity for highly refined results.
Coloured pencils encourage us to think differently about colour. Rather than relying on a single ‘correct’ shade, you often need to apply multiple layers of colours, starting light, and then gradually deepening colour, refining details as you go. Strong results rarely come from pressing down too hard straight away, so patience and restraint are needed to help achieve smoother blends and a greater depth of colour and subtlety of tone.
This makes them ideal for careful colour observation, controlled drawing practice, and developing focus and patience.
One of the challenges I often hear, is that some people feel the process of using coloured pencils is too slow and more restrictive compared to a looser, more fluid medium that happens quickly. But slowing down isn’t necessarily a bad thing, especially when we think that creating art should also be a relaxing pastime - maybe working in coloured pencil can offer you a peaceful process that’s actually quite meditative when you get into the flow of it.
You don’t need a huge set of pencils to make an impact, even using a single colour thoughtfully can give a sketch a completely different mood and character. Maybe even working on a different colour paper. Just be mindful of applying too much pressure too soon, as this will flatten the paper’s texture and limit your ability to build layers successfully.
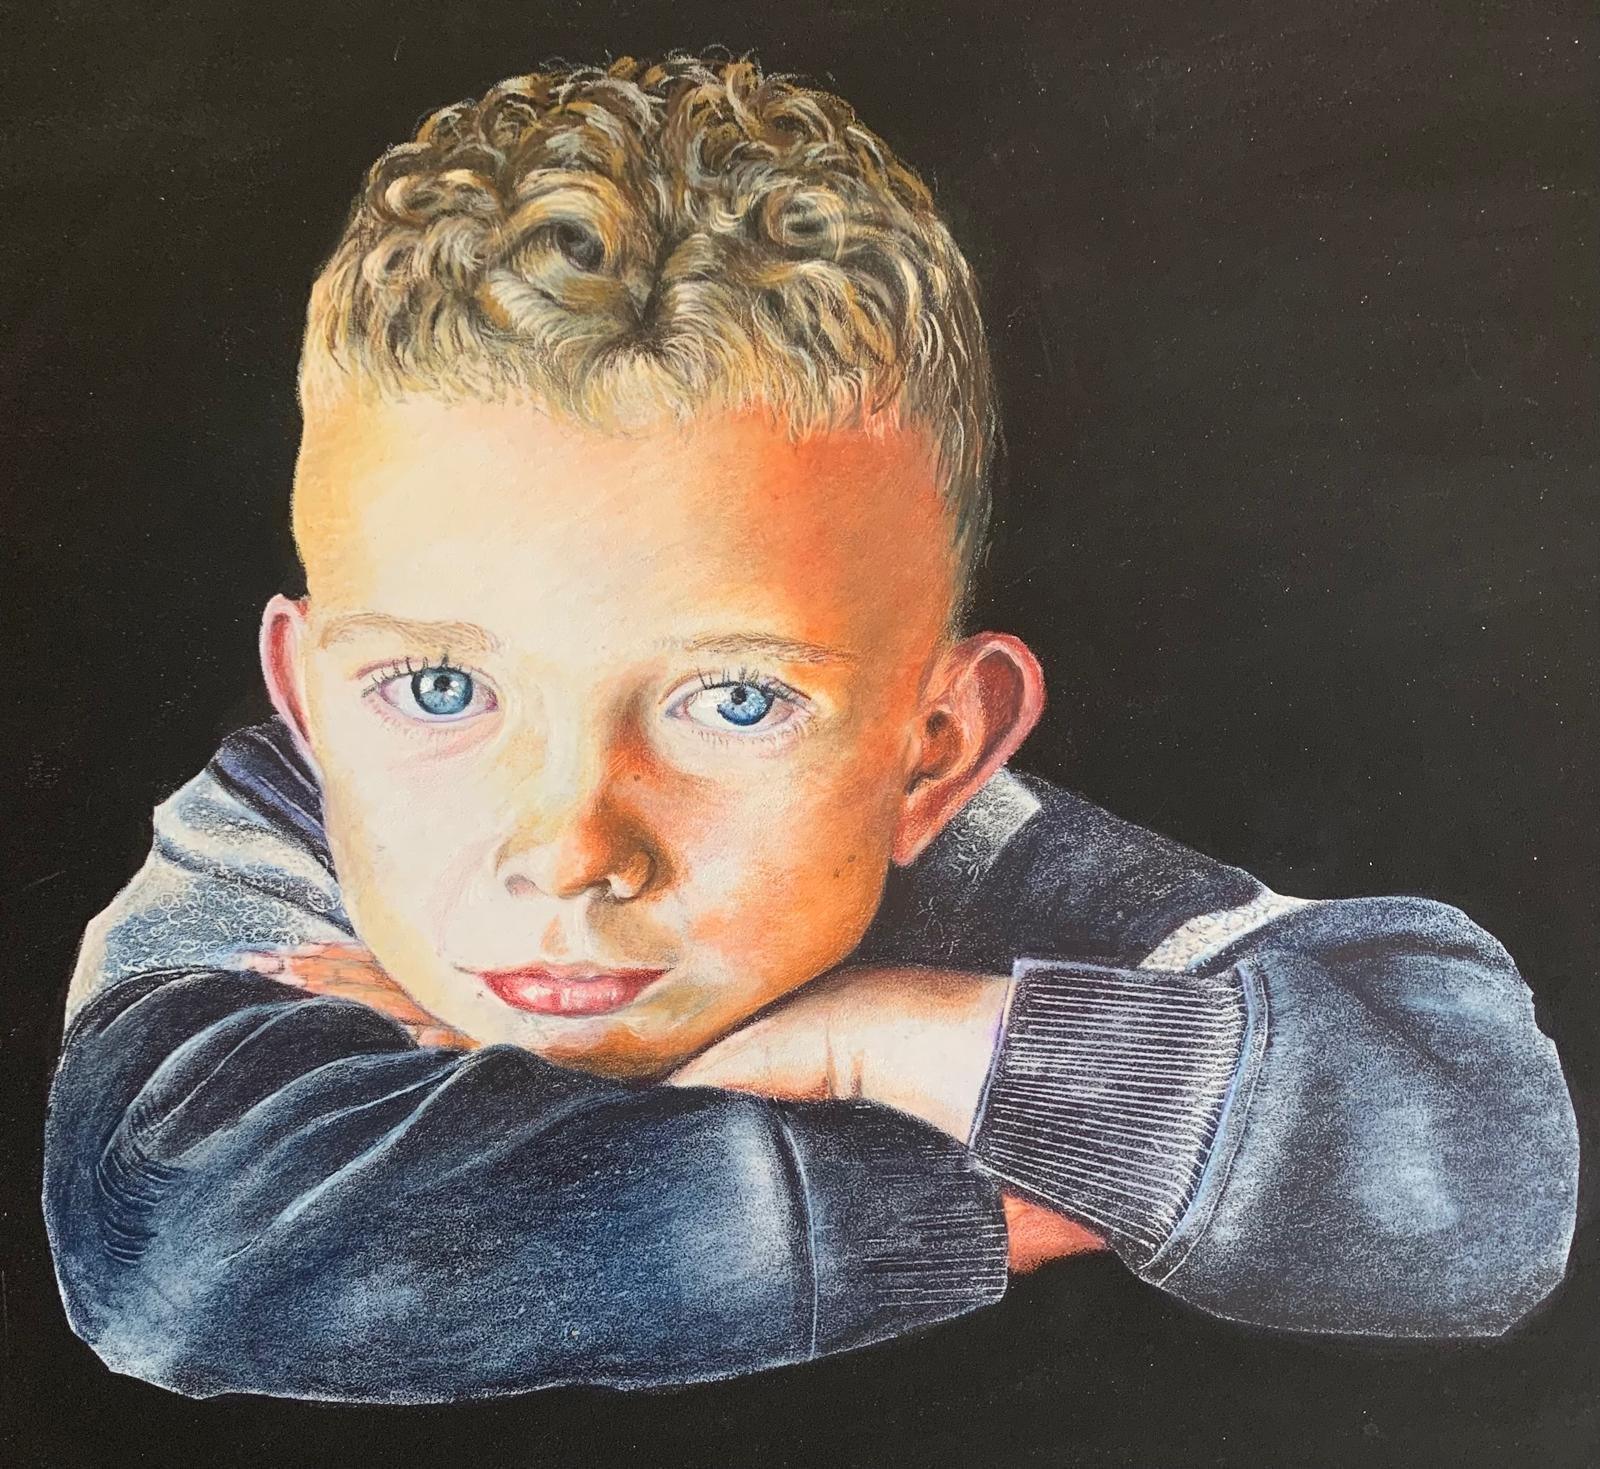
Image: ‘Albie’ by student Milda Tabbernor - with kind permission
Benefits
accessible and easy to carry around
clean to work with
huge variety of colours
available in themed sets…portrait / landscape colours etc
excellent for detail…suits both simple / complex subjects
builds colour mixing knowledge through layering
Oil based coloured pencils
pros: firmer core; describe the detail better; holds a sharp point; crisp; good layering control; cleaner
cons: slightly harder to blend; can feel less smooth; slower colour buildup
best for: detailed work such as fur and texture; precision of botanical studies, and controlled layering
more of a ‘drawing’ like feel to them
work best on slightly textured or sanded paper to take advantage of deeper tooth and holds on to details better, but also works well on smooth paper too - better for multiple layers.

Faber Castel Polychromos - probably the most well-known oil based pencil; crisp; controlled; great for detail
HolbeinArtists - slightly softer than Polychromos, but still more oil based; very smooth; high pigment
Derwent Lightfast - oil based feel with excellent lightfastness; softer than Polychromos
Caran d’Ache Pablo - firm; precise; good layering
Lyra Rembrandt Polycolor - more affordable oil option
Oil-based Brand Examples…
Wax based coloured pencils
pros: softer, more buttery smooth application; easier blending and burnishing; rich colour application; fills the page faster; expressive; widely available
cons: can produce a waxy bloom on the surface (cloudy areas); slightly less defined; softer detail; prone to losing their sharp point
best for: layering; blending; ideal for portraits
more of a ‘paint’ like feel to them
work best on medium grain paper - on rough paper they might struggle and feel ‘cloggy’ - and paper that’s too smooth can limit layering ability.
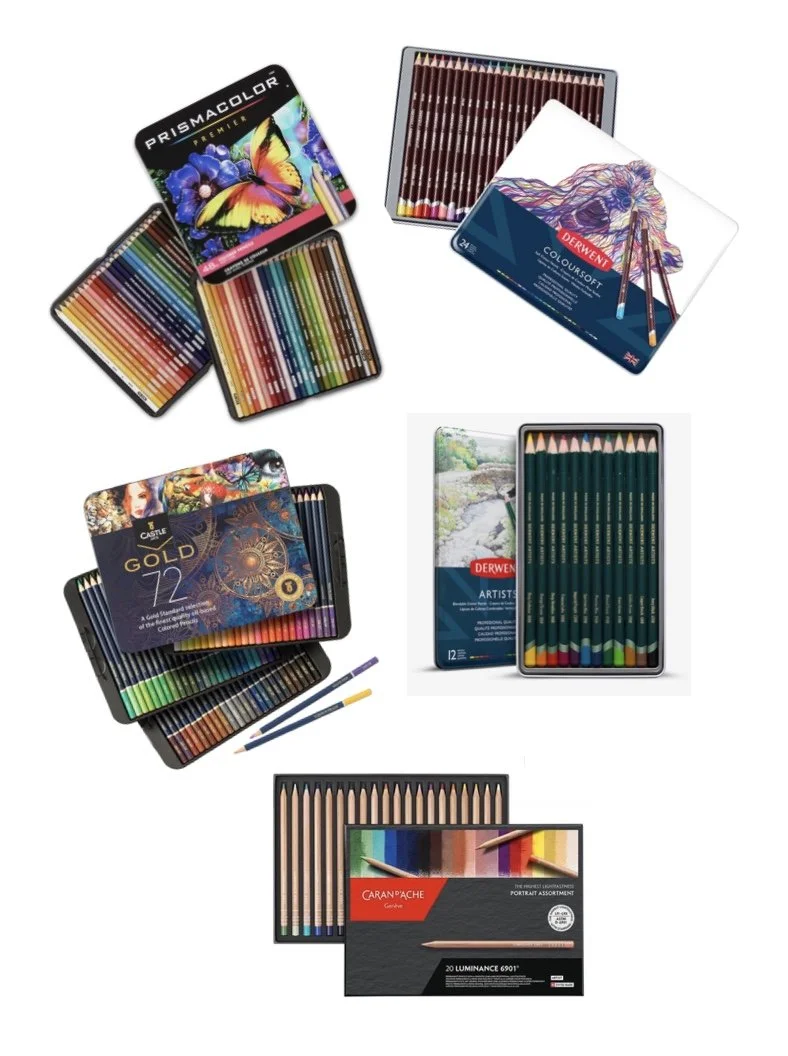
Prismacolor Premier Soft Core - classic wax based pencil; very soft; highly blendable
Derwent Coloursoft - soft; smooth; very accessible
Caran d’Ache Luminance - high-end wax based with excellent lightfastness
Derwent Artists Studio - more traditional ranges
Castle Arts - many student to mid brands are often wax heavy and feel soft
Wax-based Brand Examples…
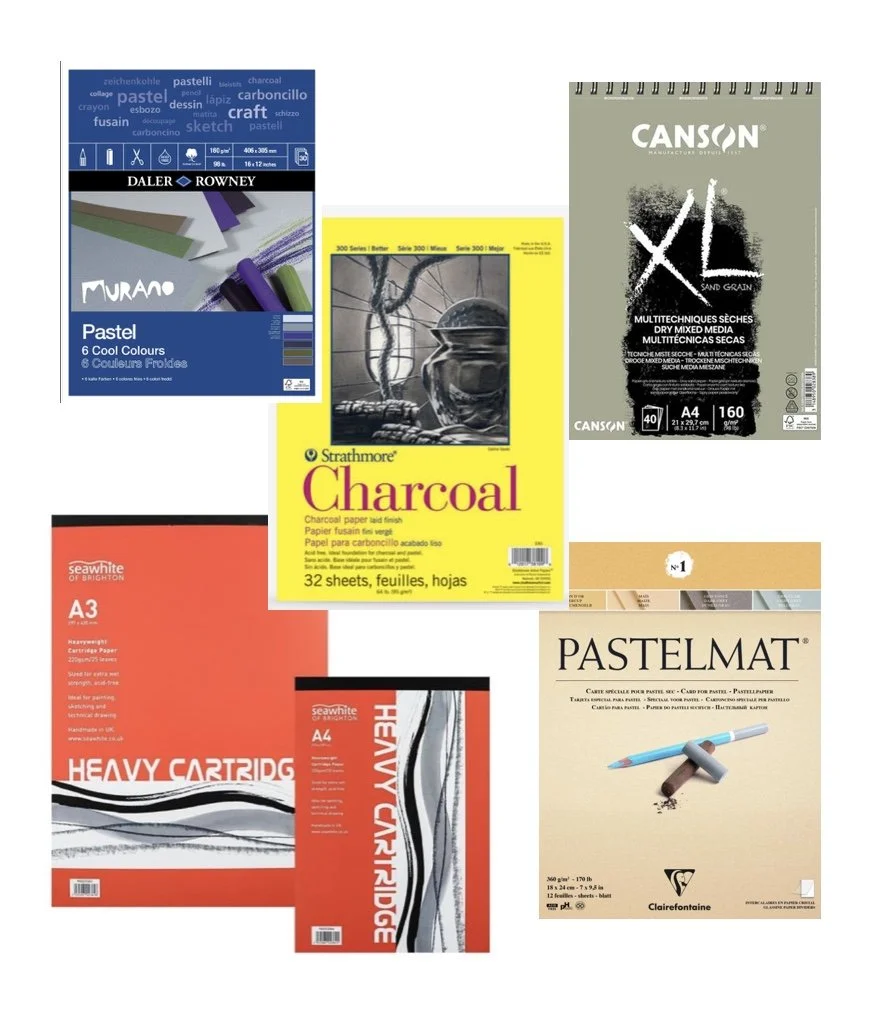
A Bit about Paper…
Paper matters just as much as the pencils when working with coloured pencils. They work best on paper that has a slight texture (tooth) and with enough strength to handle multiple layers.
Tooth (texture) - helps hold onto the pigment
Weight (thickness) - prevents tearing and better for layering
Surface - affects the amount of detail that can be achieved
Paper that’s too smooth won't hold enough pigment, and paper that’s too rough can make detail difficult
Weight - 190gsm minimum, ideally 220 - 300gsm
Surface - light to medium tooth
Type - cartridge paper (good for beginners); hot pressed watercolour paper (smooth, great for detail); pastel or sanded paper (excellent for heavy layering and holding on to pigment)
Ideal paper characteristics
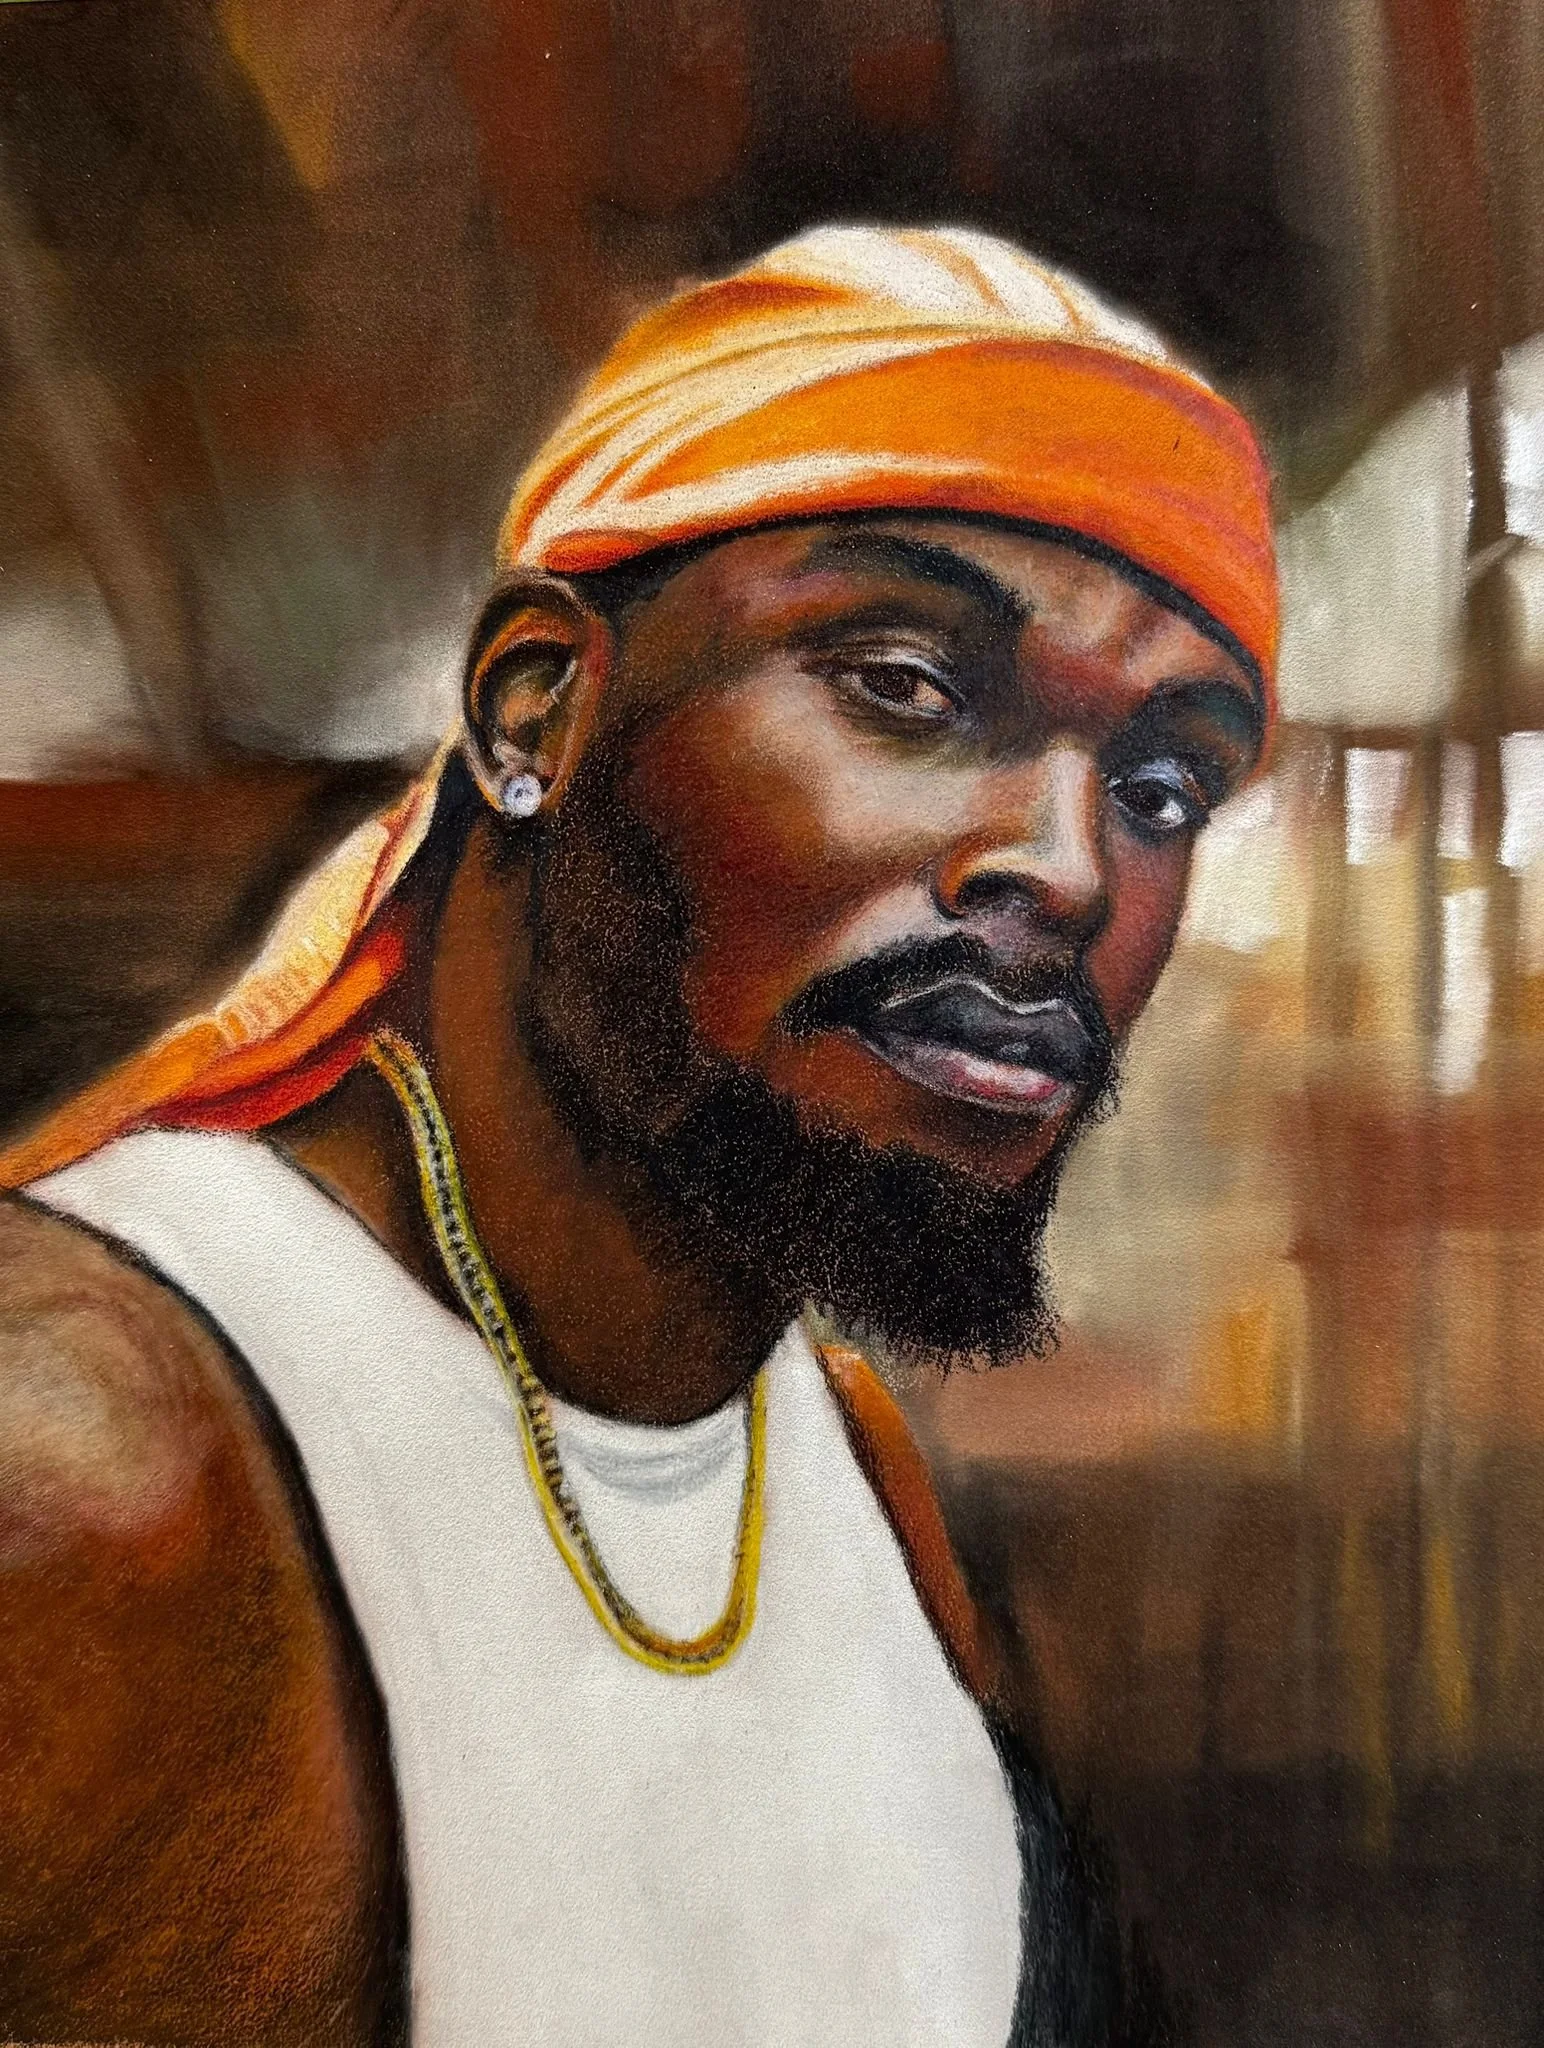
‘You Looking at Me’ by student Milda Tabbernor - on Pastelmat
Smooth Paper - eg: Bristol / Hot Press Watercolour
pros - crisp detail; clean lines easier control
cons - fewer layers can be applied before the tooth fills up
best for - realism; find detail; botanical work
Medium Tooth - eg: Cartridge / Mixed Media
pros - good balance of detail and layering; more forgiving
cons - slight texture may show through
best for - beginners; general drawing
pros - holds lots of layers; can achieve strong colour
cons - harder to achieve fine detail; can wear pencils down faster
best for - rich colour; expressive work; advanced layering
Textured / Sanded - eg: Pastel Papers
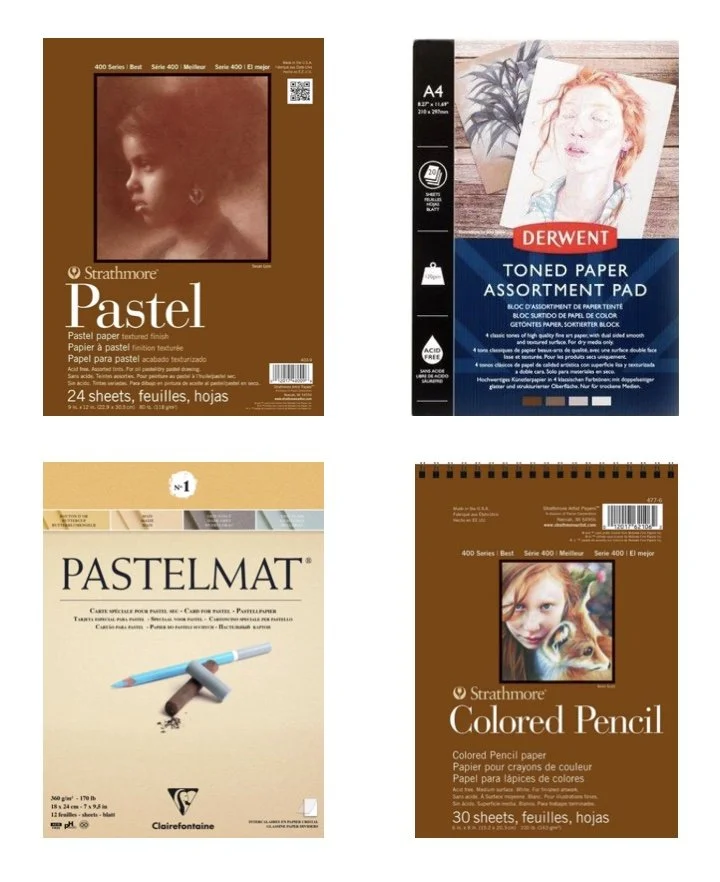
Strathmore 400 Series Pastel Pad - a more textured surface that holds multiple layers of pigment for richer deeper colour
Derwent Mixed Toned Pad - a toned surface that helps build contrast quickly and is excellent for learning light and shadow
Clairefontaine Pastelmat - excellent for holding onto the pigment and allows for multiple layers
Strathmore 400 Series Coloured Pencil Pad - a reliable mid-weight paper with a light tooth, ideal for beginners and general coloured pencil work
Do I need different paper for different pencils?
In a perfect world, yes - but both types of pencil can work on the same papers, they just behave slightly differently.
Wax-based pencils (softer, more blendable) - work best on medium to smooth paper, because these surfaces allow better blending and burnishing. It also allows for colour to be laid down more quickly, and fills the tooth faster.
Oil-based pencils (firmer, more controlled) - work best on slightly textured or sanded paper, because these surfaces allow for more gradual layering. Colour can be built up more slowly, and the deeper tooth will hold on to detail better.
Point to Note… if you feel you struggle with coloured pencils, it's often not the pencils that's causing the problem, it might just be the paper.
Even expensive, artist quality pencils may struggle on poor paper, whereas good paper can make even basic pencils feel much better to use.
Charcoal… Bold and expressive
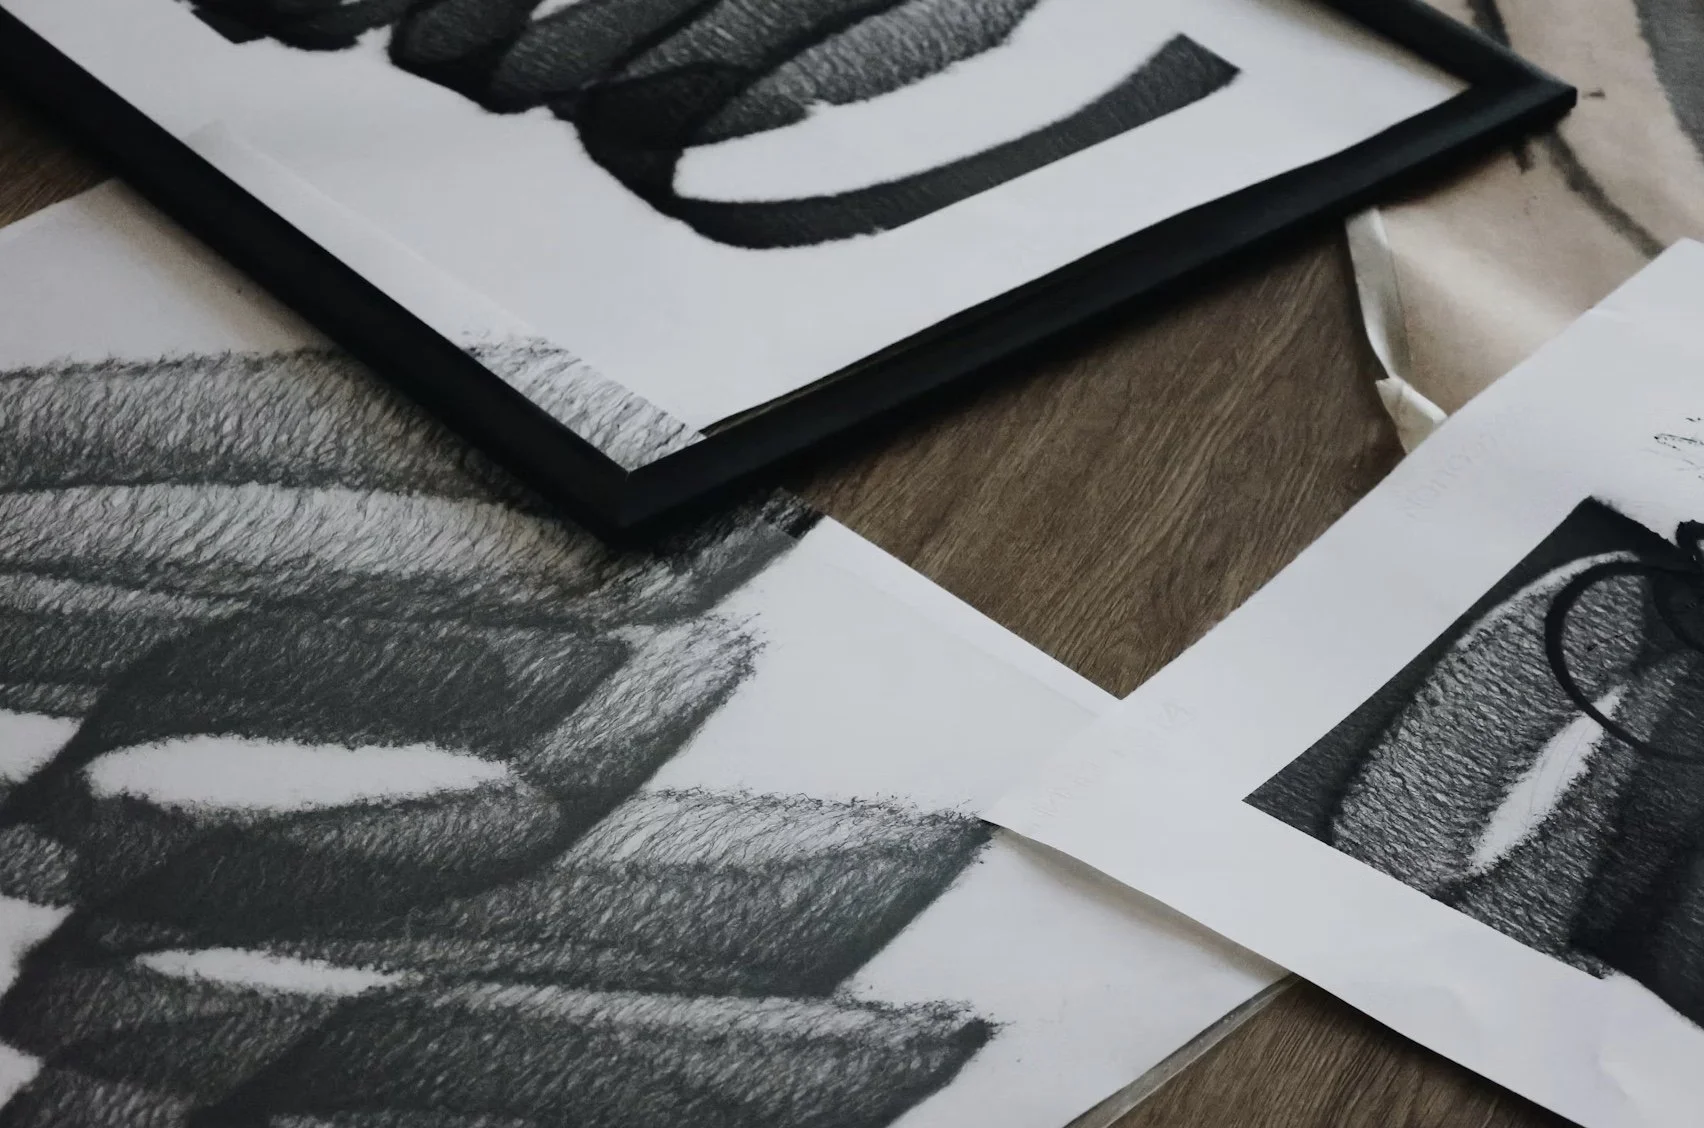
Charcoal is one of the oldest and most expressive drawing materials we have to play with. It allows us to work quickly, make bold marks, and create rich deep tones with little effort. This makes it ideal for developing a strong understanding of light, shadow and form.
More forgiving than pen - you can erase, smudge, and lift charcoal easily, changing the composition as you go - allowing you to work more intuitively, responding to what’s happening on the page.
It encourages a looser, more gestural way of working, because you're not just using the tip - you can also use the side of the stick, your fingers, a cloth, or even a putty rubber to shape your image.
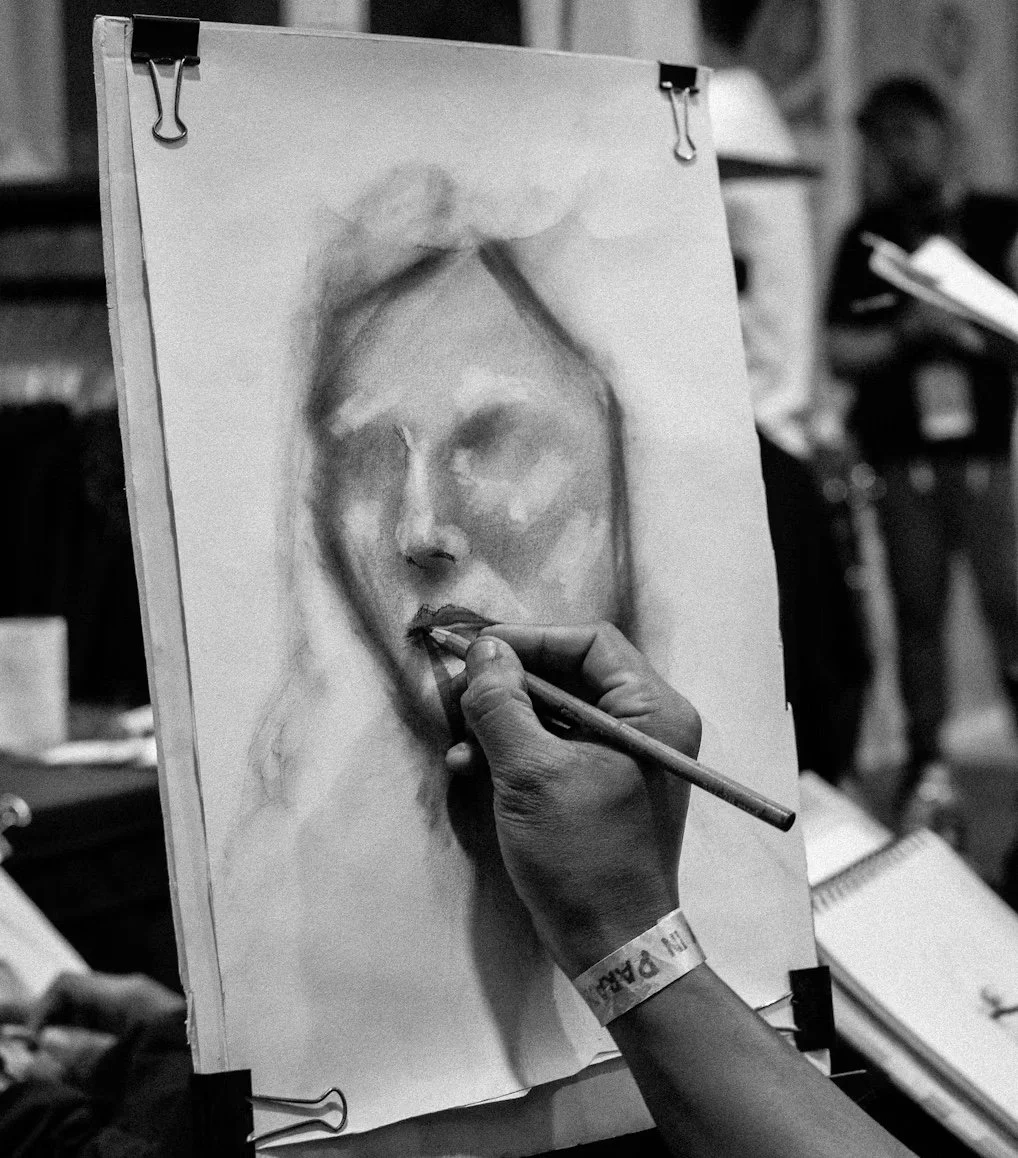
Many artists use it for preliminary life drawing studies, to get a feel for the models pose, before moving on to a fuller painting.
Charcoal is perfect for creating dramatic contrast, making expressive marks, and learning not to be afraid of applying the bold darkness where it’s needed.
While it can feel messy and imprecise at first, it’s one of the best tools for learning how to manage softness and bring back highlights easily with an eraser. Don’t worry about keeping things pristine - embrace the smudges, fingerprints, and little imperfections, because they’re all part of what gives charcoal drawings their vitality and expressive energy.
Willow Charcoal
pros: soft; can achieve a variety of tones; easy to erase with a putty rubber; great for sketching and blocking in larger areas
cons: very loose, so can be messy; sticks break easily
best for: initial sketches; gesture drawing; building confidence
Compressed Charcoal
pros: rich dark blacks; strong contrast; more durable than Willow charcoal
cons: harder to erase; can feel harsh or heavy-handed
best for: bold drawings; strong tonal work; final stages
Charcoal Pencils
pros: more control; less mess; good for detail work
cons: less expressive than loose charcoal; can feel restrictive
best for: refining details; combining with other charcoal types
Powered Charcoal
pros: excellent for soft shading and covering large tonal areas; very atmospheric
cons: very messy; less precise; requires other tools like brushes or a cloth for application
best for: backgrounds; soft gradient; experimental techniques
Fixing Charcoal
Charcoal doesn't get fully absorbed into the page, it sits loosely on the surface, so this means artwork can easily smudge unless it’s ‘fixed’…
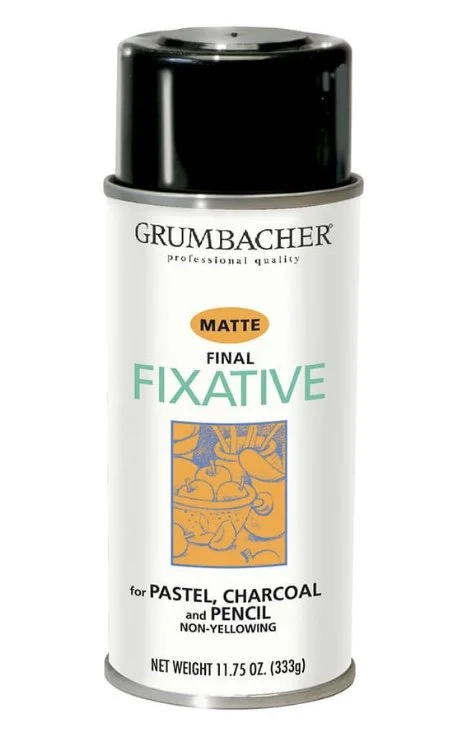
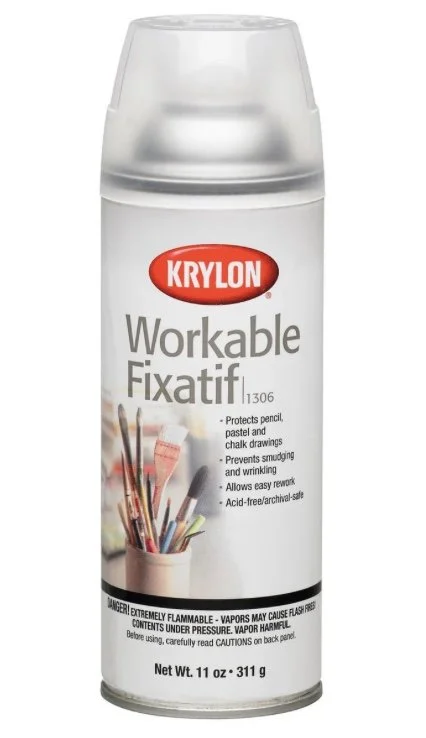
Fixative is a spray that helps hold charcoal in place, there are two main types:
Workable fixative - allows you to keep drawing over the top, which is useful during the drawing process to help avoid smudging, but will slightly darken the tones, and over-fixing can result in contrast being lost.
Final fixative - seals the drawing more permanently, so is less suitable for adding more layers afterwards, it's only really used when the work is finished.
While spray fixative is the most common method, there are several other ways to stabilise or protect charcoal. Each has its own advantages and limitations, and some are more about protecting the drawing than permanently fixing it.
Gentle layering (fixing while working technique) - one of the simplest approaches is to build charcoal gradually in light, controlled layers, this reduces loose dust on the surface. Light blending can also help settle pigment into the paper. This doesn't fully fix the drawing, but it significantly reduces smudging.
Right paper - a higher tooth paper, like pastel paper will naturally hold the charcoal better. More texture equals more grip and less loose pigment sitting on the surface. In many cases, good paper reduces the need for heavy fixing.
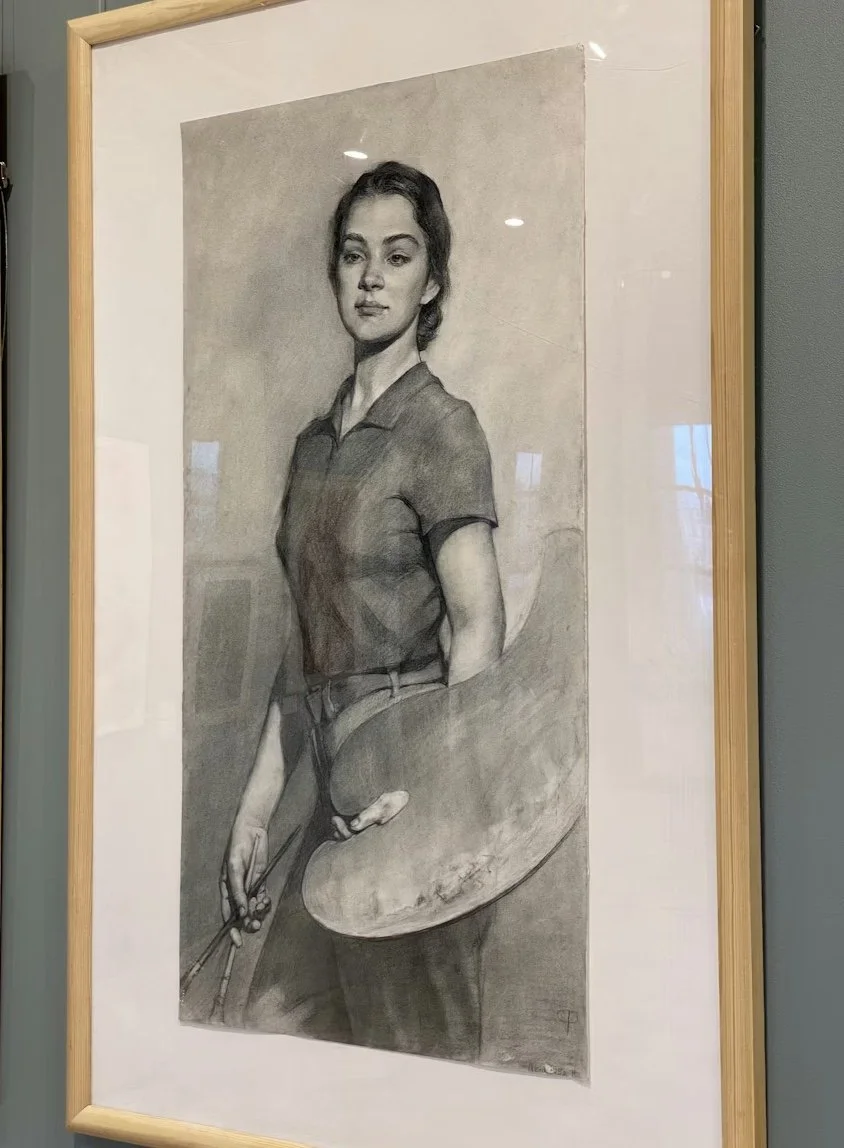
Framing (best for finished work) - for completed drawings, framing is often the safest and most professional solution. Use a mount to keep the drawing away from the glass, and make sure the frame is secure to prevent movement. Framing preserves the natural softness of charcoal without the risk of darkening from fixative, so therefore keeps the drawings appearance as intended
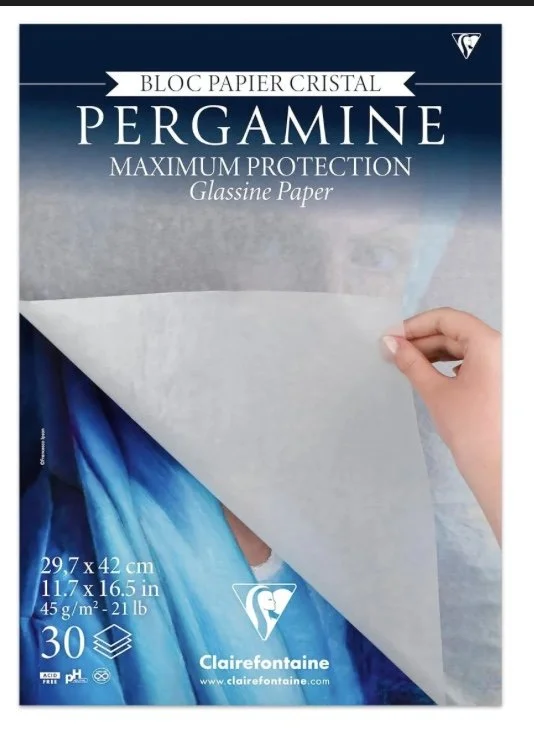
Protective covers (storage method) - if work isn't being framed then it's best to place a sheet of tracing paper or glassine over the surface, secure it on the reverse so that it stays in place, then store flat in a portfolio. Again this doesn't fix the charcoal, but it prevents smudging during handling and storage.
Hairspray was once thought of as a good substitute for fixative, and although it does hold charcoal in place temporarily, it often yellows the paper overtime and leaves a sticky residue, or uneven surface…not ideal.
Paper for Charcoal
Choosing the right paper is essential when working with charcoal. Unlike pens or even coloured pencils, charcoal relies heavily on the surface texture (tooth) of the paper to hold the pigment.
What to look for
Tooth - a noticeable texture helps grip the charcoal
Weight - ideally 160-300gsm to withstand layering, erasing and expressive marks without buckling
Surface strength - should cope with rubbing, blending and the harshness of the charcoal sticks
Smooth paper tends to resist charcoal, while more textured paper allows for richer tones and interesting marks.
Types of Paper
Cartridge paper (medium tooth) - good starting point for beginners; handles light layering and erasing well; affordable and widely available
Charcoal paper (textured) - designed specifically for charcoal; often has a visible pattern or grain on it; holds pigment more effectively
Pastel paper - more textured surface; excellent for deeper tones and multiple layers; works particularly well with compressed charcoal
Sanded paper (harsh surface) - very high tooth, almost abrasive; holds a large amount of charcoal, but hard on fingers if blending; wears down charcoal sticks fast; takes a bit of getting used to.
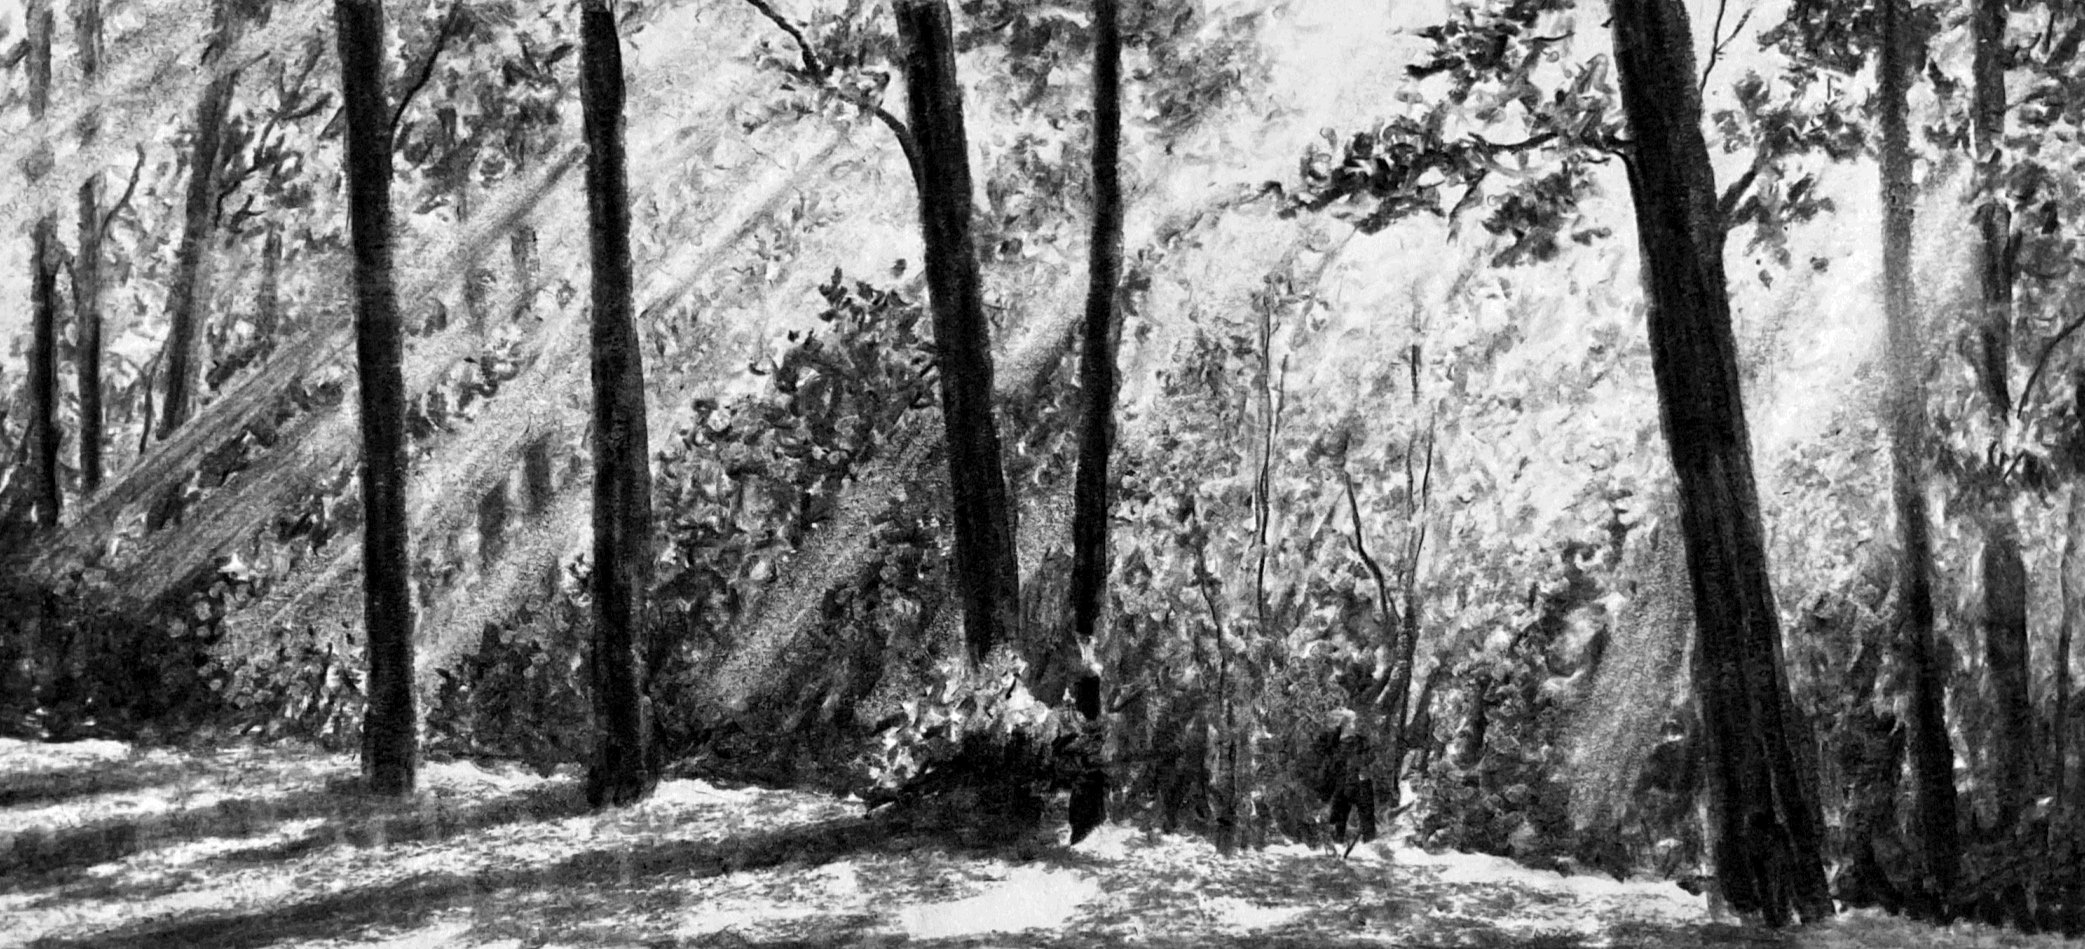
Playing with Charcoal - A Useful Exercise
… draw the same subject on three different types of paper - smooth cartridge - medium pastel paper - and a heavier textured charcoal paper. This way you get to feel the difference of how the charcoal behaves on each surface, and develop your own preference.
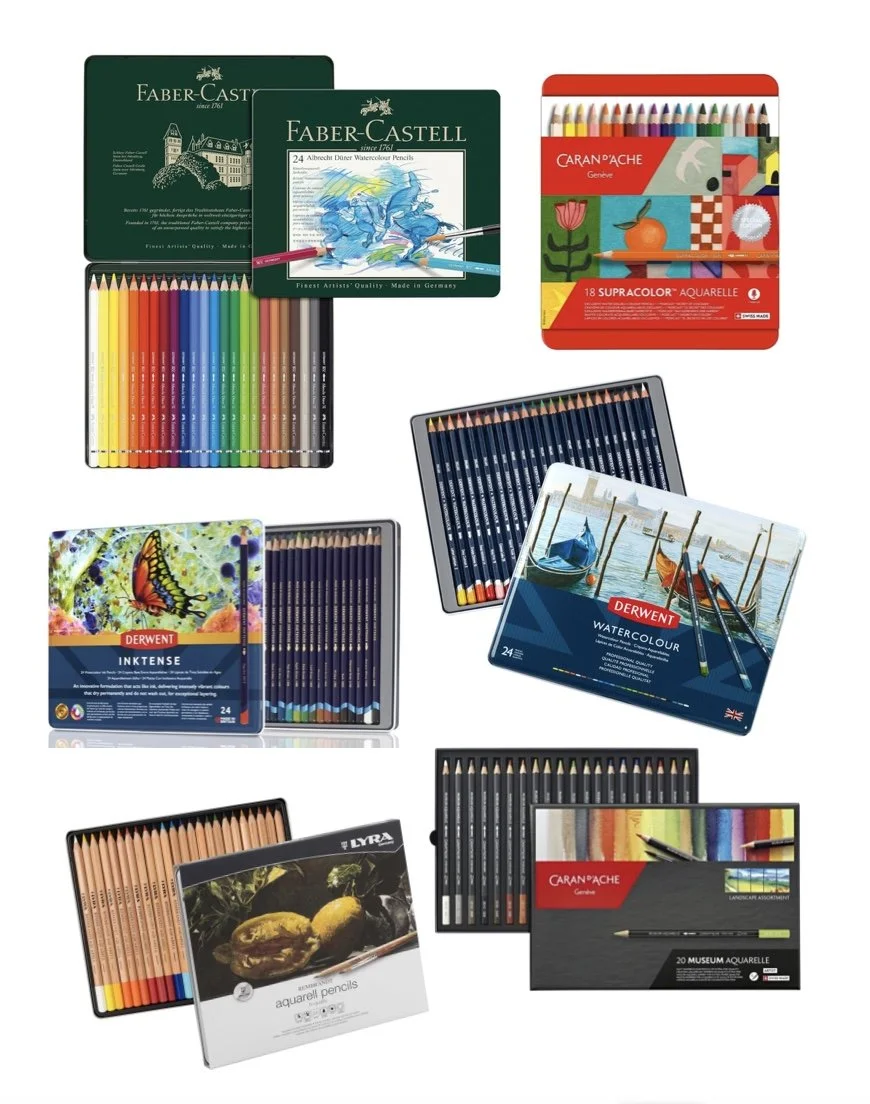
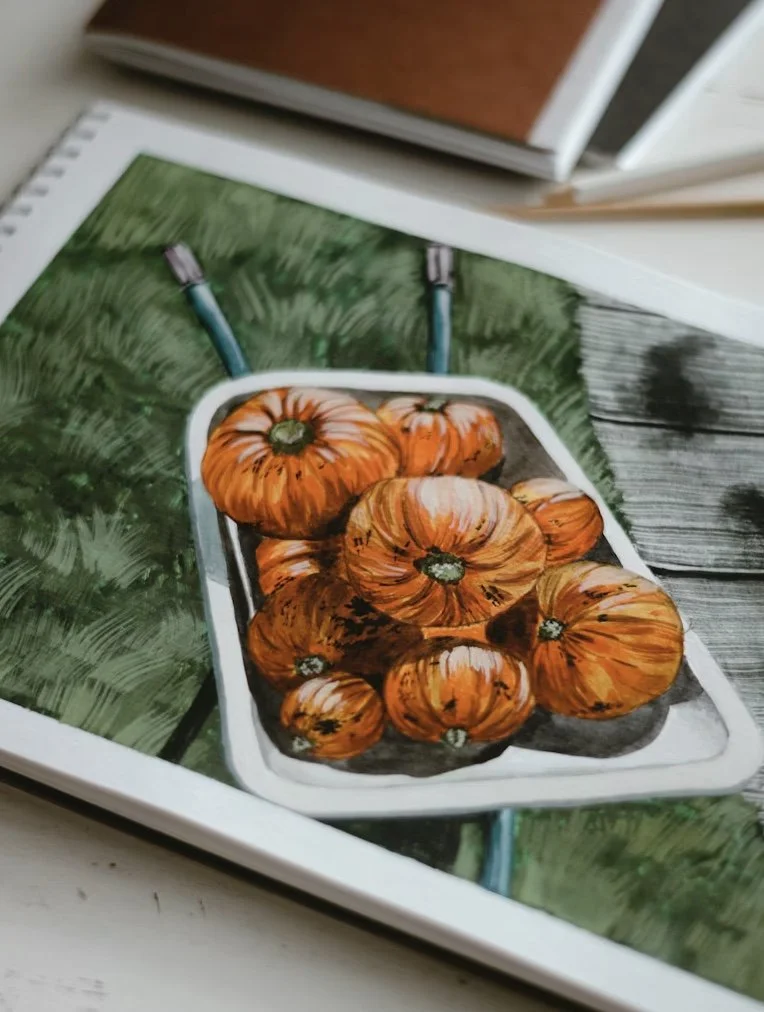
Watercolour & Ink-based pencils…where drawing meets painting
Water soluble coloured pencils combine the control of drawing with the free flow of painting. Used dry, they behave much like regular coloured pencils, but when water is added, the pigment dissolves and acts like paint, allowing you to create soft washes and blend colours.
This makes them a useful, flexible medium, especially for capturing colour reference while sketching outside. You can draw lightly, then transform your image with a brush, building up layers of colour that shift between crisp detail and more painterly effects.
They encourage a slightly different mindset compared to traditional coloured pencils. Although you might begin the same by layering dry pigment, you're also thinking ahead, to how your image will be affected once the water is added, and how colours will move, blend, soften or intensify once activated.
As with all new materials, it might feel unpredictable when you first start using them, but their versatility encourages you to experiment, and learn to balance control with spontaneity.
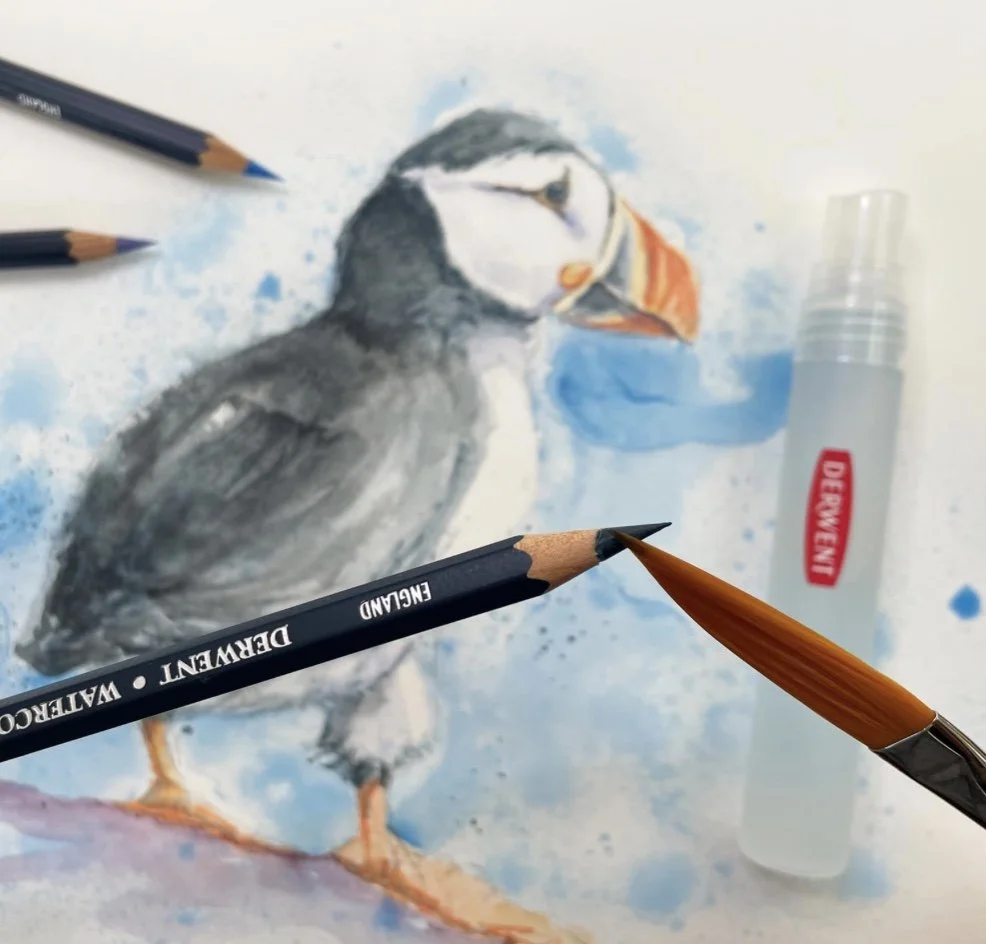
Image: from Derwent website
Watercolour pencils
pros: subtle tones; can build layers of colour; easy to control; can be used like normal pencils; simply activated with water for soft washes; re-workable; easily transportable
cons: can appear a little pale / dull until activated; less intense than some other options
best for: gentle layering; bringing colour to en-plein air sketching; planning out drawing for a watercolour painting; gentle introduction to paint without committing to a full watercolour
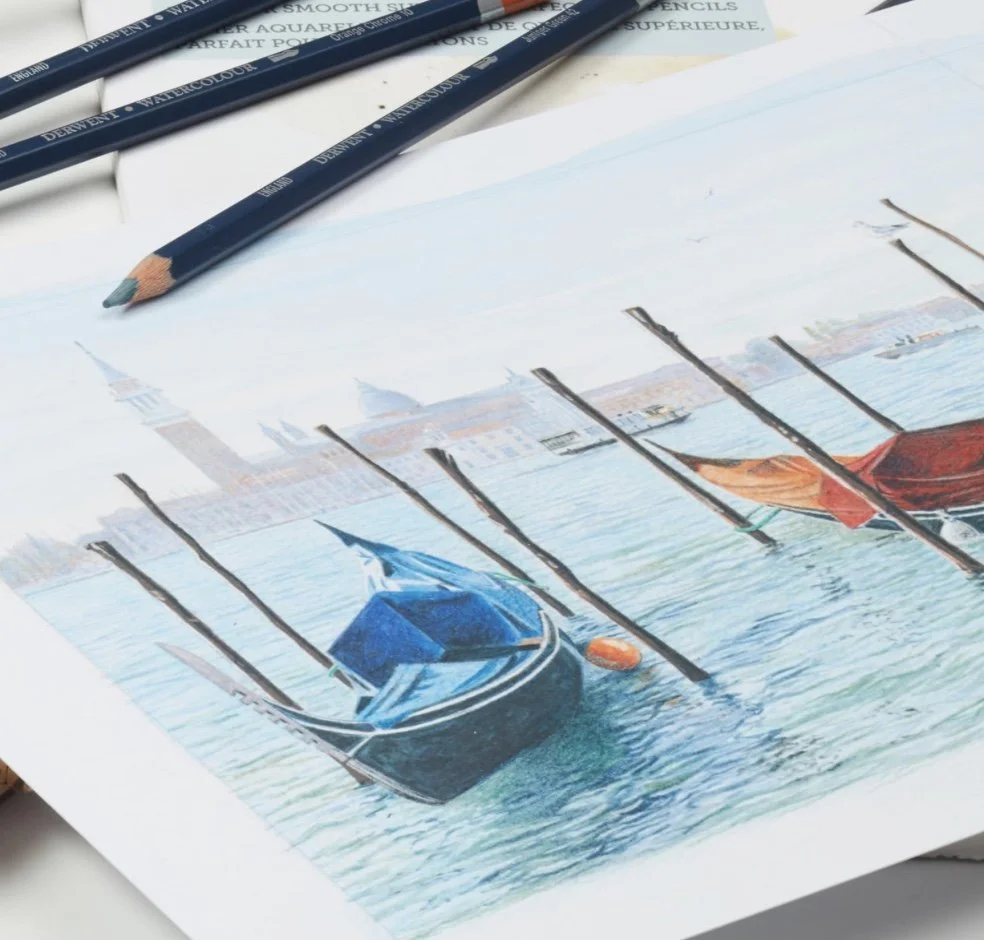
Image: from Derwent website
Water-soluble coloured pencils (watercolour and ink-based) vary hugely in quality. Artist grade pencils have higher pigment, better lightfastness, and dissolve more fully, giving cleaner richer results.
Ink-based pencils
pros: strong vibrant colour, which intensifies when wet; becomes permanent once dry; great for layering; ink based rather than pigment based
cons: less forgiving once activated and dry; it can’t be reworked easily; some colours stain more than others
best for: bold colour and mixed media; excellent for artists ready to experiment beyond traditional graphite
Water-soluble coloured pencils offer the best of both worlds - the precision of drawing, and the softness of painting - ideal for artists who enjoy detail, but also want to explore looser, more fluid techniques too.
The key is to experiment - try working dry, wet, and in combination - see what you like. Accept that some results will be unexpected, mistakes will happen, but that’s all part of the process, and happy accidents can spark new ideas when you least expect them.
With practice, you’ll learn how to guide the water where you want it, rather than just let it bleed, and your work will develop balance between control and expressive freedom.
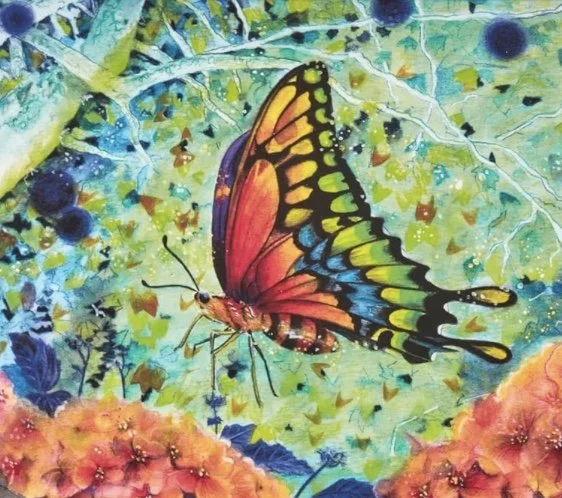
Image: from Derwent website
Faber-Castell Albrect Durer - one of the most widely used professional watercolour pencils; strong pigment; excellent lightfastness; dissolves cleanly into smooth washes
Best for: all round use, consistent results
Caran d’Ache Supracolor Aquarelle - soft, creamy core with high pigment; very bendable both dry and wet; suitable for both drawing and painterly work
Best for: expressive colour, blending, mixed techniques
Caran d’Ache Museum Aqaurelle - higher end version of Supracolor; extremely high pigment concentration; more like pure watercolour in pencil form.
Best for: professional work, intense colour
Derwent Inktense - ink-based rather than traditional watercolour; very vibrant colours; becomes permanent once dry
Best for: bold work, layering without reactivating
Derwent Watercolour Pencils - slightly softer, more traditional feel; subtle, painterly results
Best for: softer, more natural effects
Lyra Rembrandt Aquarell - highly pigmented and lightfast; good balance of affordability and quality
Best for: strong performance at a lower price point
Brand Suggestions
Paper for Water-Soluble Coloured Pencils
Paper choice matters even more here than with dry coloured pencils, because you’re introducing water.
The Best Option
watercolour paper (ideal choice) - weight 300gsm; surface: hot pressed, smooth gives more detail. Cold pressed, slight texture, more forgiving
watercolour paper is generally recommended because it can handle water without buckling and allows proper blending and washes.
Other Suitable Papers
mixed media papers - good for light water use; slight texture works well; ideal for beginners
cartridge paper (heavier weight) - works if using minimal water; should have some tooth; not suitable for heavy washes
What to avoid:
thin paper - will buckle
very smooth - poor pigment grip
cheap sketch paper - can pill or tear