Brushes
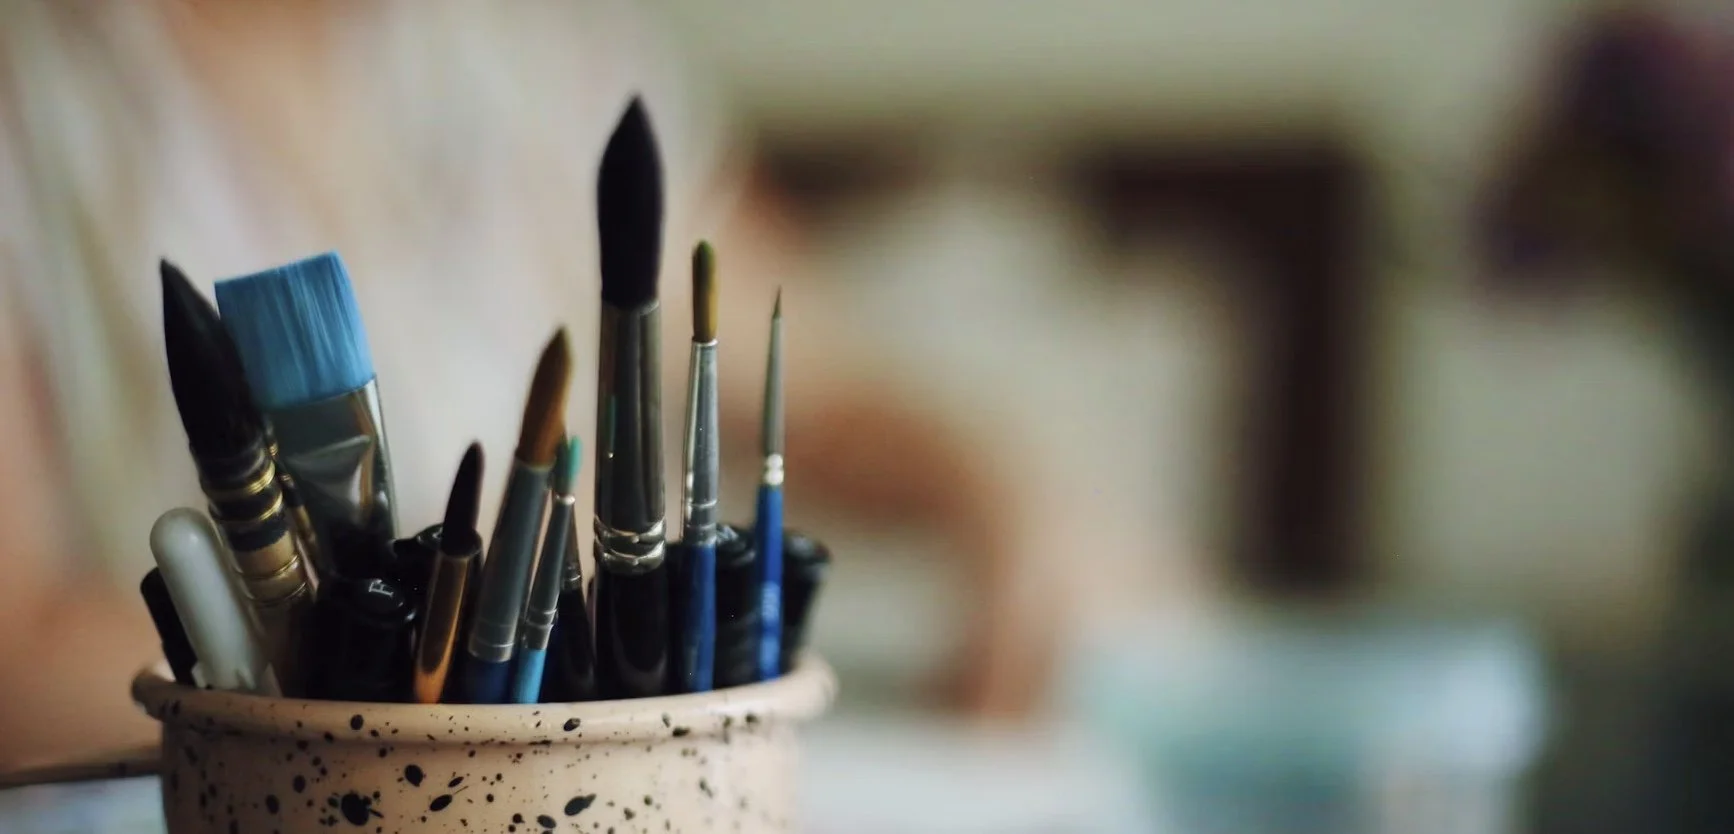
Brushes are far more than simple tools for applying paint. They influence the marks you can make, how paint moves, how much control you have, and even the character of a painting.
Walk into any art shop and you'll find yourself faced with a huge selection of brushes - different shapes, sizes, and even different types of hairs. It can be difficult knowing where to begin. The good news is that you don't need dozens of brushes to create beautiful paintings. In fact, a small collection of well chosen brushes will often serve you far better than a large set with many that you rarely use.
Brushes are much more than just a tool for applying paint - they influence the marks we make, how paint flows across the surface, and can also dictate the character and energy of a painting. The same paint for instance, can behave very differently depending on the brush you choose, whether that’s a large soft mop brush, a stiff bristled flat brush, or a fine detail brush - each one produces its own distinctive marks and qualities.
Getting to know your brushes is an important step when learning to paint. With just a little knowledge, choosing the right brush for the right job soon becomes easier. I hope this section helps you make more informed choices, to build a small but versatile collection of brushes that will grow with you as your skills and experience develop.
What Makes a Good Brush?…
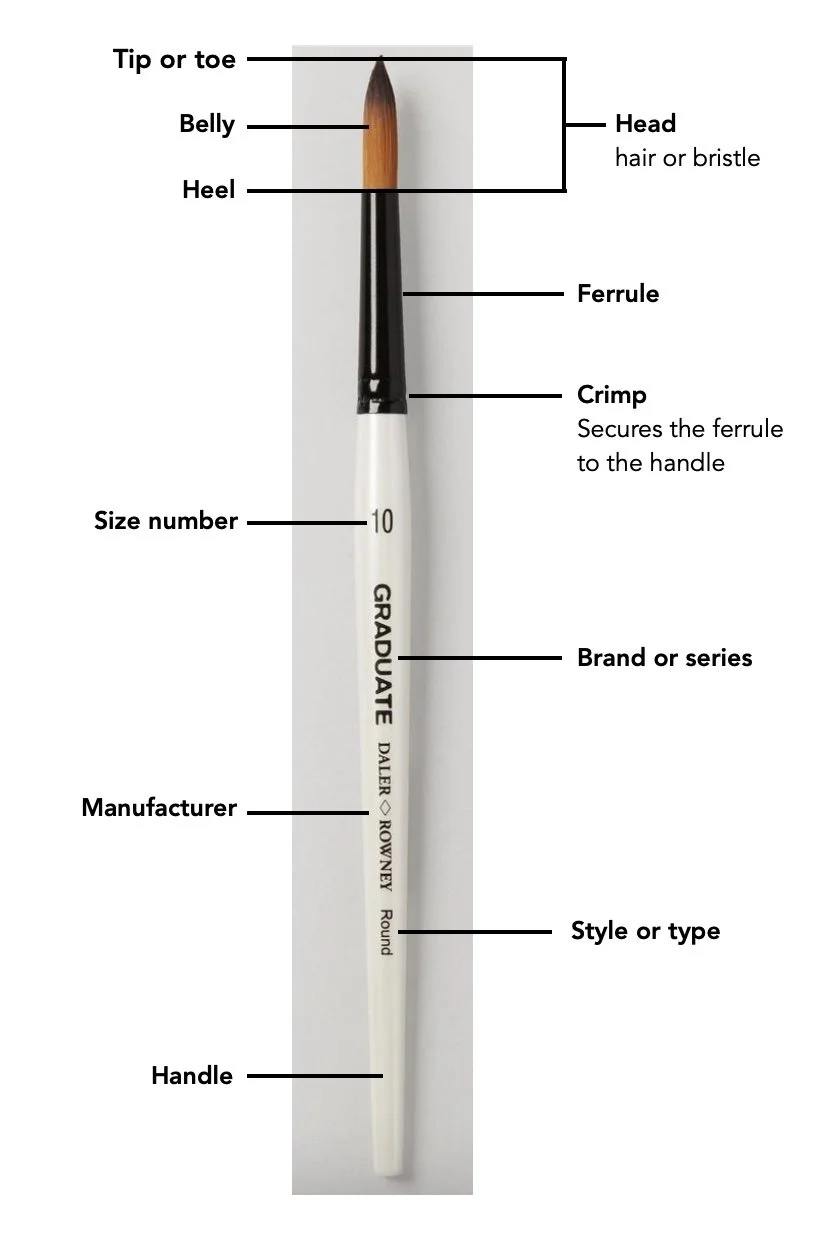
A brush is generally made up of three parts:
the Hair (or Filament) - the working part of the brush.
the Ferrule - the metal part that holds the hairs.
the Handle - usually longer for easel painting, shorter for water-based media and detail work.
Good brushes tend to have:
a well-formed shape, that keeps its shape when wet
good spring, or bounce to it - giving you better control
is responsive to the action you want it to make
good paint-holding capacity (where appropriate)
durable construction - doesn’t feel flimsy
a secure ferrule - so the hairs don’t fall out
Brush Hair Types: Natural vs Synthetic
Natural Hair Brushes
Made from animal hair (eg: sable; hog; goat; mongoose; squirrel)
Pros
excellent paint handling - many natural hairs carry and release paint beautifully
often used for watercolour - especially softer hairs
can have exceptional spring and point - in high quality brushes
Cons
are often expensive
can wear more quickly if mistreated
may be less suitable for some acrylic use
(acrylics can be hard on some natural hair, not easy to clean)
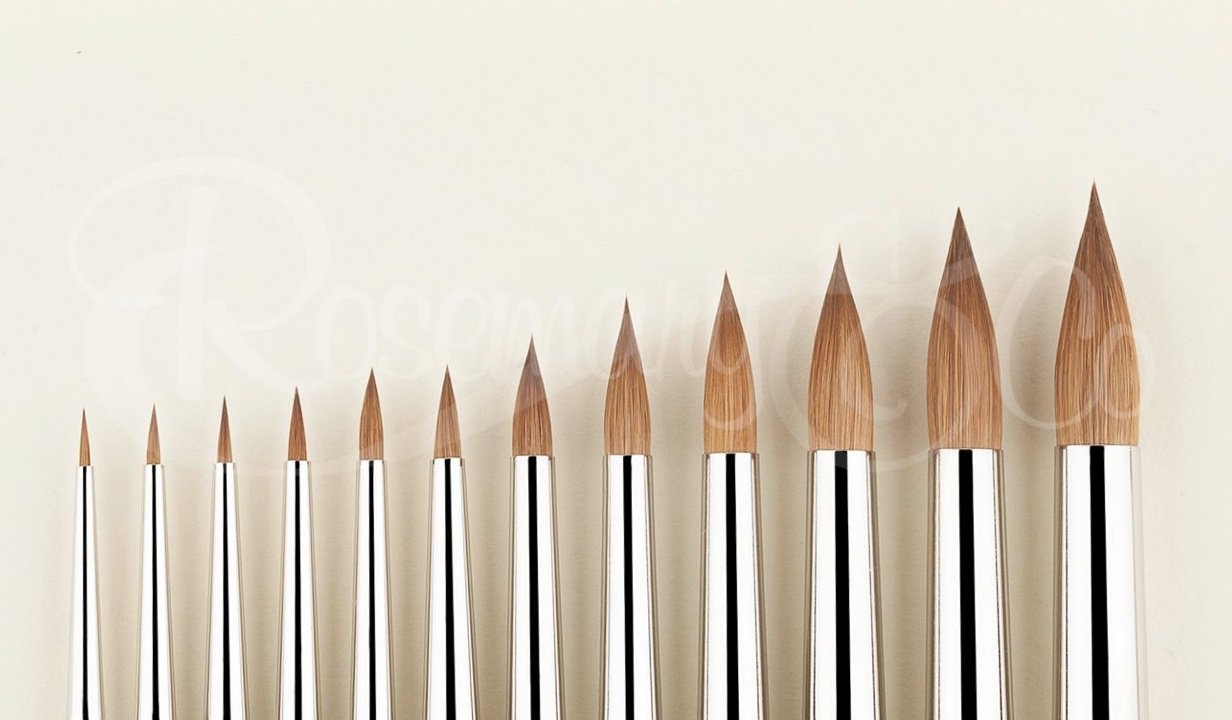
Rosemary & Co Brushes - pure sable
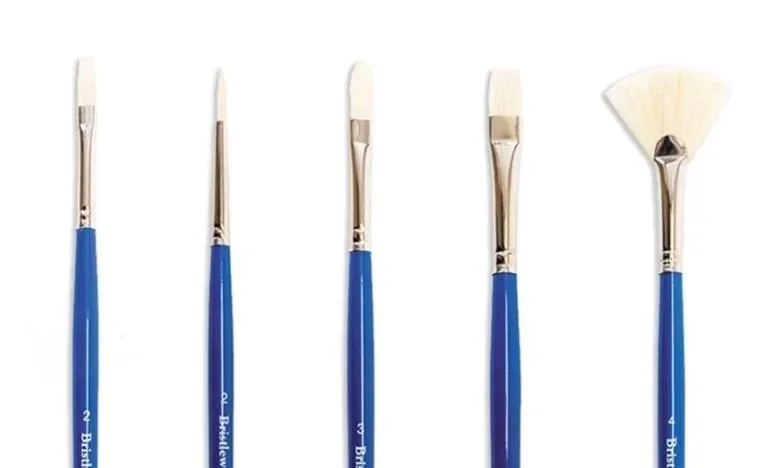
Daler Rowney Brushes - Bristlewhite hog bristle
Common Natural Hair Types…
Sable (or sable-type ie: Kolinsky; sable marten)
Excellent for: watercolour; gouache; detailed work
Known for: fine point; good spring back; good water carrying capacity
Hog Bristle
Excellent for: oils; heavy-body acrylics; impasto
Known for: stiffness; strong brush-marks; handling thicker paint
Squirrel (very soft)
Excellent for: large watercolour washes; mop brushes
Known for: carrying lots of water / paint
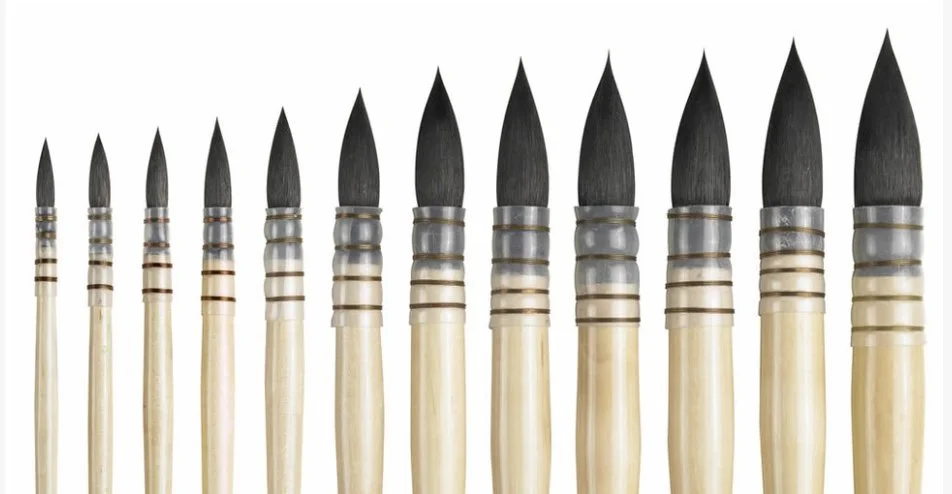
Pro Arte - Renaissance squirrel mop
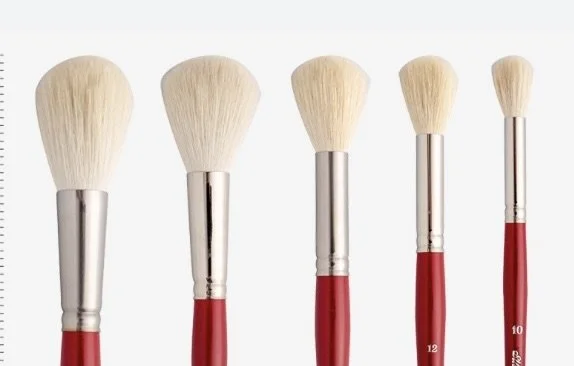
Jacksons - white goat hair mop
Synthetic Brushes…
Made from manufactured fibres.
Pros
often excellent value - more for your money
very durable - easy to care for
excellent for wide range of painting media
modern synthetics have improved a great deal
ideal for beginners - good starting point
Cons
some can feel cheap - weak, flimsy, lose hairs
some may hold less water than top natural brushes - (depending on quality)
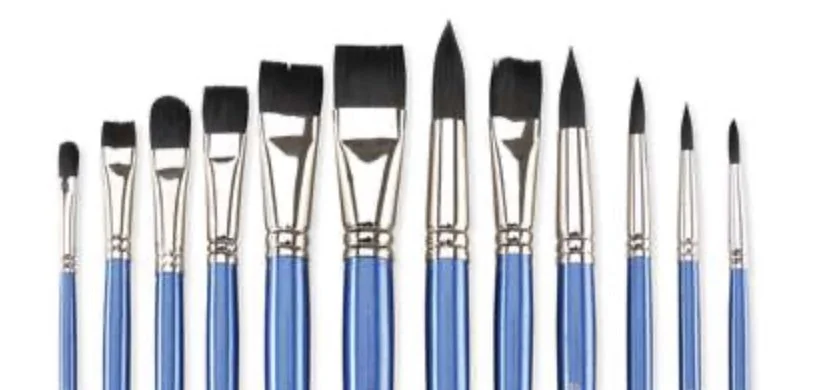
Royal Langnickel - Black Taklon range
Synthetics are an excellent place to start…
If you’re just starting out, you don’t need to spend a fortune on expensive brushes. Modern synthetic brushes have improved enormously in recent years and are an excellent choice - especially if you’re playing and experimenting with paint and learning about the marks and effects they make.
A good quality synthetic brush will hold its shape well, offer excellent control and help you produce beautiful results.
Brush sizes are not standardised…
Don't be too concerned about the number printed on the handle. Brush sizes aren't standardised, so size 8 in one brand might be larger or smaller than size 8 in another. It's often easier just to look at the actual brush head rather than the number on the side. Over time and as you gain experience, you'll discover which sizes and brands feel most comfortable to work with.
Brush Shapes - and what they do…
At first glance, the number of different brush shapes available can be a little confusing, but once you understand what each one does, choosing the right brush becomes much easier. Here are the main shapes you’re most likely to come across and what they’re best used for
Round Brush - one of the most useful, versatile brushes you can own. With a rounded body that tapers to a fine point, it allows you to create both broad strokes and delicate details, depending on how much pressure you apply. A good first choice.
Best For
general painting; with smaller number brushes ideal for fine details and lines
controlled brushwork, as well as loose sketching and expressive marks
large round brushes ideal for large area washes
Pros
very versatile; can produce both fine lines and broad strokes
good paint and water holding capacity
Ideal for both detailed work and large areas
a great all round brush
Cons
less efficient than a flat brush for covering large areas
very small round brushes hold less paint and water, so need reloading more often
cheap brushes quickly lose their point, making detail work more difficult
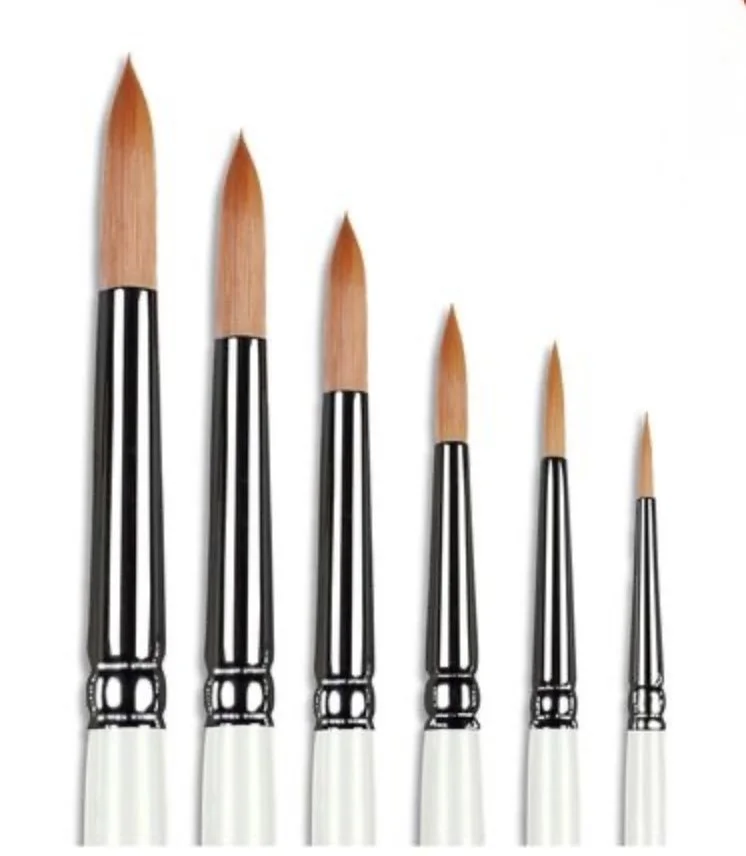
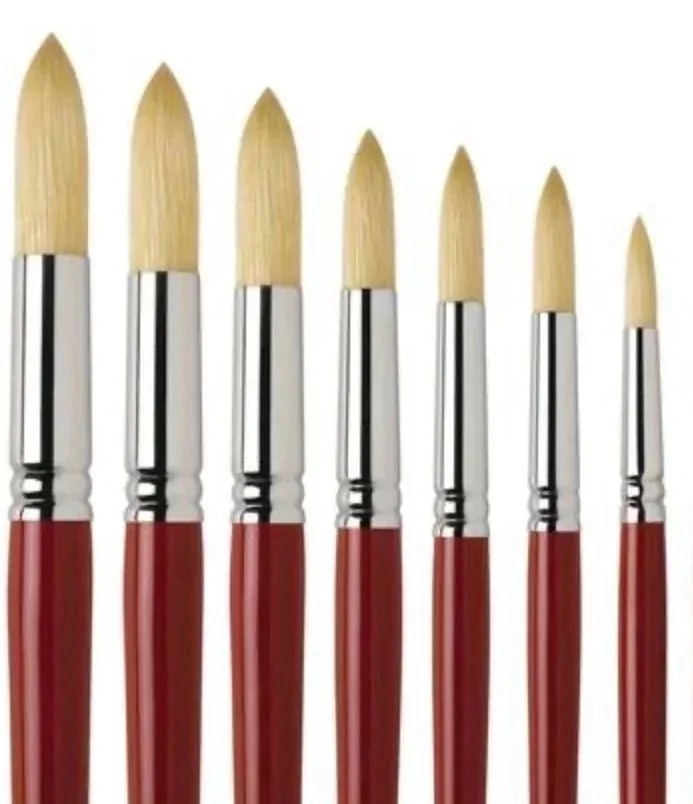
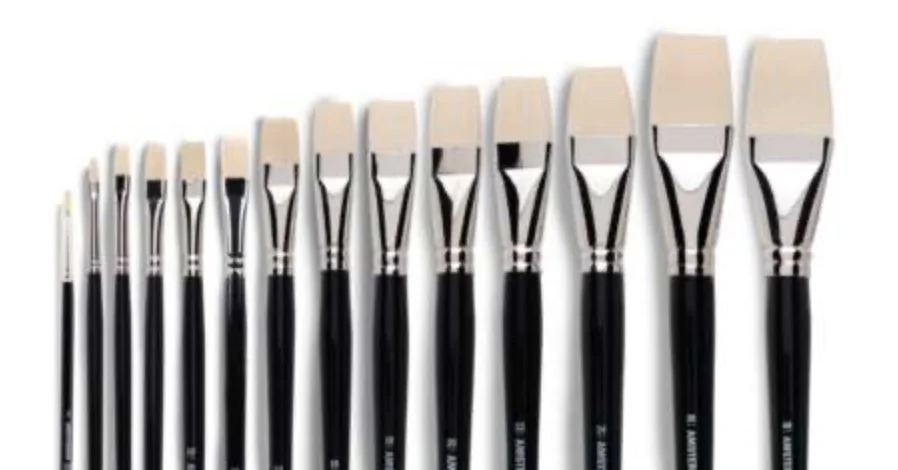
Flat Brush - has a square or straight edged tip, great for creating bold, confident brushstrokes and covering larger areas quickly. Depending on how you hold the brush, you can use the broad face to lay down wide strokes, or turn it on its edge to create much fine lines.
Best For
blocking in large areas of colour, like skies and backgrounds
broad confident brushstrokes; strong directional marks
sharp edges and geometric shapes
Pros
covers larger areas quickly and efficiently
can create crisp clean edges
can produce both broad and narrow marks
excellent for bold expressive painting
Cons
less suited to fine detail than a round brush
can leave obvious brush marks if you want a smooth finish
large flat brushes can feel awkward on small paintings or in confined areas
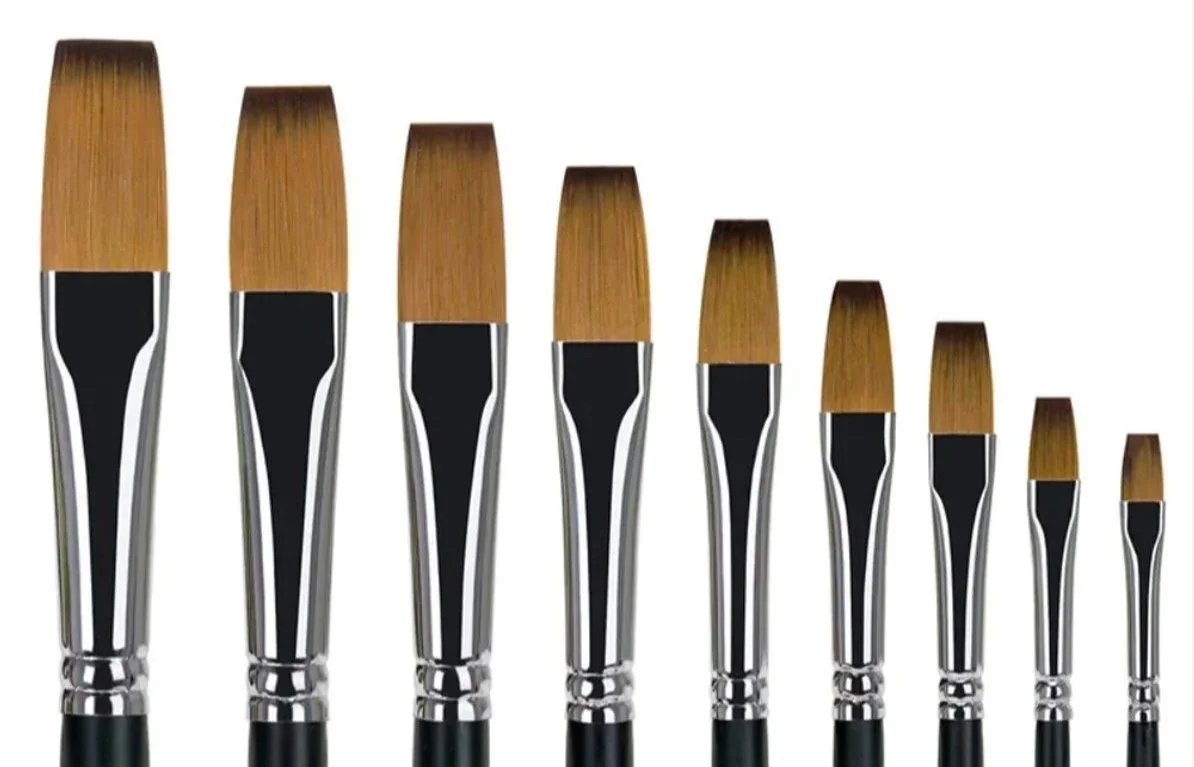
Sometimes a flat head can be known as a ‘bright’ brush, this is simply a shorter version which makes it slightly stiffer, giving you greater control. The long bristles of a flat brush offer for more flexibility for broader more sweeping brush strokes.
Filbert Brush - combines the best qualities of both round and flat brushes. They have a flat ferrule, like a flat brush, but the bristles are rounded at the tip, creating a soft oval shape. This allows them to produce broad strokes with gentle softened edges, making them incredibly versatile and comfortable to use.
Best For
general painting; controlled brush work with soft edges
blending and softening areas
often useful for portraits and figure painting
Pros
extremely versatile and suitable for many subjects
creates softer, more natural looking brushstrokes than a flat brush
excellent for blending colours and softening edges
makes both broad strokes and finer marks when used on its edge
a favourite choice for many artists
Cons
doesn't create the crisp, geometric marks of a flat brush
less suitable for very fine detail than a round brush
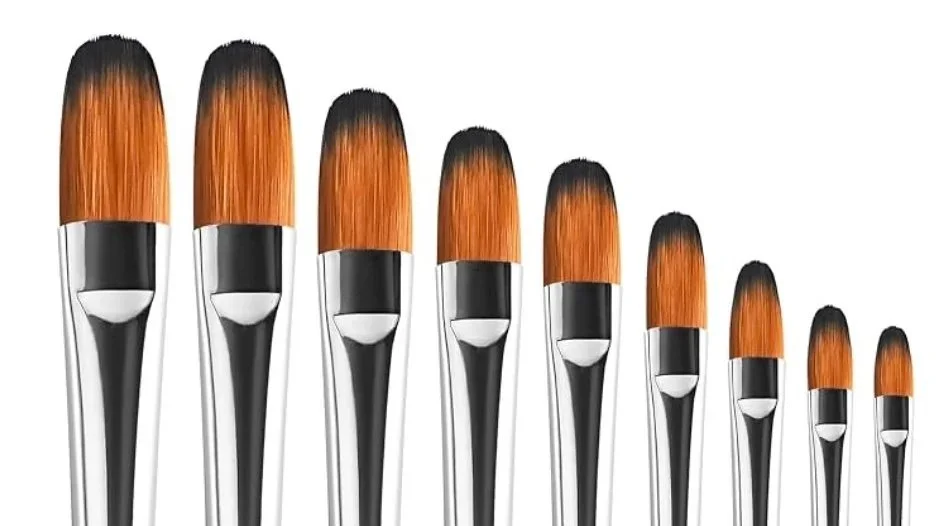
Tip: If you're unsure whether to choose a round or a flat brush, a filbert is often an excellent alternative. Its rounded shape makes it incredibly adaptable, and many artists find it becomes one of the most used brushes in their collection.
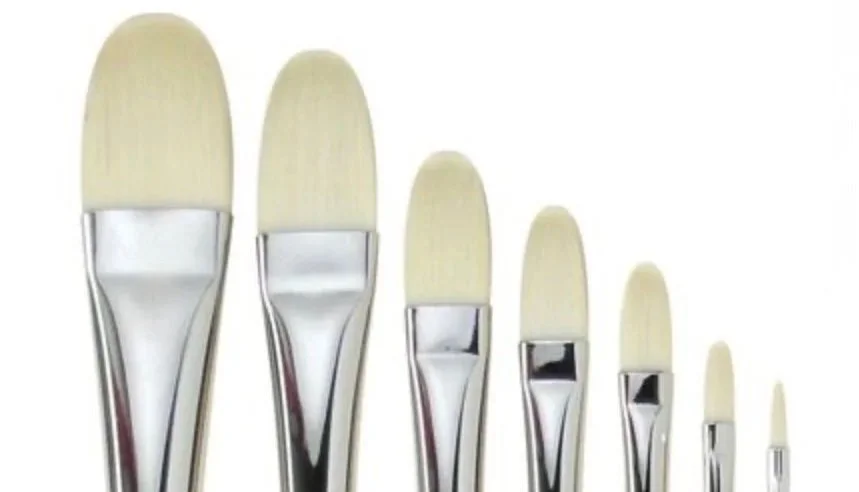
There are many other brush shapes available, and by all means enjoy experimenting with them if you already have them - but don't feel you need to own every type of brush. In fact, after many years of painting, I only really use a handful - the ones mentioned above plus these ones…
A Few Other Useful Brushes Worth Having…
The ‘Tatty’ Brush - before you throw away an old, worn out brush, think again. Some of my favourite texture effects are created with brushes that have seen better days.
As the bristles become worn and splayed, they lose their ability to paint smooth strokes, but become excellent for creating broken, irregular marks. They're perfect for suggesting foliage, weathered textures and other natural effects.
A stiff, old brush is also my preferred tool for creating splatter effects. While many artists use a toothbrush, I find an old bristle brush gives me much more control over the size and direction of the paint splashes.
Studio Tip: If you have a few inexpensive brushes that no longer perform well, don't be afraid to give them a new purpose. You can tap or splay the bristles out against a hard surface, or even trim into them with a pair of scissors to create an even more irregular shape.
I obviously wouldn't recommend doing this with a good quality brush, but it's a great way to breathe new life into an old or inexpensive one.
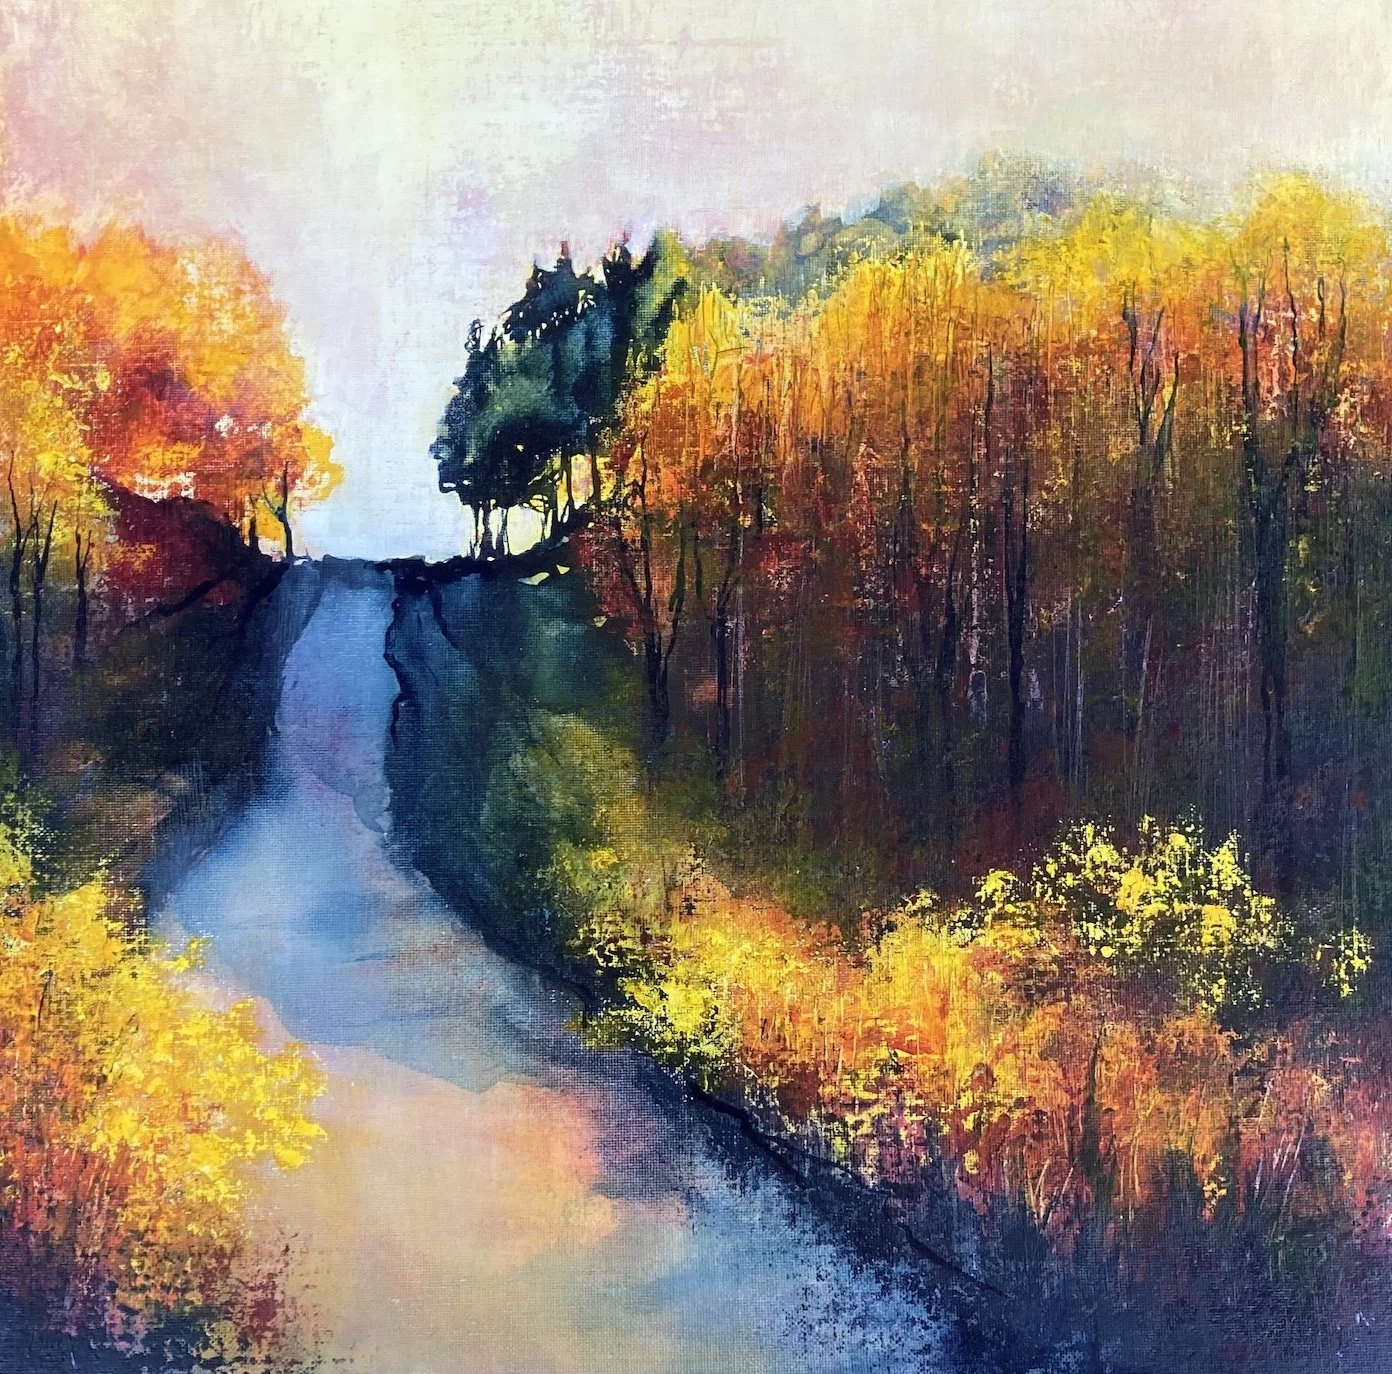
Tatty brush used to stipple layers of foliage
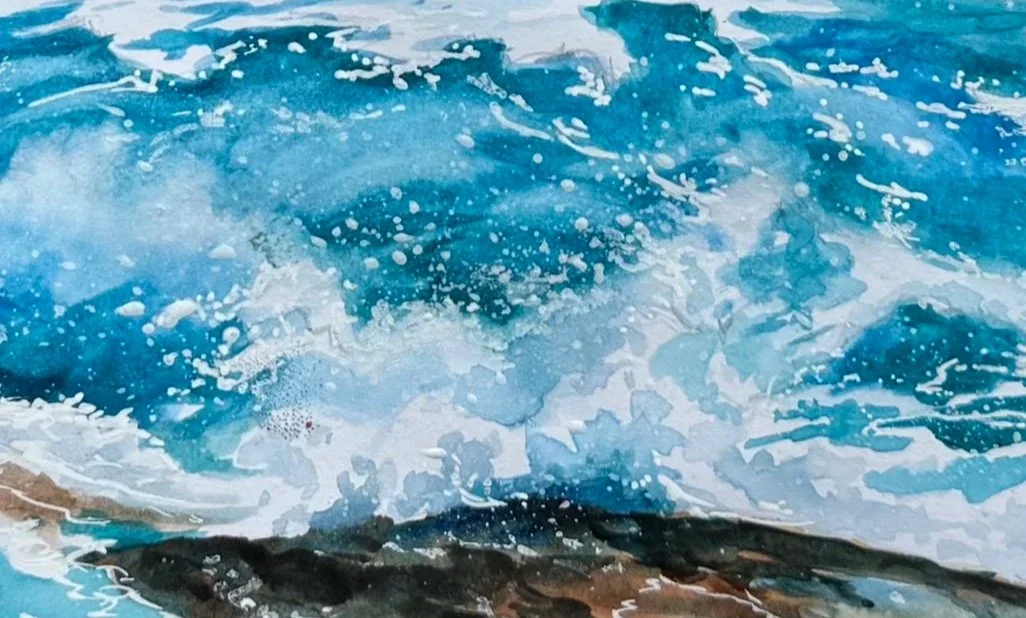
Stiff bristled tatty brush to splatter spray on the waves
The ‘Softening’ Brush - a brush I rarely paint with, but frequently use.
A softening brush is simply a large, soft brush that's used completely dry to gently soften edges, blend colours and reduce visible brush-marks while paint is still wet. Used with a light touch, it can help create beautiful subtle transitions without overworking the paint.
Studio Tip: although artists mop brushes also work well, I often recommend using a large, soft makeup powder brush instead. They're usually cheaper, incredibly soft, and in my experience, often shed fewer hairs than some of the more expensive artist ones.
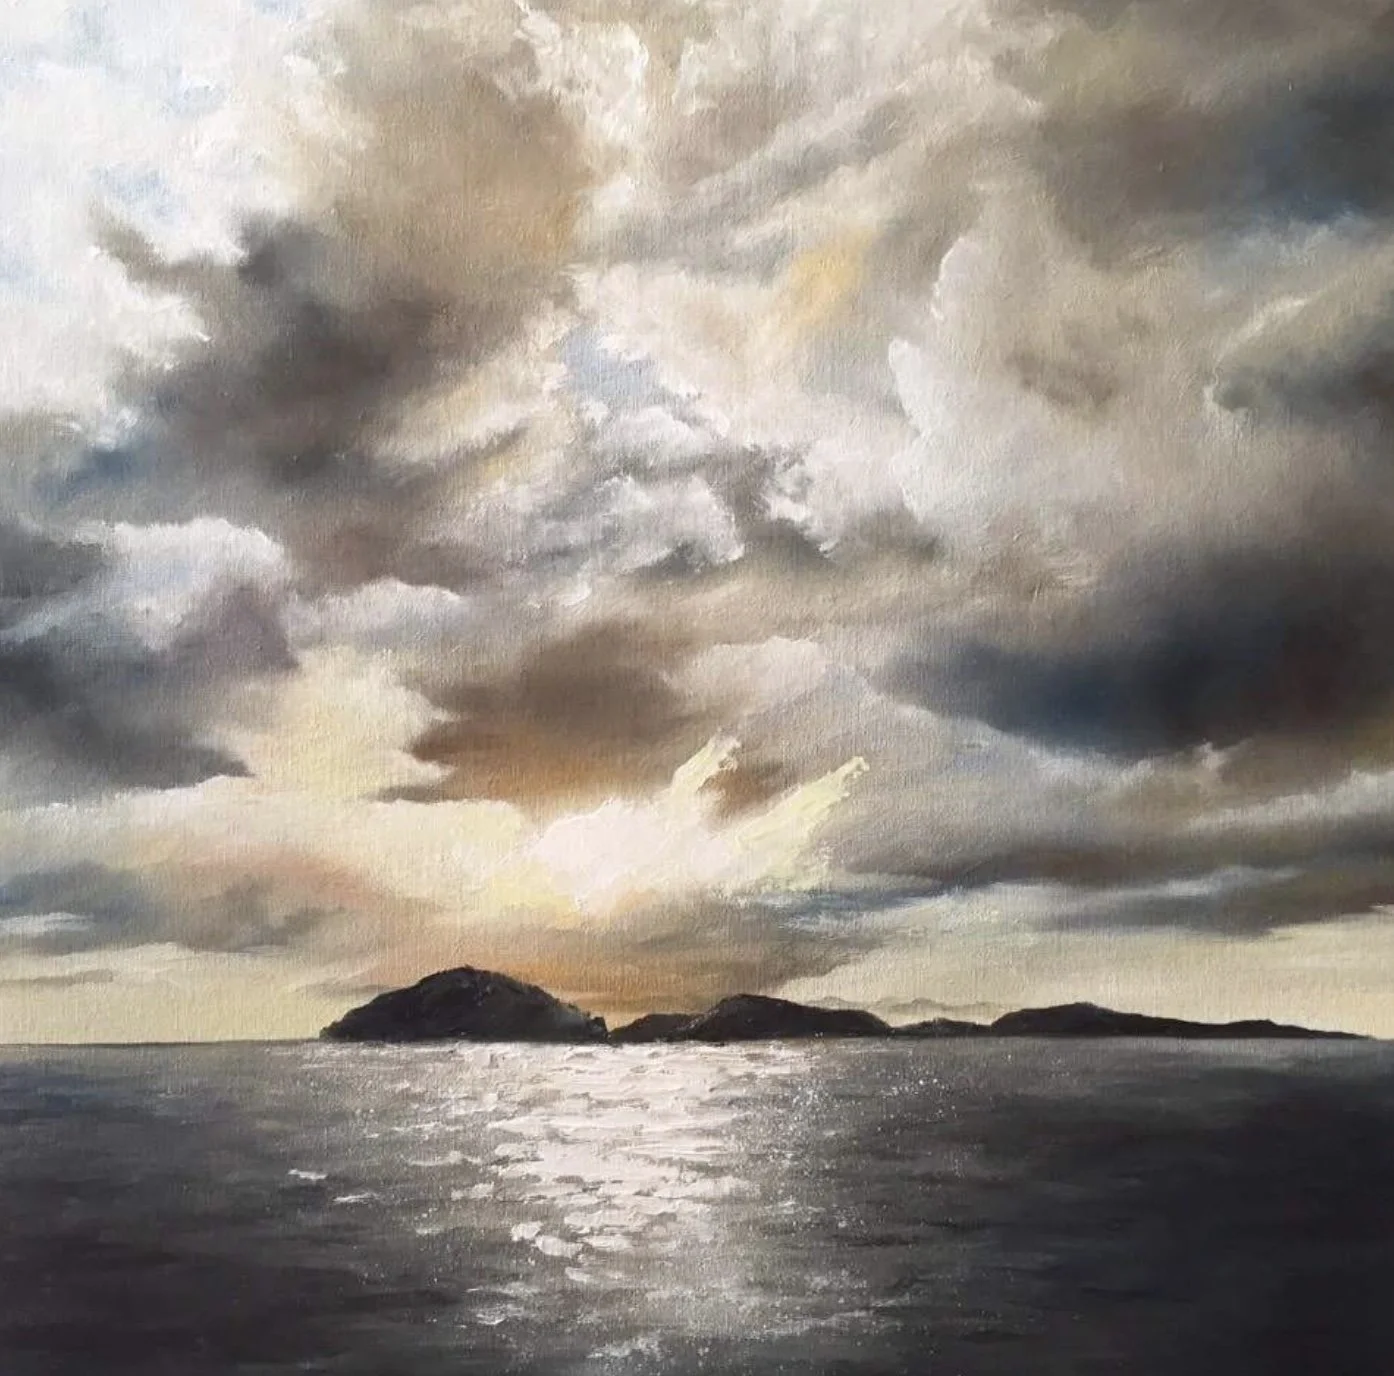
Used with oils here on the clouds
Fine Detail Brush (or Rigger) - although I don't use a rigger brush very often, I do think it's useful to have at least one fine detail brush in your collection
They’re ideal for painting delicate lines and small highlights, such as fine branches, whiskers, highlight in an eye etc - intricate details that would be difficult with a larger brush
Studio Tip: whichever type you choose, make sure you take good care of it. Clean it thoroughly after use, reshape the point while damp, and store it carefully so the delicate tip doesn't become bent or damaged.

Even though this was 2m wide, a fine brush was used on many occasions to add the details required
Rake Brush - has bristles of uneven length, allowing it to create several fine lines with a single stroke.
Useful for painting fur, hair, feathers, and grasses, helping to suggest texture without having to paint every individual strand.
It can also be very effective for adding loose vegetation - distant reeds and other natural foliage, creating a free organic feel with little effort.
Studio Tip: make sure the paint is fluid enough so that each strand creates the thin line you want - paint that is too thick won't come off the brush easily, and can create a larger, messy mark.
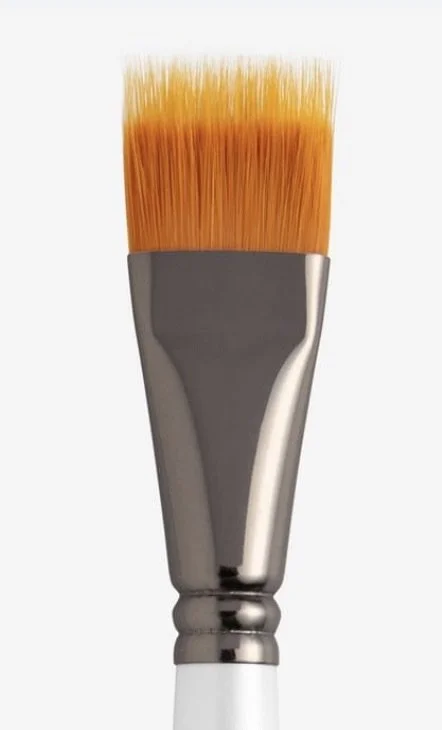
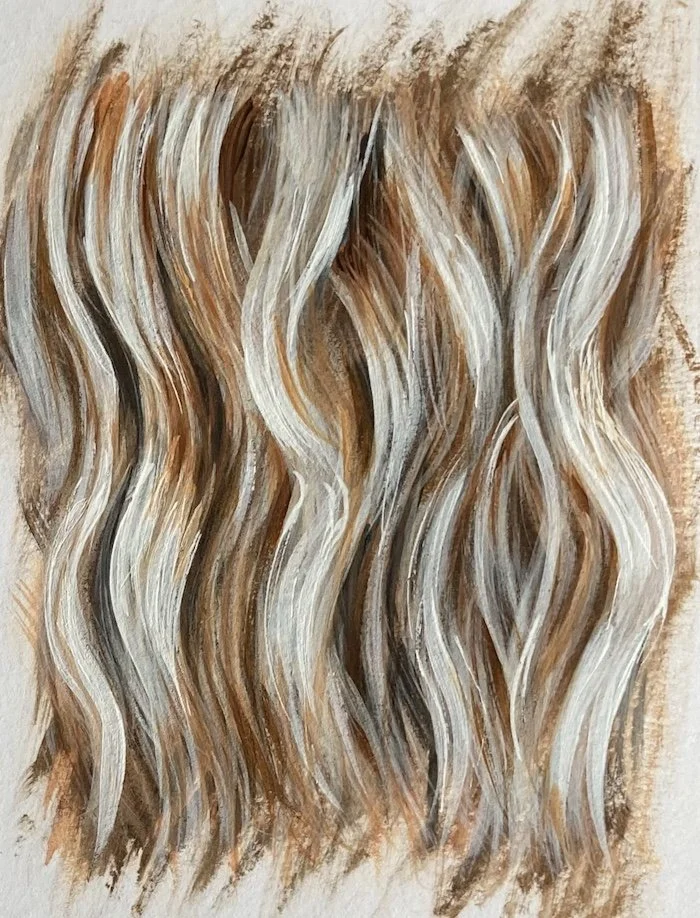
You’ll develop your own favourite tools over time…
Rather than feeling you need every brush available, begin with a small, versatile collection and get to know what each one can do. As your skills grow, you’ll naturally discover the brushes that best suit your needs
Looking After Your Brushes…
A good brush can last for many years if it's cared for properly. Whether you've invested in a professional quality brush or you're using an inexpensive synthetic, taking a few moments to clean and store it correctly will help it perform at its best and much longer.
Good brush care isn't complicated, but developing a few simple habits will protect your brushes and save you money in the long run.
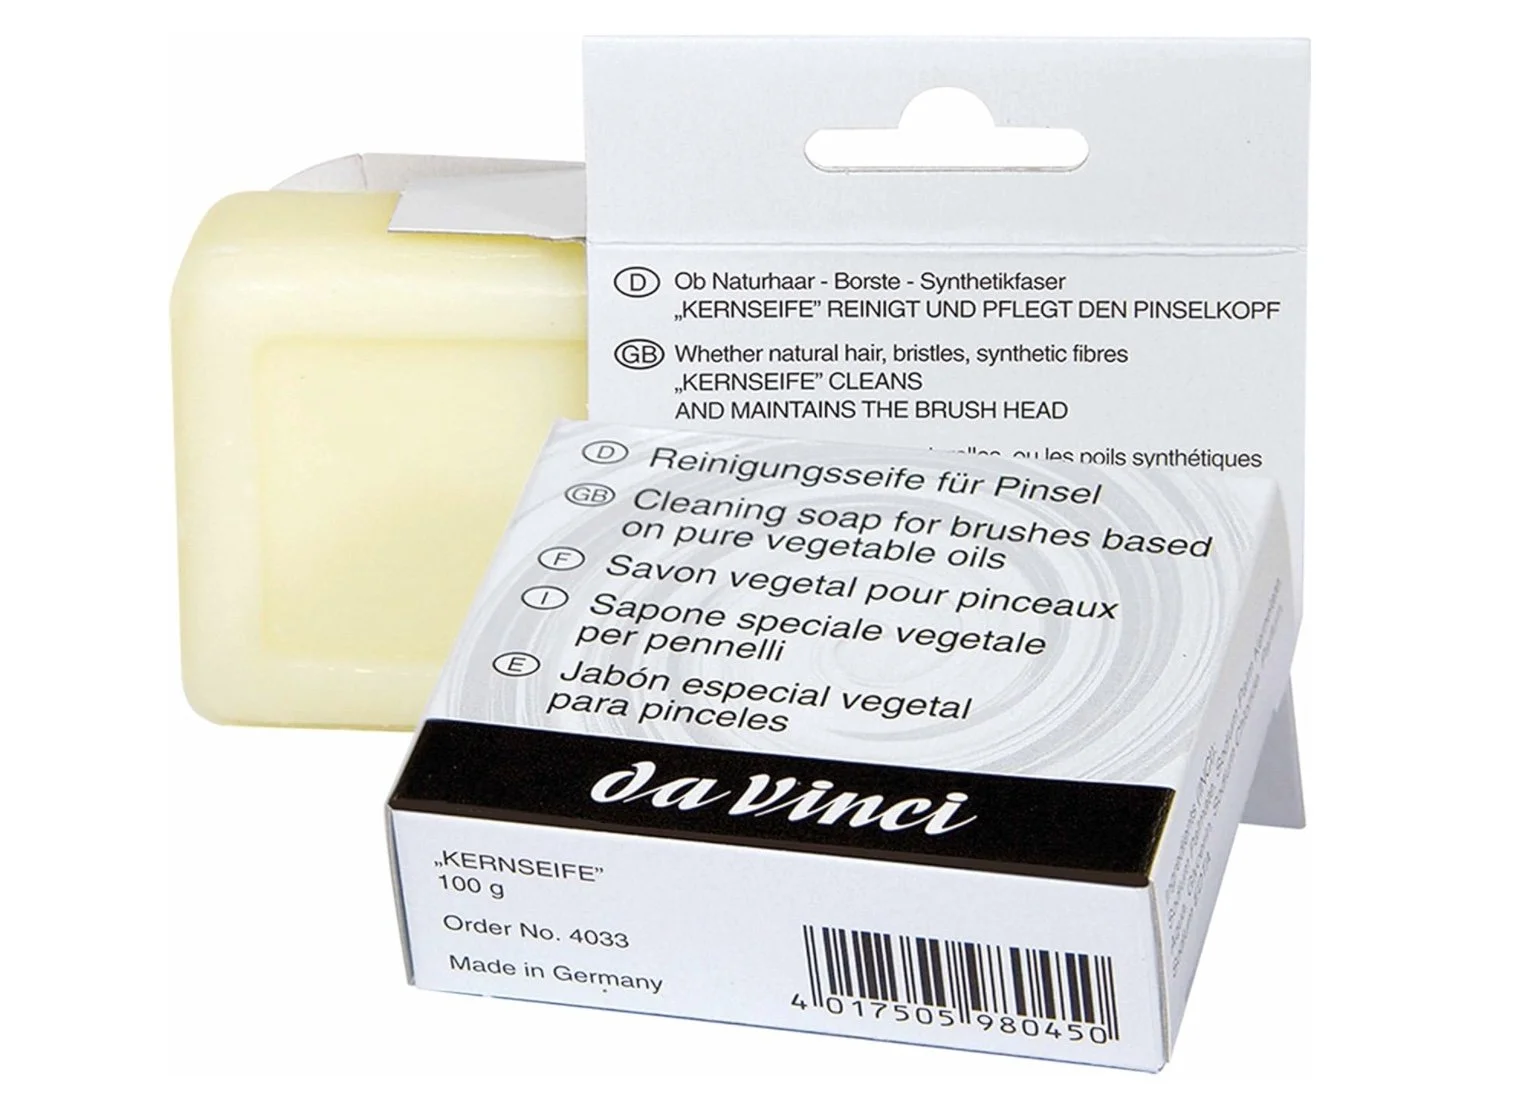
Brushes used for Watercolour and Gouache - these paints are water soluble, making your brushes the easiest to clean.
Simply rinse them thoroughly in clean, warm water, gently working the paint from the bristles with your fingers. If needed, use a little mild soap or specialist brush soap to remove any remaining pigment.
Once clean, gently re-shape the tip with your fingers before leaving the brush to dry naturally.
Avoid using very hot water, as this can damage both the bristles and the glue holding them in place.
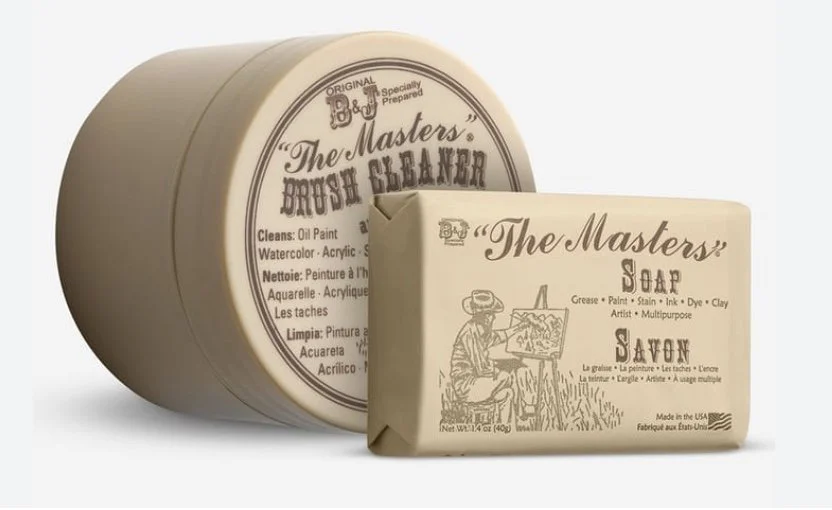
Brushes used for Acrylics - acrylic paint dries quickly and becomes permanent once dry, so it's important to clean brushes as soon as you’ve finished using them.
Rinse them thoroughly in clean, warm water using a little brush soap, or mild hand soap to remove any remaining paint. Pay particular attention to the base of the bristles near the ferrule, where dried paint can build up and spoil the shape of the brush.
Never allow acrylic paint to dry in your brush, as once its hardened its often impossible to remove completely.
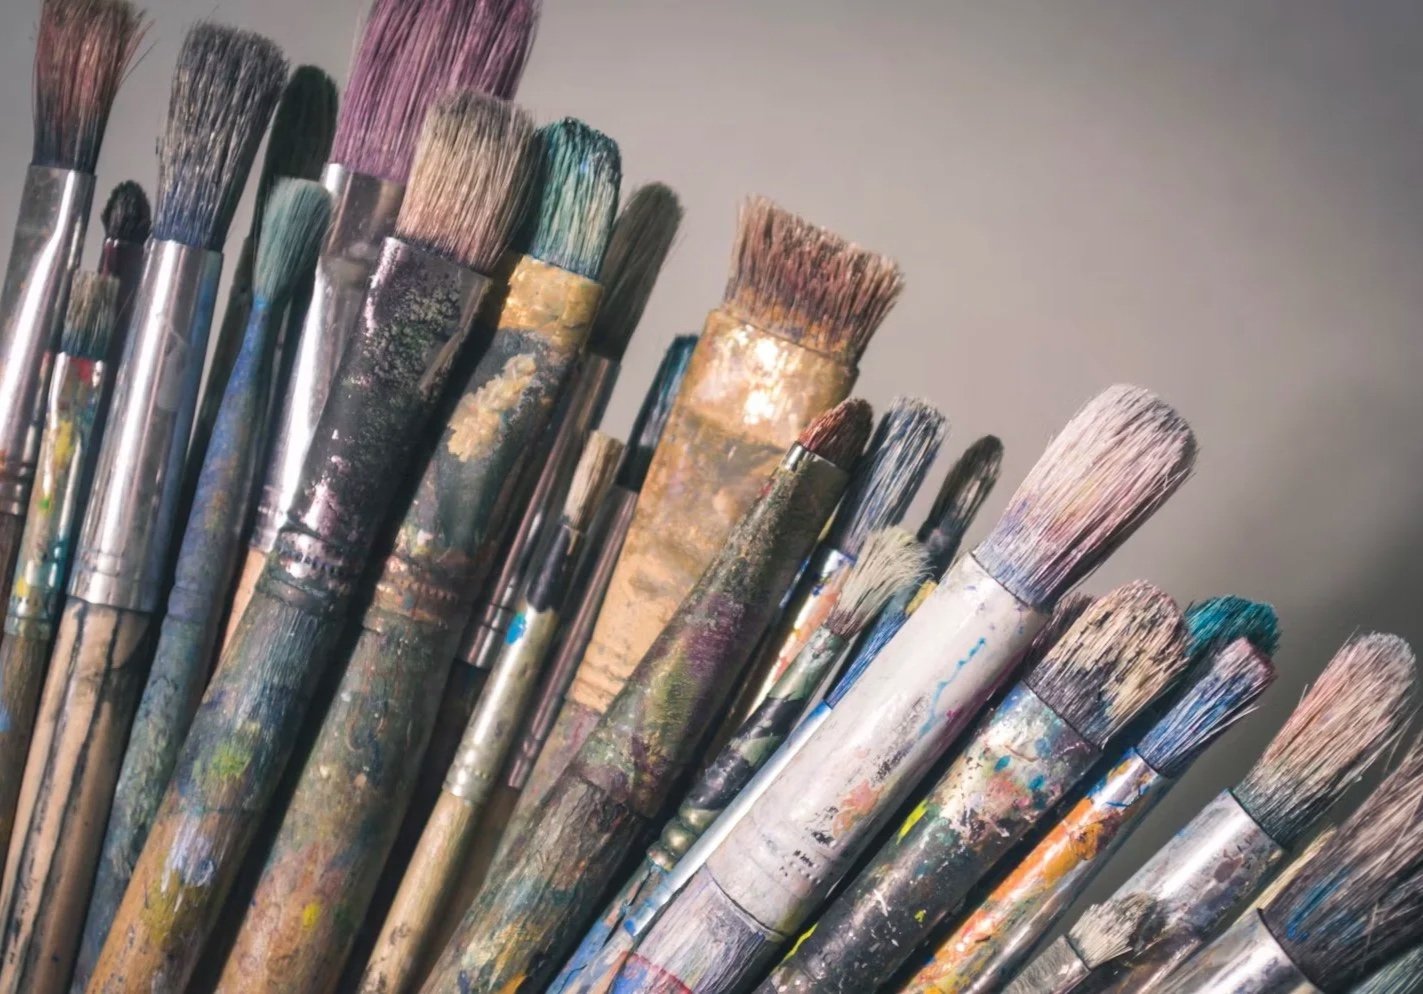
Brushes used for Oils - this needs a slightly different approach.
Begin by wiping as much paint as possible from the brush using a rag or paper towel before cleaning. Depending on your preferred method of working, you can then use a suitable brush cleaner or solvent to remove the remaining paint, followed by washing the brush with warm water and brush soap to remove any oily residue.
Finally, reshape the bristles before leaving the brush to dry.
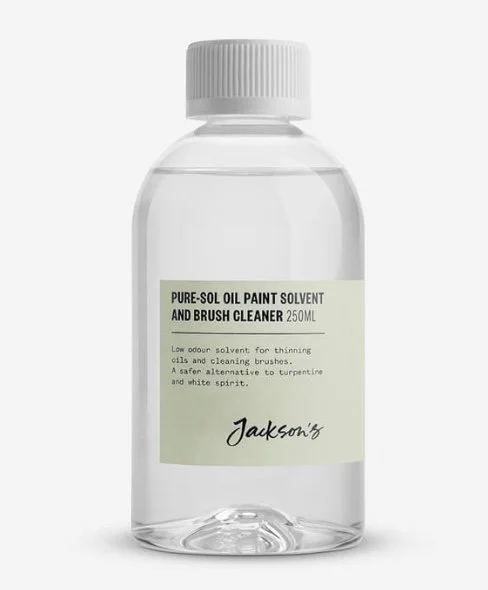
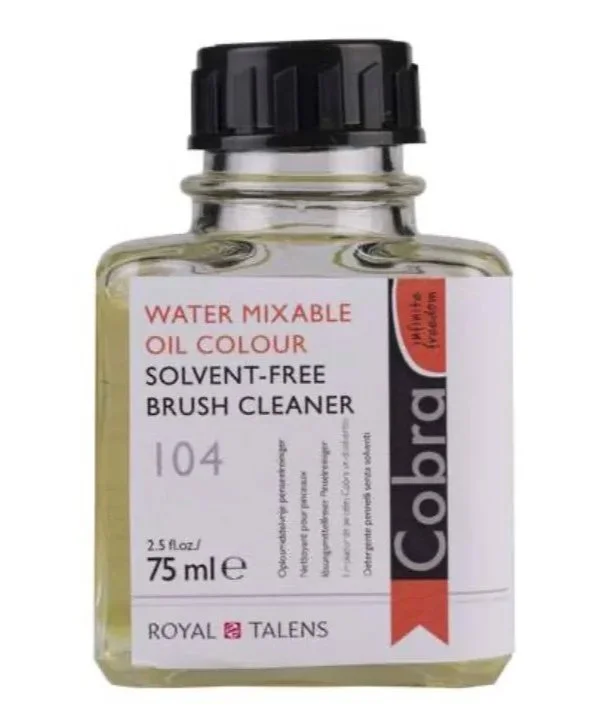
Drying & Storing Brushes- once your brushes are clean, gently reshape the bristles with your fingers.
Ideally, allow them to dry lying flat or with the bristles pointing downwards if you have a suitable drying rack. Once completely dry, they can be stored upright in a brush pot with the bristles pointing upwards, or kept safely in a brush roll or storage case.
Try to avoid storing damp brushes in enclosed containers, as this can encourage mould and may damage the bristles over time.
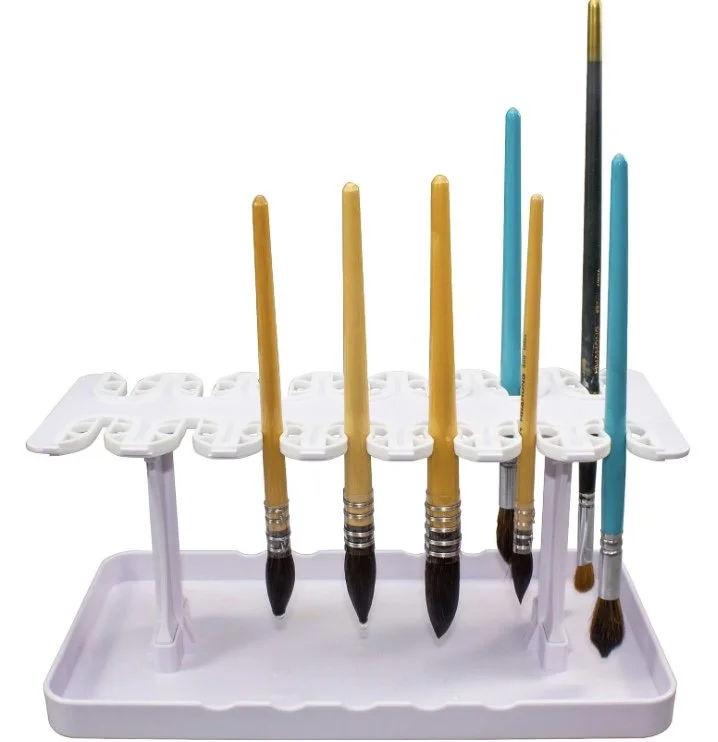
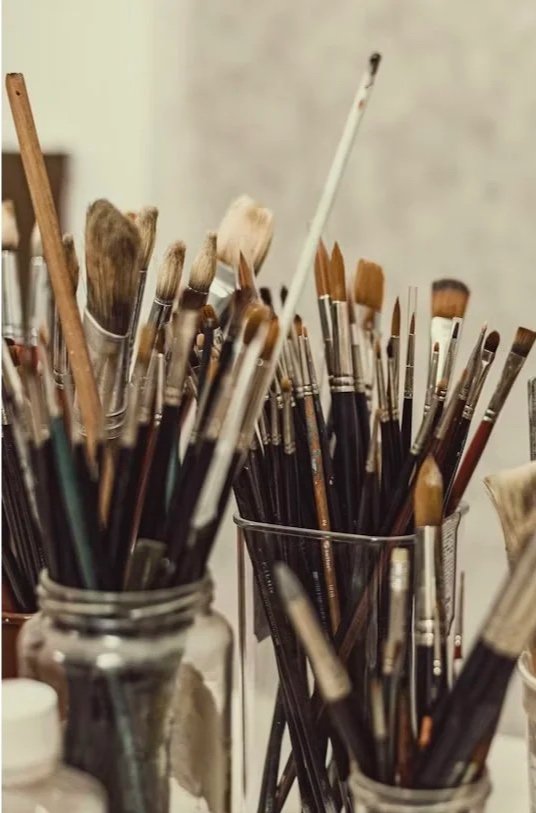
Studio Tip: one of the most common mistakes I see, is people leaving their brushes standing in a pot of water while they paint.
Although it might seem harmless, leaving brushes resting on their tips gradually bends and damages the bristles, making it much harder to achieve a good point or a crisp edge.
Also, if the painted handle has even the tiniest crack, water can seep into the wood. As the wood then repeatedly absorbs moisture and dries out again, it expands and contracts, which will eventually cause the handle to split, or the ferrule to become loose.
Instead, simply rinse your brush as you work and lay it flat beside your pallet until you're ready to use it again. When you’re finished for the day, wash them throughly in warm soapy water as mentioned above.
Your brushes will thank you for it.
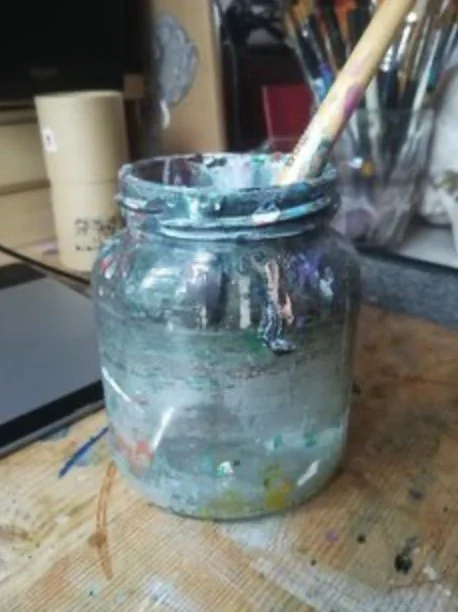
Caring for our Environment too…
As artists, it's important we think about how we dispose of the materials we use.
Acrylic paints contain plastic polymers, so it's best to avoid washing large amounts of it directly down the sink. Instead, wipe excess paint from your brushes onto a rag or paper towel before rinsing them.
There’s lots of ideas online these days of various hacks you can use to limit the amount of plastic residue entering our water system when it comes to cleaning acrylic paint from our brushes and palettes.
And, of course, oil paints and solvents should never be poured down household drains. Allow paint liquid to settle, then dispose of any waste solvent and oily materials responsibly.
Small changes in our studio habits can make a positive difference, helping us care not only for our brushes but also for the environment.
A Useful Summary…
start with a small selection of good quality brushes rather than a large inexpensive set
learn the scope of the basic brush shapes before adding more specialised ones
good synthetic brushes are an excellent choice - don’t dismiss them
experiment with different marks and techniques to discover what each brush can do
look after your brushes, they'll reward you with years of reliable service
build your collection gradually, choosing brushes that suit the project you’re working on
Remember it's not the number of brushes you own that matters, but how well you understand and enjoy using them. A few well chosen brushes cared for properly can take you a very long way.
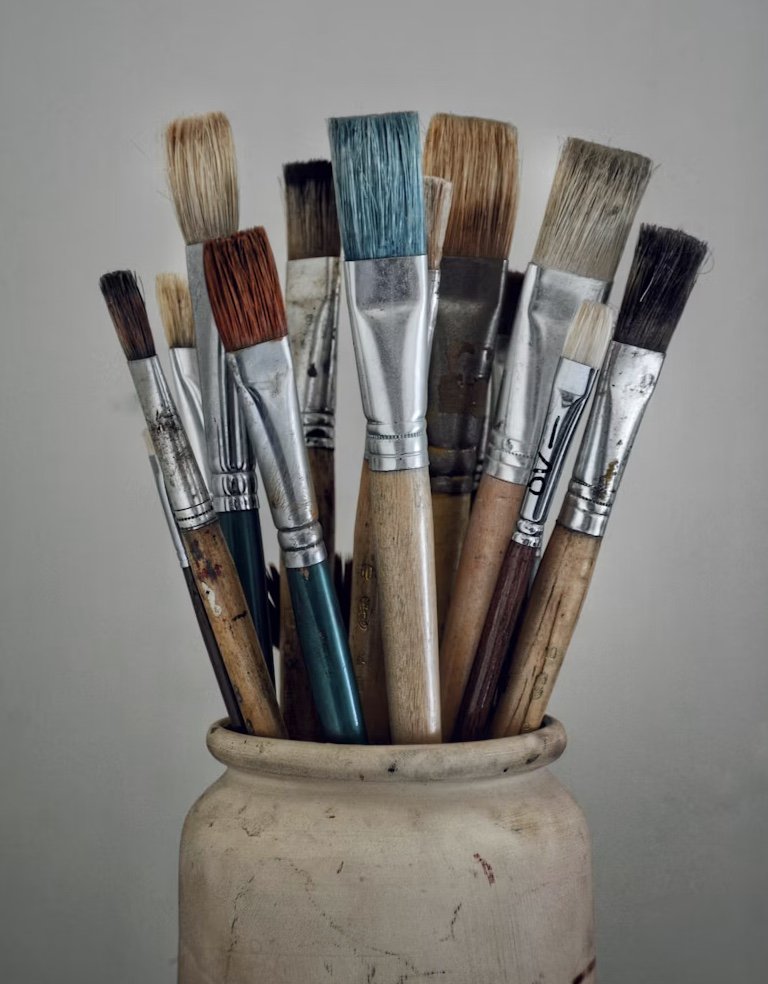
Good brushes are an investment…
…but they don't have to be expensive - with a little care and attention, they'll continue to reward you for many years, becoming trusted tools that you’ll reach for time and again as you develop your skills, and enjoy the simple pleasure of painting.