Acrylics
…often described as beginner-friendly, but also a medium with enormous depth. Simple enough to start with, yet sophisticated enough to explore for a lifetime…
Acrylics are a water-based paint that have been around since the 1930s, and are one of the most versatile and accessible painting mediums available. Made from colour pigment suspended in a polymer emulsion binder, acrylic paint can be thinned with water while wet, then dries to form a permanent, water-resistant layer.
One of their greatest strengths is their adaptability - they can be used straight from the tube for bold, textural painting, or diluted to thin transparent layers for glazing, adding subtly and depth to your work. They can be applied smoothly with a brush, built up in layers with a knife, mixed with mediums, and used on a wide range of surfaces to cater for different styles of painting. Many colours give excellent coverage, making it easier to paint over mistakes - which is perhaps why they’re a popular choice for beginners, but at the same time, this versatility makes them just as rewarding for experienced artists too.
Acrylic Paints…an Introduction
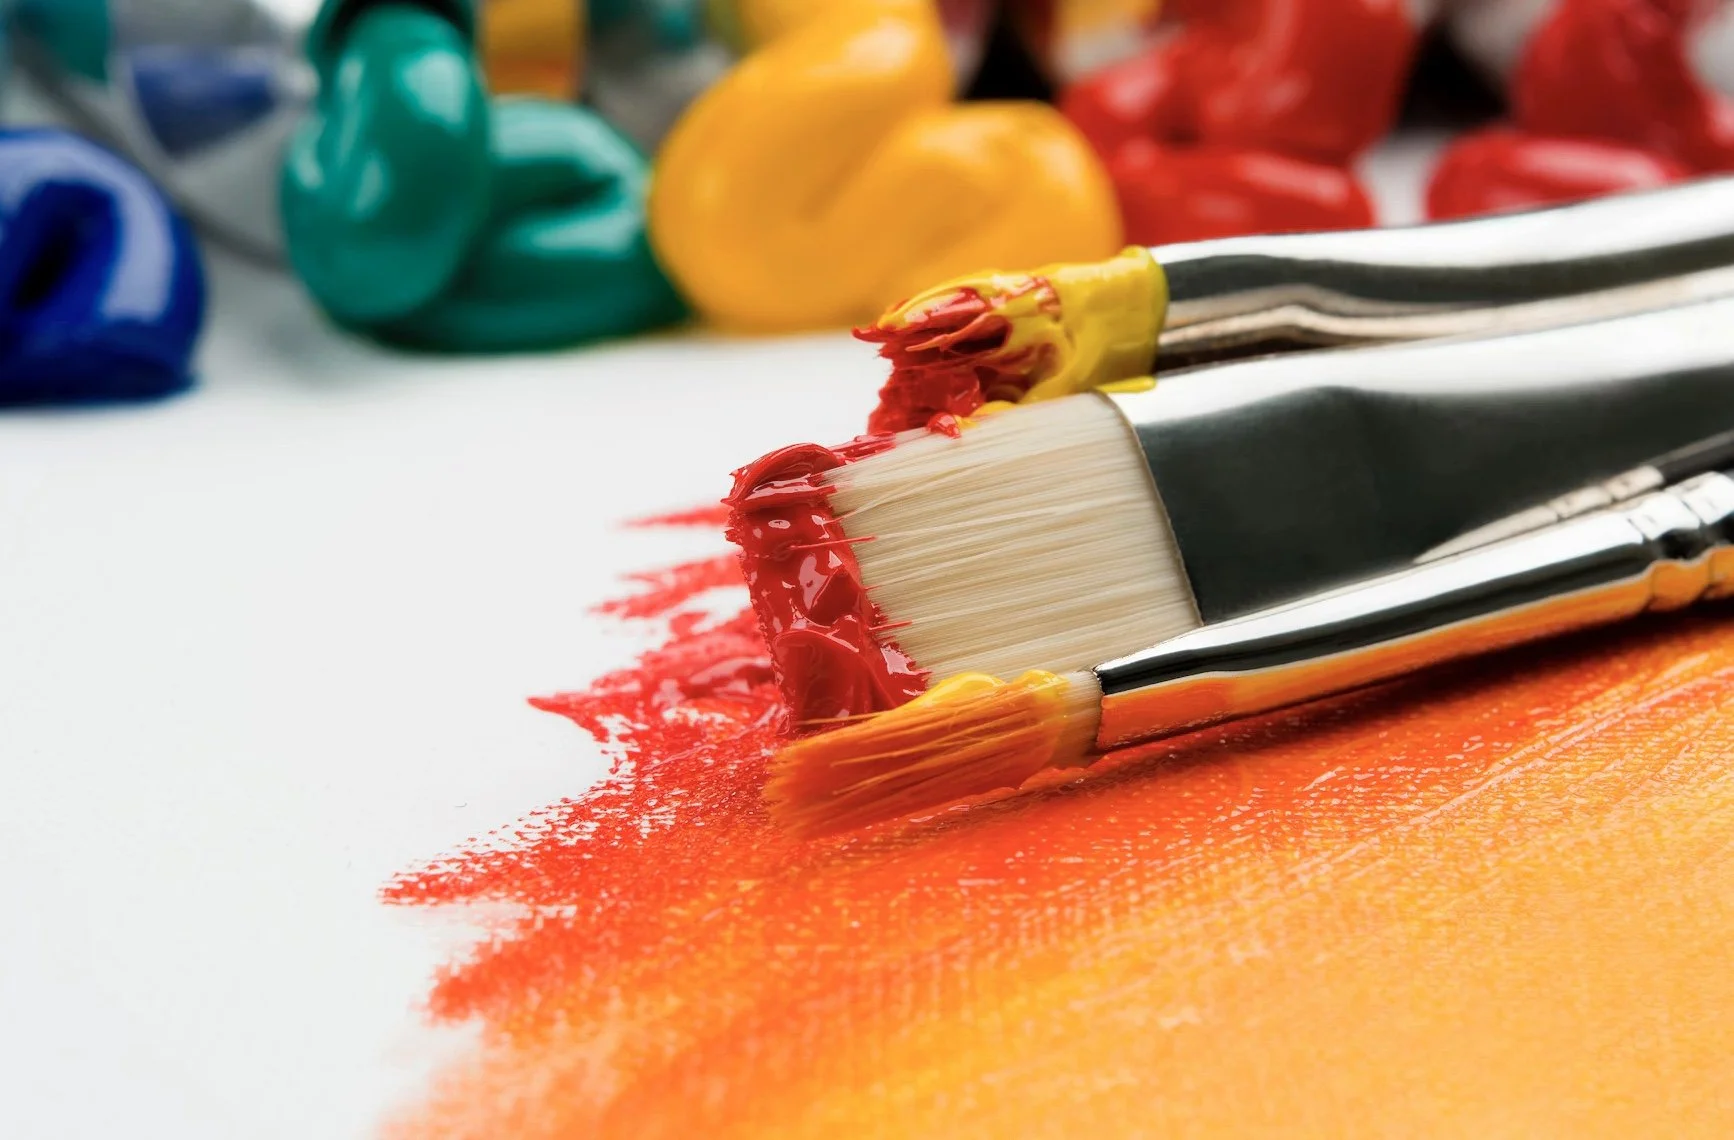
For those just learning to paint, acrylics are user-friendly and provide a relatively easy and forgiving starting point. Simply gather together a few colours, some brushes, and a canvas -now you’re ready to begin exploring - see how it behaves on the surface, and enjoy the immediacy of colour on canvas…
Some of the Benefits
huge range of wonderful colours to choose from
acrylics dry relatively quickly, allowing you to work and build layers without waiting too long
brushes and tools can be cleaned with water, so no harsh chemicals required - although careful disposal of paint residue still needs consideration
no solvents required to dilute, so no offensive smell or risk of skin irritation
very versatile, working well for both loose, expressive painting and also for fine, detailed work
they reward experimentation, encouraging creative play.
The main challenge with acrylics is their fast drying time, which can catch newcomers by surprise, but with a little knowledge and practice it often becomes one of their greatest advantages.
they can be used on many different surfaces giving you lots of options to experiment with
you can alter their consistency with water or by adding an acrylic 'medium' which create other thicknesses and effects (more on mediums later)
once dry acrylics are permanent and in many cases their colour is resistant to fading, making them hard wearing with no real need to varnish the final painting if you don't want to.
It can be applied with traditional tools such as brushes and palette knives but is also diverse enough to be used with a whole host of other creative equipment, making painting exciting.
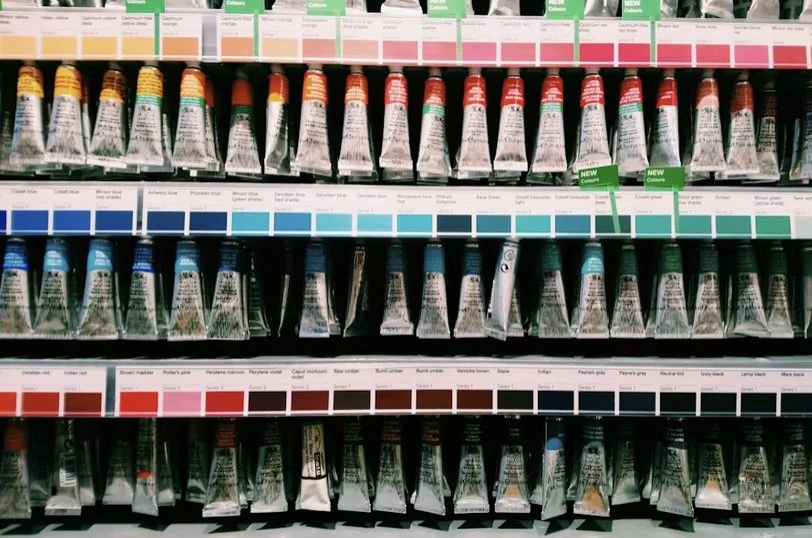
Which colours to start with?…
When you first start painting it can be quite daunting knowing which colours you need, especially when you're confronted with a complete rainbow to choose from.
Here l've suggested what I think is a good basic set of acrylic colours.
I hope it gives you a good starting point, which you can add to over time as you begin to understand more about colour mixing and the type of paintings you'd like to do.
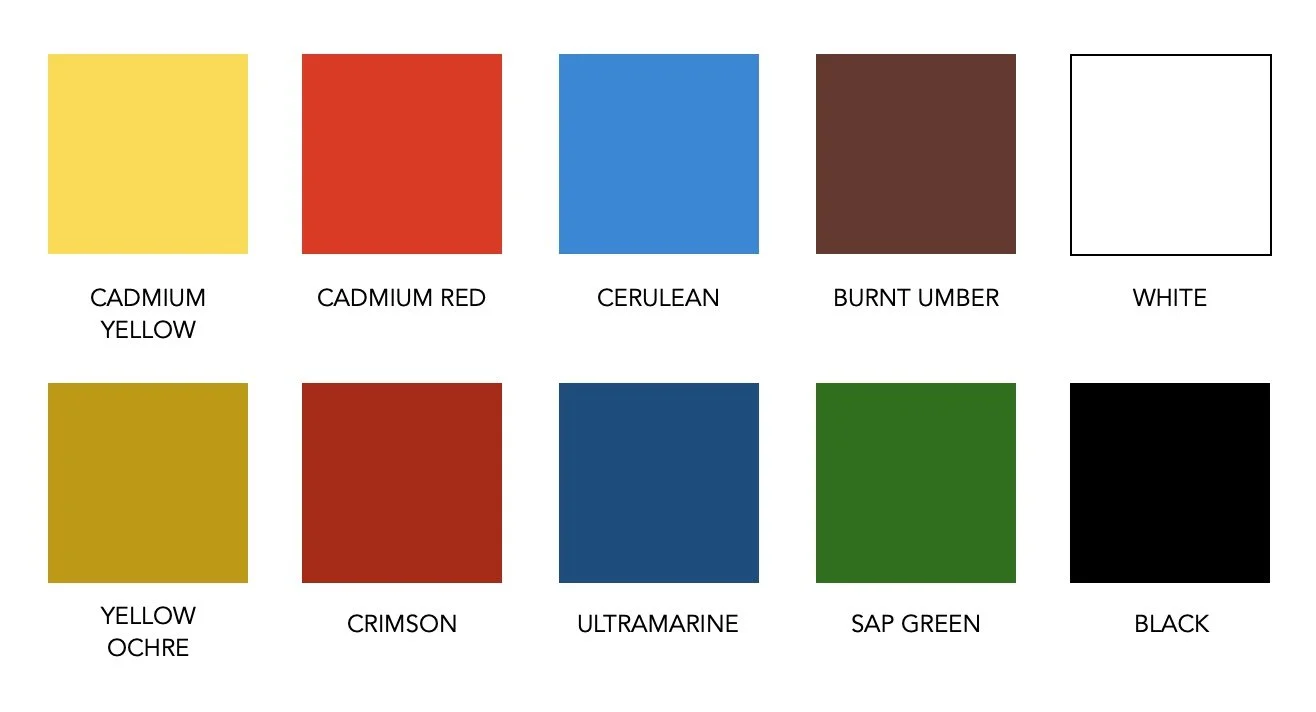
Basic set of colours
Colours can often vary depending on the brand you buy, but as long as you have something similar to those suggested above, there’s no need to worry. We'll delve more into brands and their differences later.
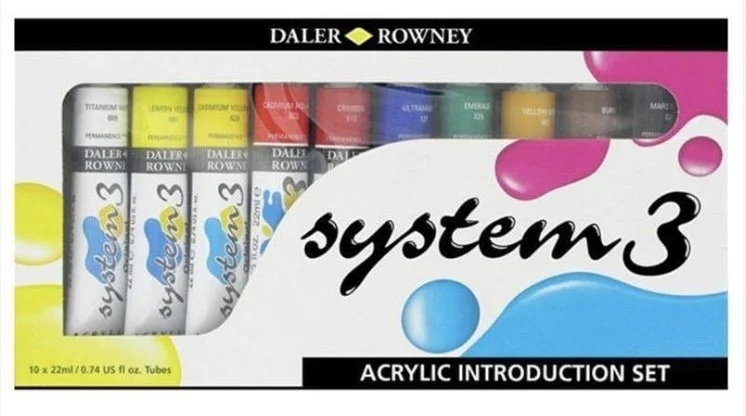
Buying a pre-selected box of paints is usually a good, cost effective way of starting, and most include these colours.
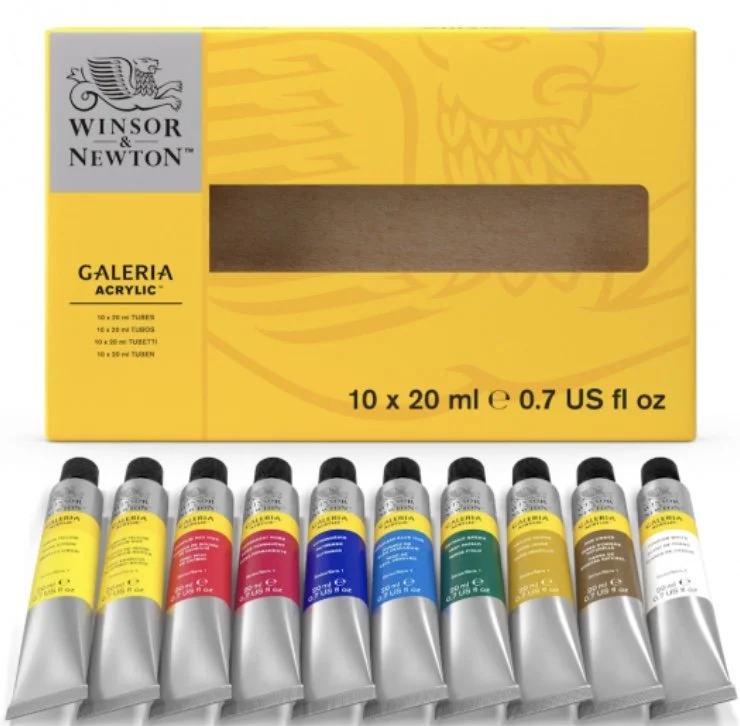
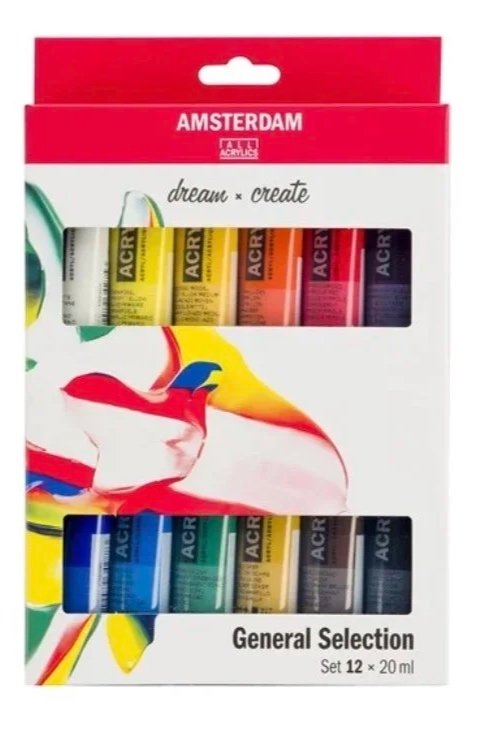
But if you want to buy separate tubes, then a small, thoughtful palette could consist of:
a warm and cool red (cadmium red / crimson)
a warm and cool yellow (cadmium yellow / lemon yellow)
a warm and cool blue (ultramarine / cerulean)
Titanium white and black
This alone can teach you a huge amount about colour mixing
Note: when buying white, l'd advise getting 'Titanium' as its more opaque, so therefore covers better.
Which brand to choose…and what’s the difference?
As well as deciding which colours we want, we’re also faced with a huge choice of paint types and brands - and the ultimate question…which one should I buy?
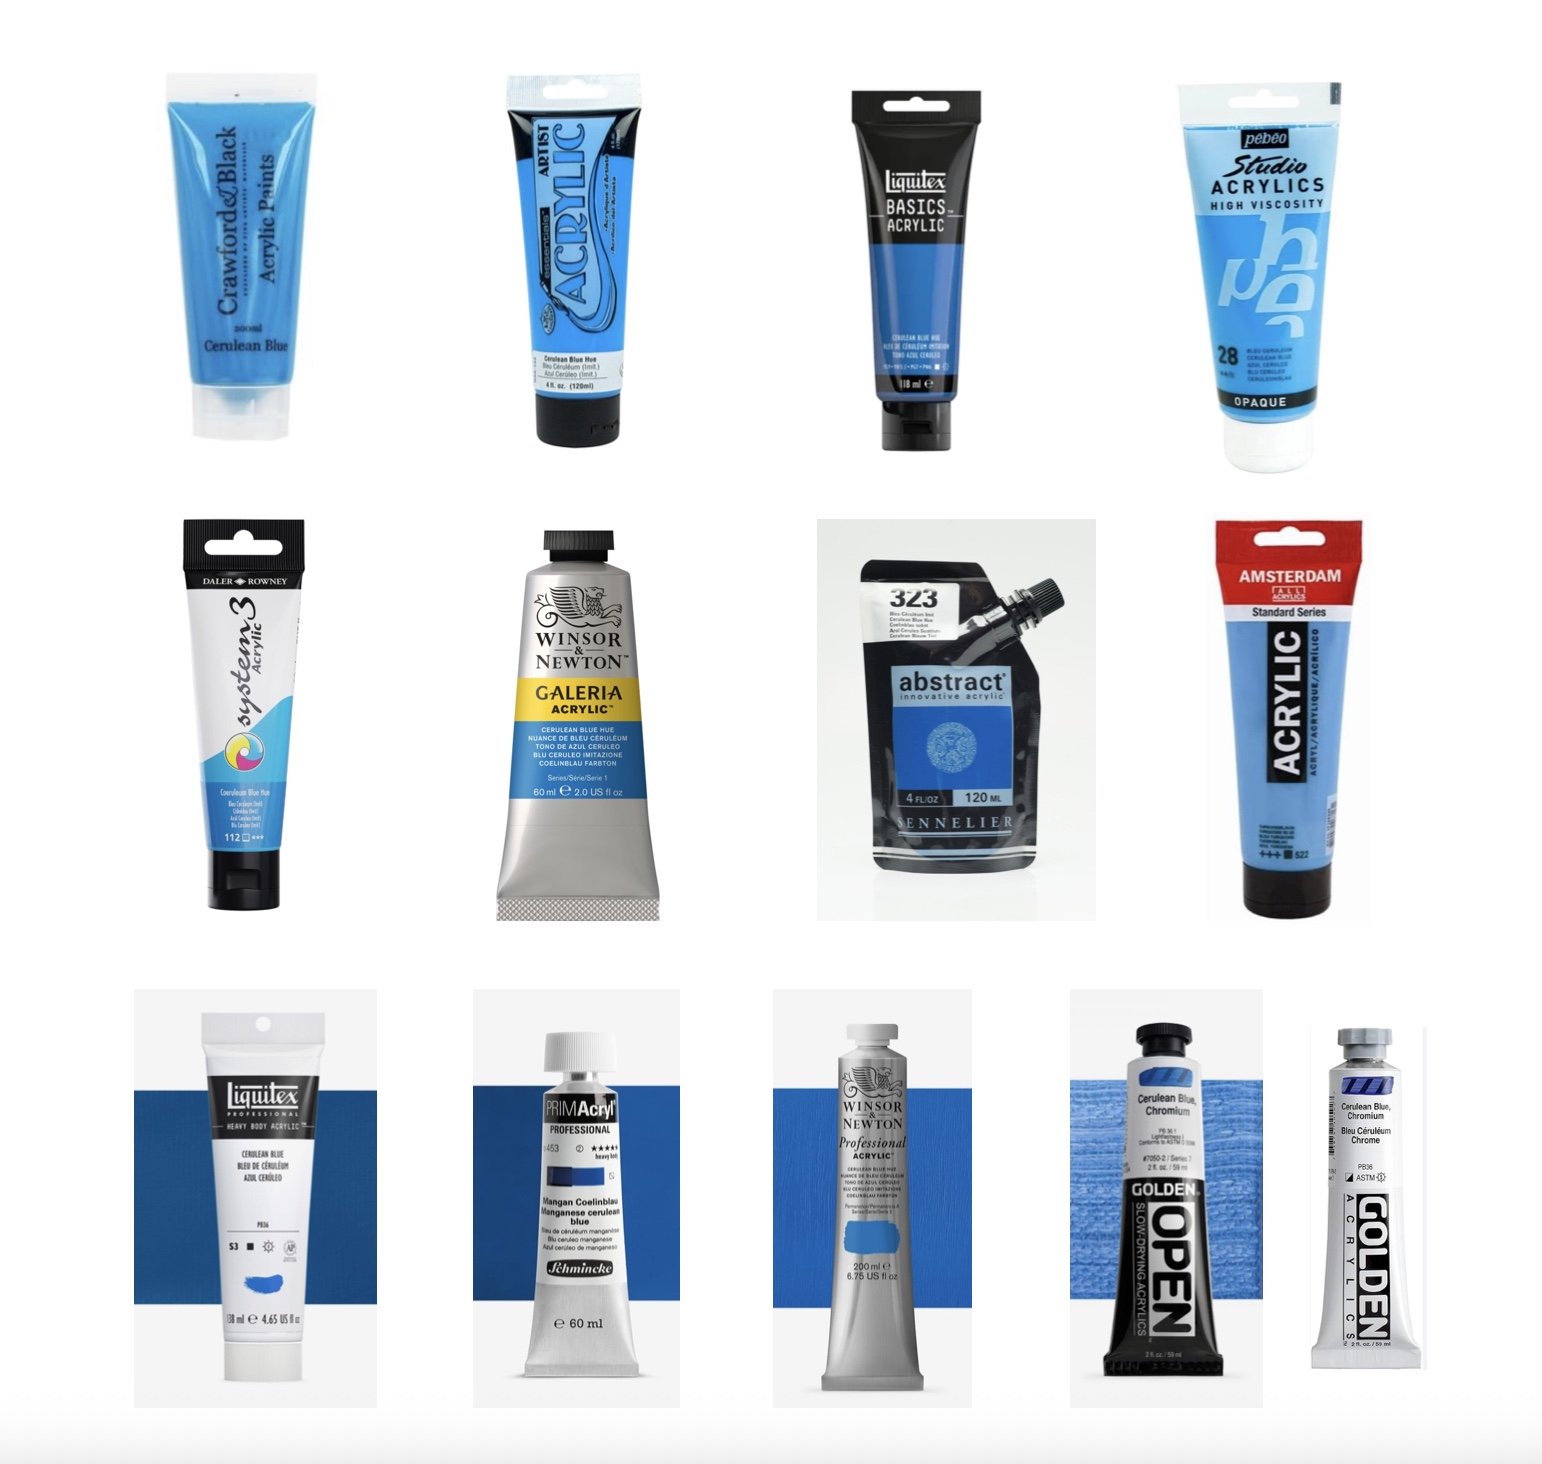
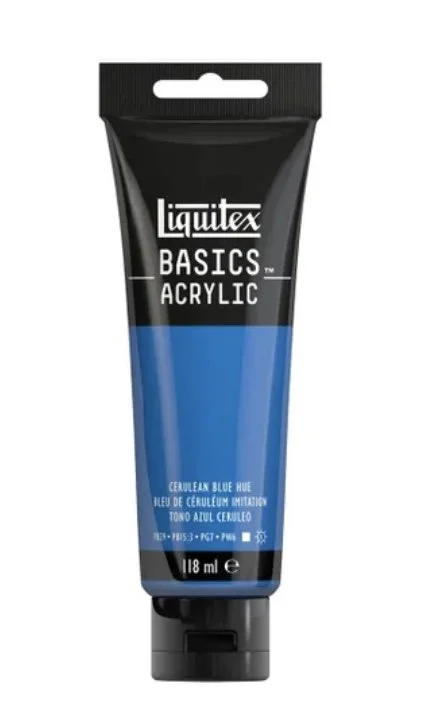
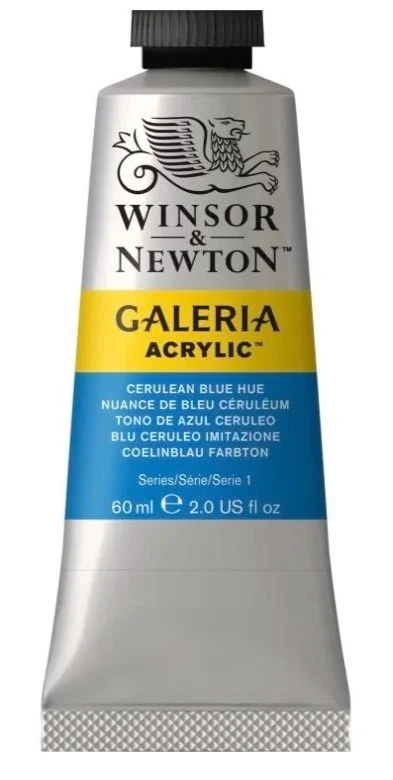
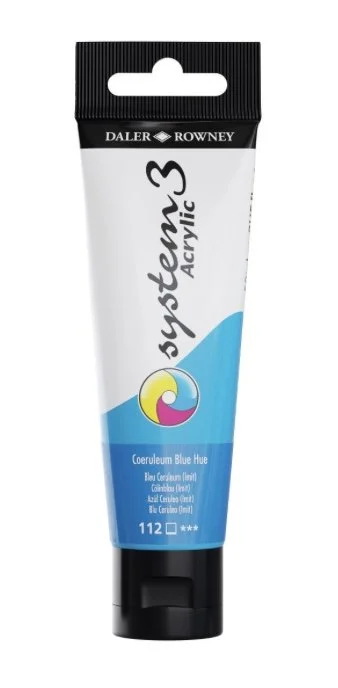
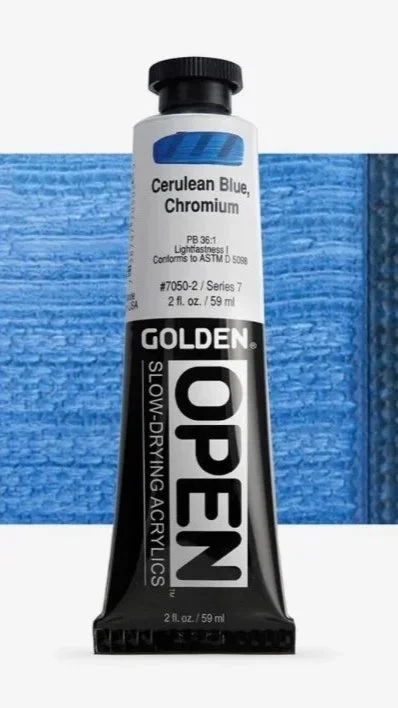
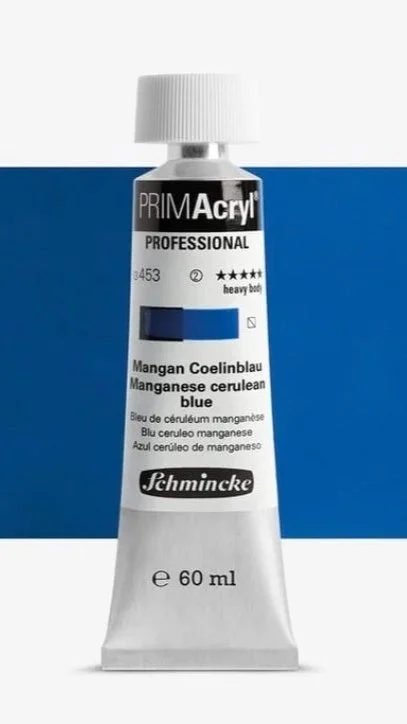
Just a ten-minute search online for Cerulean Blue gave me all these variations - no wonder it can feel confusing when you’re new to art.
I’m hoping the following information helps demystify some of it for you, so when you’re next shopping for paint, you can make a more informed and confident choice.
To keep things simple, let’s divide acrylic paint into two main camps: student quality and artists quality.
The first thing you’ll notice is the price difference. In simple terms, when you buy artist-quality paint, you’re paying for a higher concentration of pigment. Student-grade paint is more affordable because it typically contains less pure pigment and often more additives or binders to increase its volume.
Student vs Artist Quality
Not all acrylic paints are created equal. One of the first things beginners often notice when buying paints is the difference between student-grade and artist-grade ranges.
Understanding that difference can help you make better choices, especially when starting out.
Are all acrylic brands the same?…no, not at all.
There can be significant differences in - pigment strength - texture coverage - drying time - colour range - lightfastness and price
Student-Grade Acrylics
Student-grade paints are generally designed to be more affordable and accessible, making them a practical choice for learning, experimentation, and regular practice. Good for beginners, but quality varies…
Pros of Student-Grade Acrylics
more affordable - practical way to begin without being too expensive
excellent for learning - very useful for practice studies, colour exercises, and getting to know acrylics
less intimidating - encourages freedom and exploring
often widely available - easy to find in shops and online
good for larger pieces - when using lots of paint
Cons of Student-Grade Acrylics
less pigment - some colours feel weaker or less vibrant
often use more fillers - can affect handling and coverage
inconsistent coverage - some colours may need more layers
sometimes a limited colour range - varies by brand
colour mixing can be less clean - depending on formulation
quality varies between brands - some student ranges perform much better than others
Artist-Grade Acrylics
Artist-grade (or professional-grade) paints are formulated with higher-quality pigments and generally offer superior performance, smoother handling and greater long-term permanence.

Pros of Artist-Grade Acrylics
higher pigment load - generally stronger, richer colour
better coverage - often less paint is needed
cleaner colour mixing - an important advantage
better handling - many artists notice a significant difference in how the paint behaves
more lightfast and better permanence - important for longevity and a more professional finish
often better value over time - although more expensive initially, stronger pigment can mean you use less
Cons of Artist-Grade Acrylics
higher cost - can feel a significant investment when just beginning with acrylics, especially with needing enough colours for a good starter palette
can make experimenting hesitant - you may not feel like using expensive paint when playing with ideas, for fear of ‘wasting’ it
large professional ranges can feel overwhelming at first - the choices can be extensive, am I using the right paint for the right job scenario
What to Look For When Buying Acrylics
Brand reviews
varied colour range
good pigment strength
useful info on tubes
and find a consistency you enjoy working with
A Useful Approach
Start with a good student-grade range to learn the basics, and add to this with a couple of artist-grade colours to feel the difference and supplement your palette of colours. Often a few better quality paints can teach you more about acrylics than lots of weaker ones.
Opaque and Transparent Colours
One of the most useful things to understand when using acrylics is that not all colours behave the same way - knowing which are opaque and which are transparent will really enhance the use of colour in your paintings.
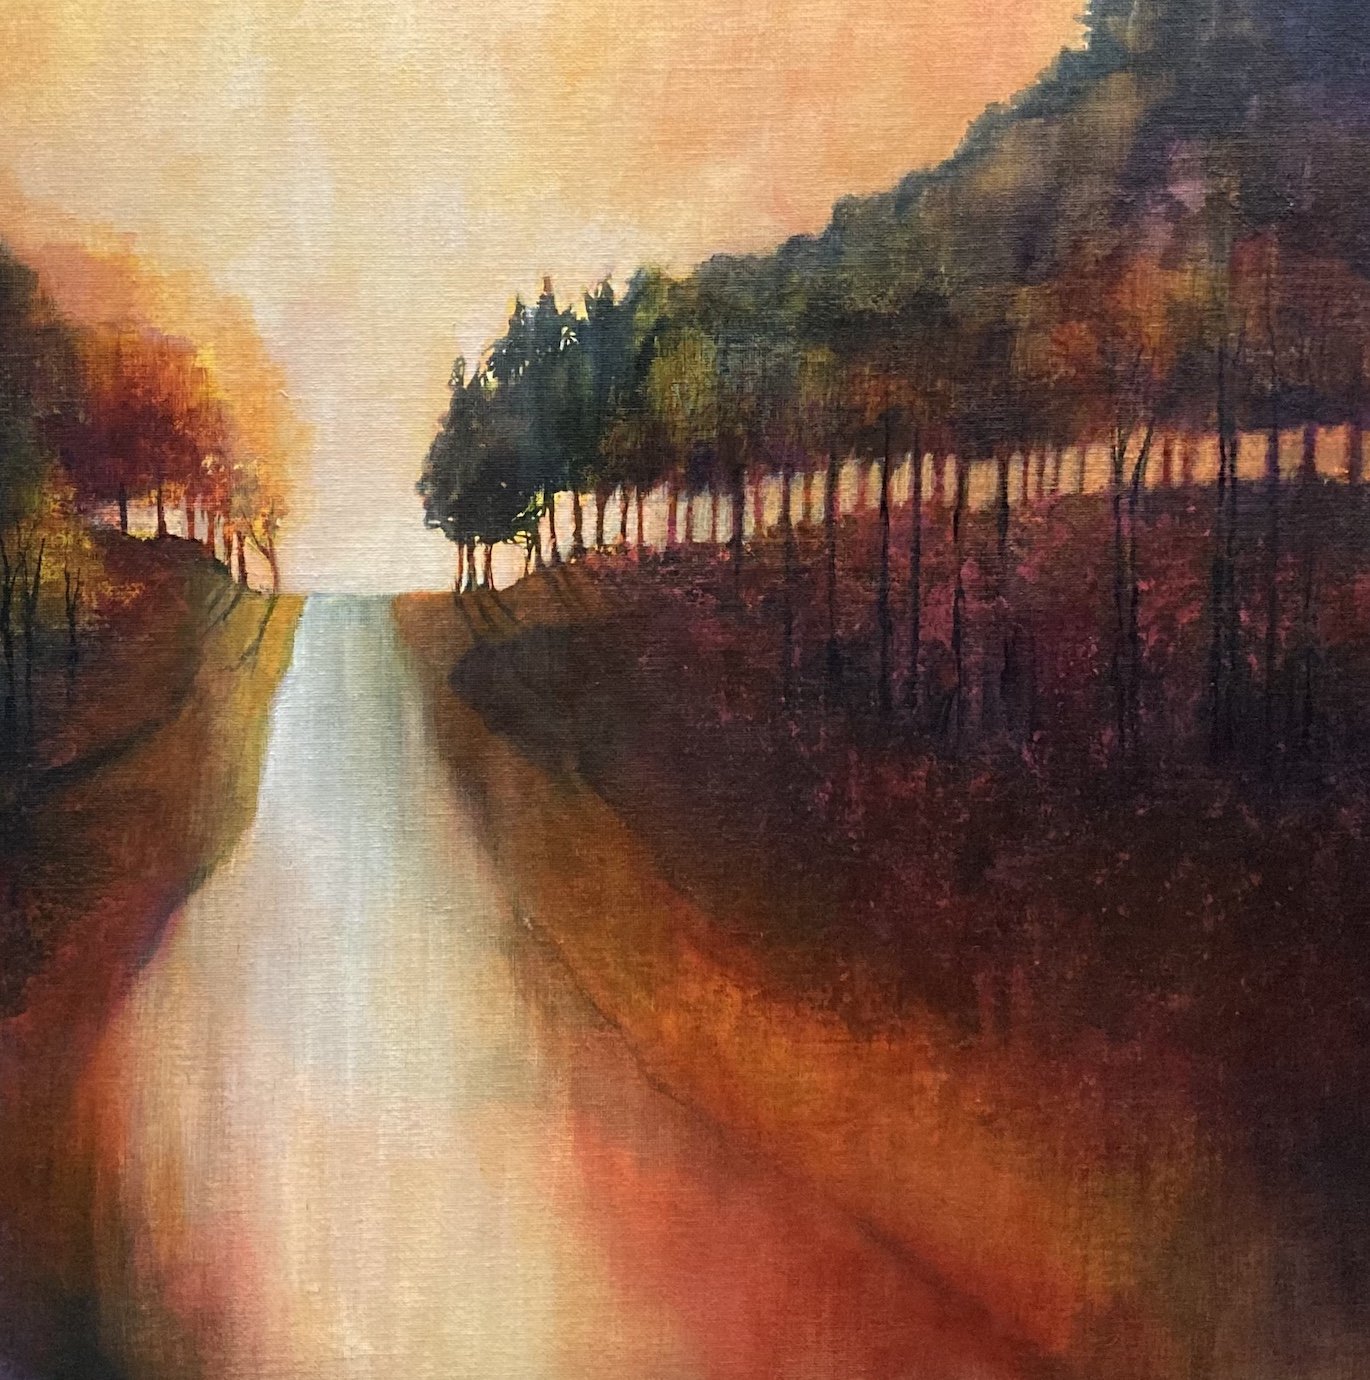
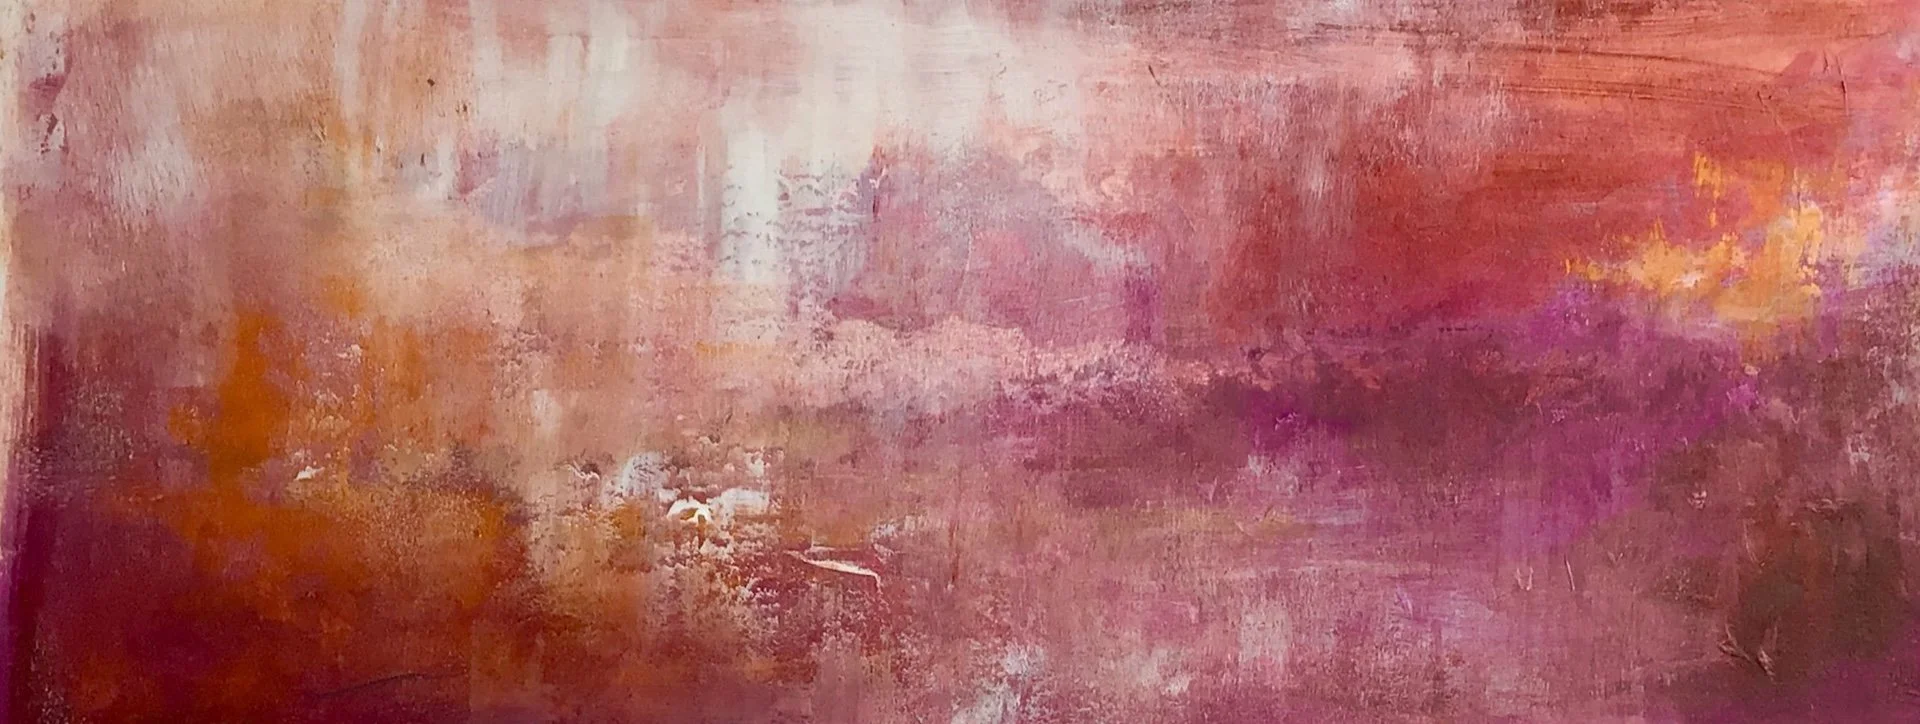
Hanchurch Woods - acrylic on canvas board - Jo Watson 2023
Opaque Colours
…cover underlying layers completely, providing…
strong coverage
good for solid passages of colour
useful for highlights and corrections
often ideal for direct painting
Examples include:
titanium White
all cadmium colours (yellow; red; orange)
yellow ochre
cerulean blue
naples yellow
All opaque colours are identified by a filled-in square symbol on a tube of paint
Transparent Colours
…allow previous layers to show through
wonderful for glazing
creating deep, rich tones to add subtlety and depth
can create luminous effects
useful for building layers rather than using opaque colours, which can turn muddy and appear flat
Examples include:
all the phthalo colours (blue; green; turquoise)
all the quinacridone colours (magenta; violet; gold)
transparent red oxide; permanent alizarin crimson
hansa yellow - in fact most yellows
paynes grey
All transparent colours are identified by a clear or empty square symbol on a tube of paint
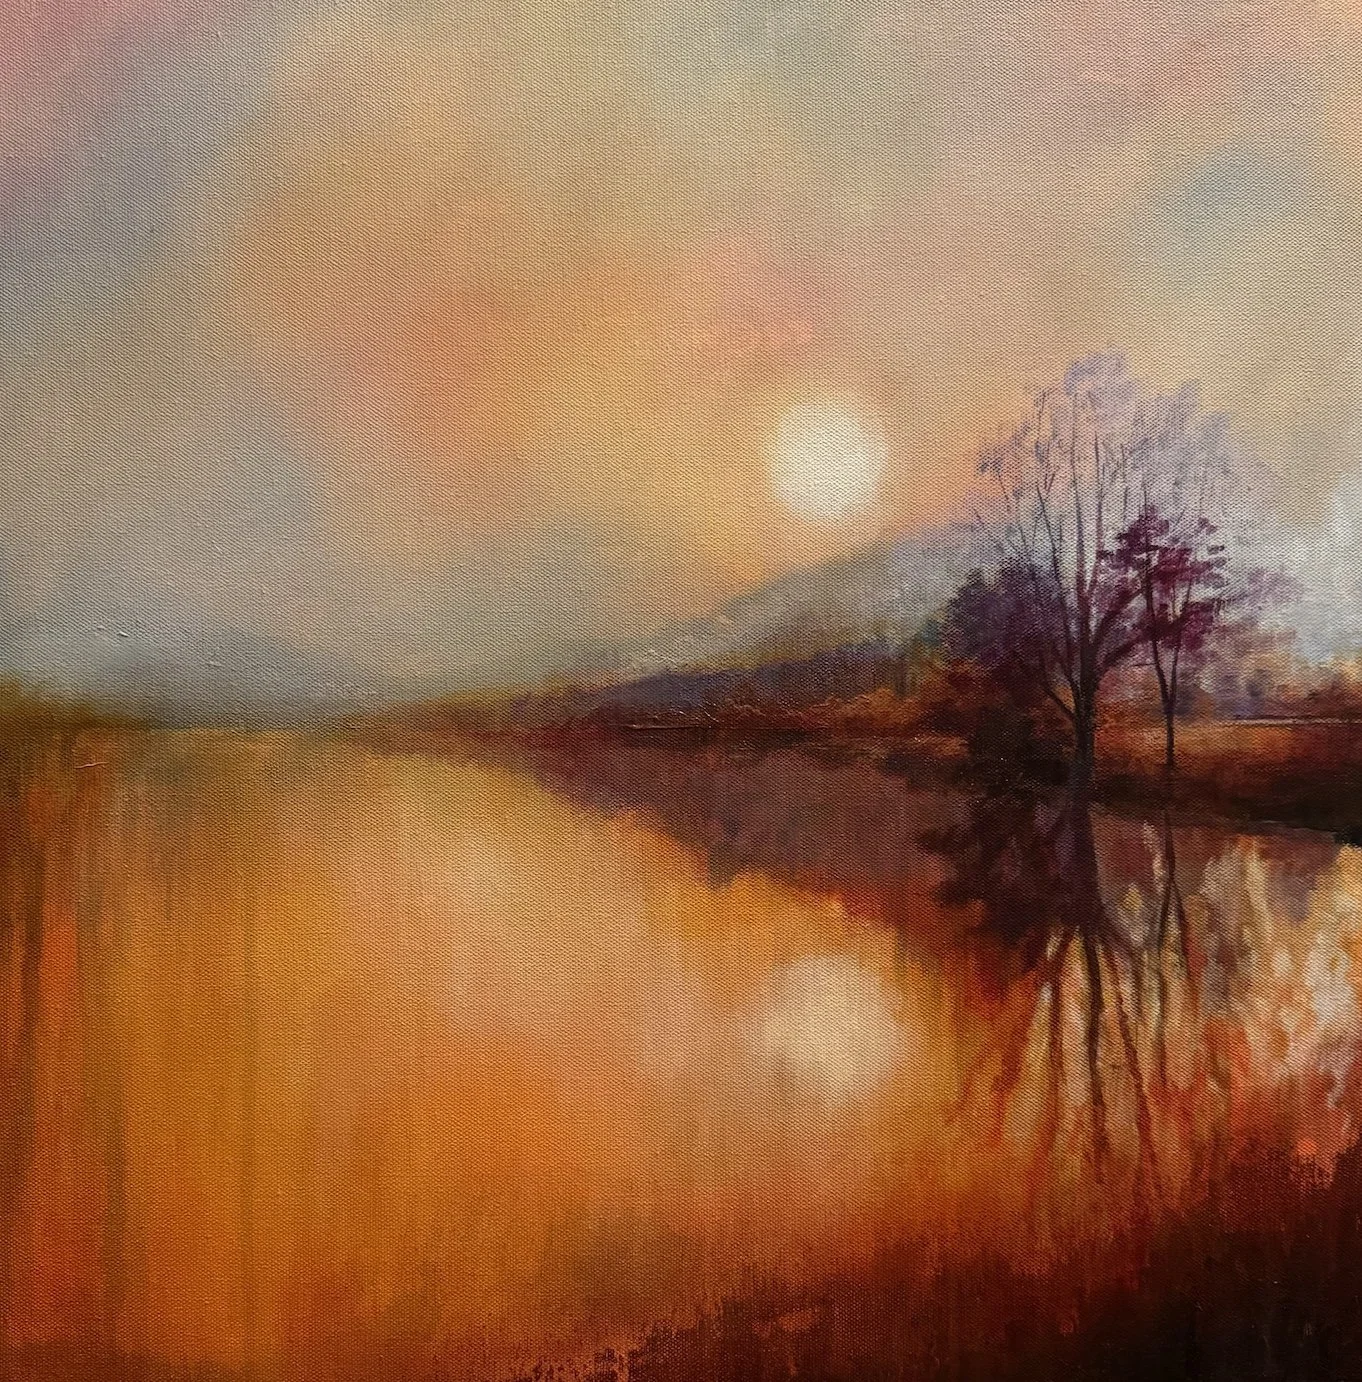
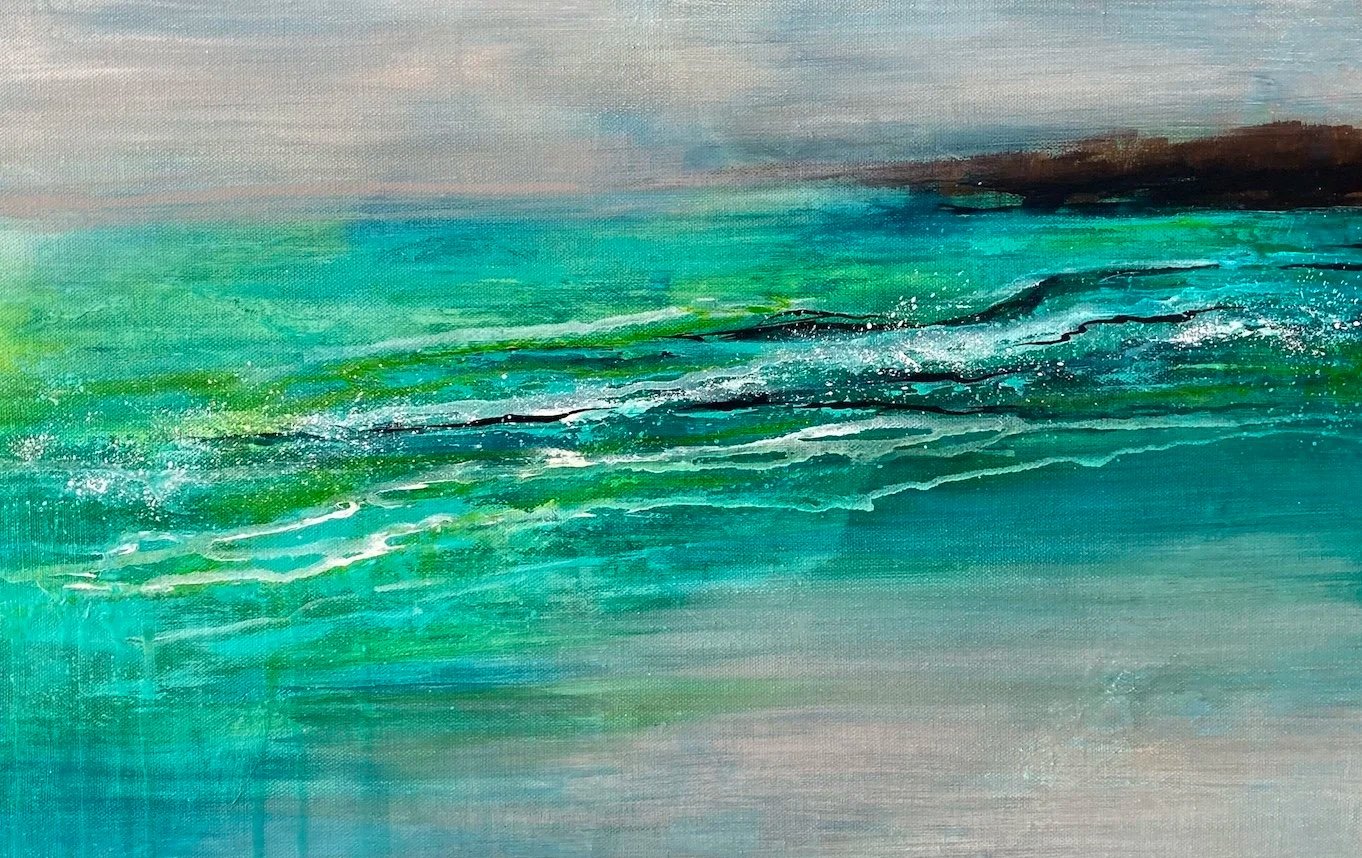
Barlaston Sunrise - acrylic on canvas board - Jo Watson 2023
Why This Matters
Understanding the difference between opaque and transparent colours has a big impact on how you use your paint, and the overall effects you want to achieve in your finished painting.
Knowing which is which helps you make good decisions…whether that’s the need to be bold and cover areas strongly, or create more delicate layers of interest and subtlety.
A simple way to think of it:
opaque colours build structure
transparent colours add subtlety and depth
This understanding alone can transform how you use acrylics.
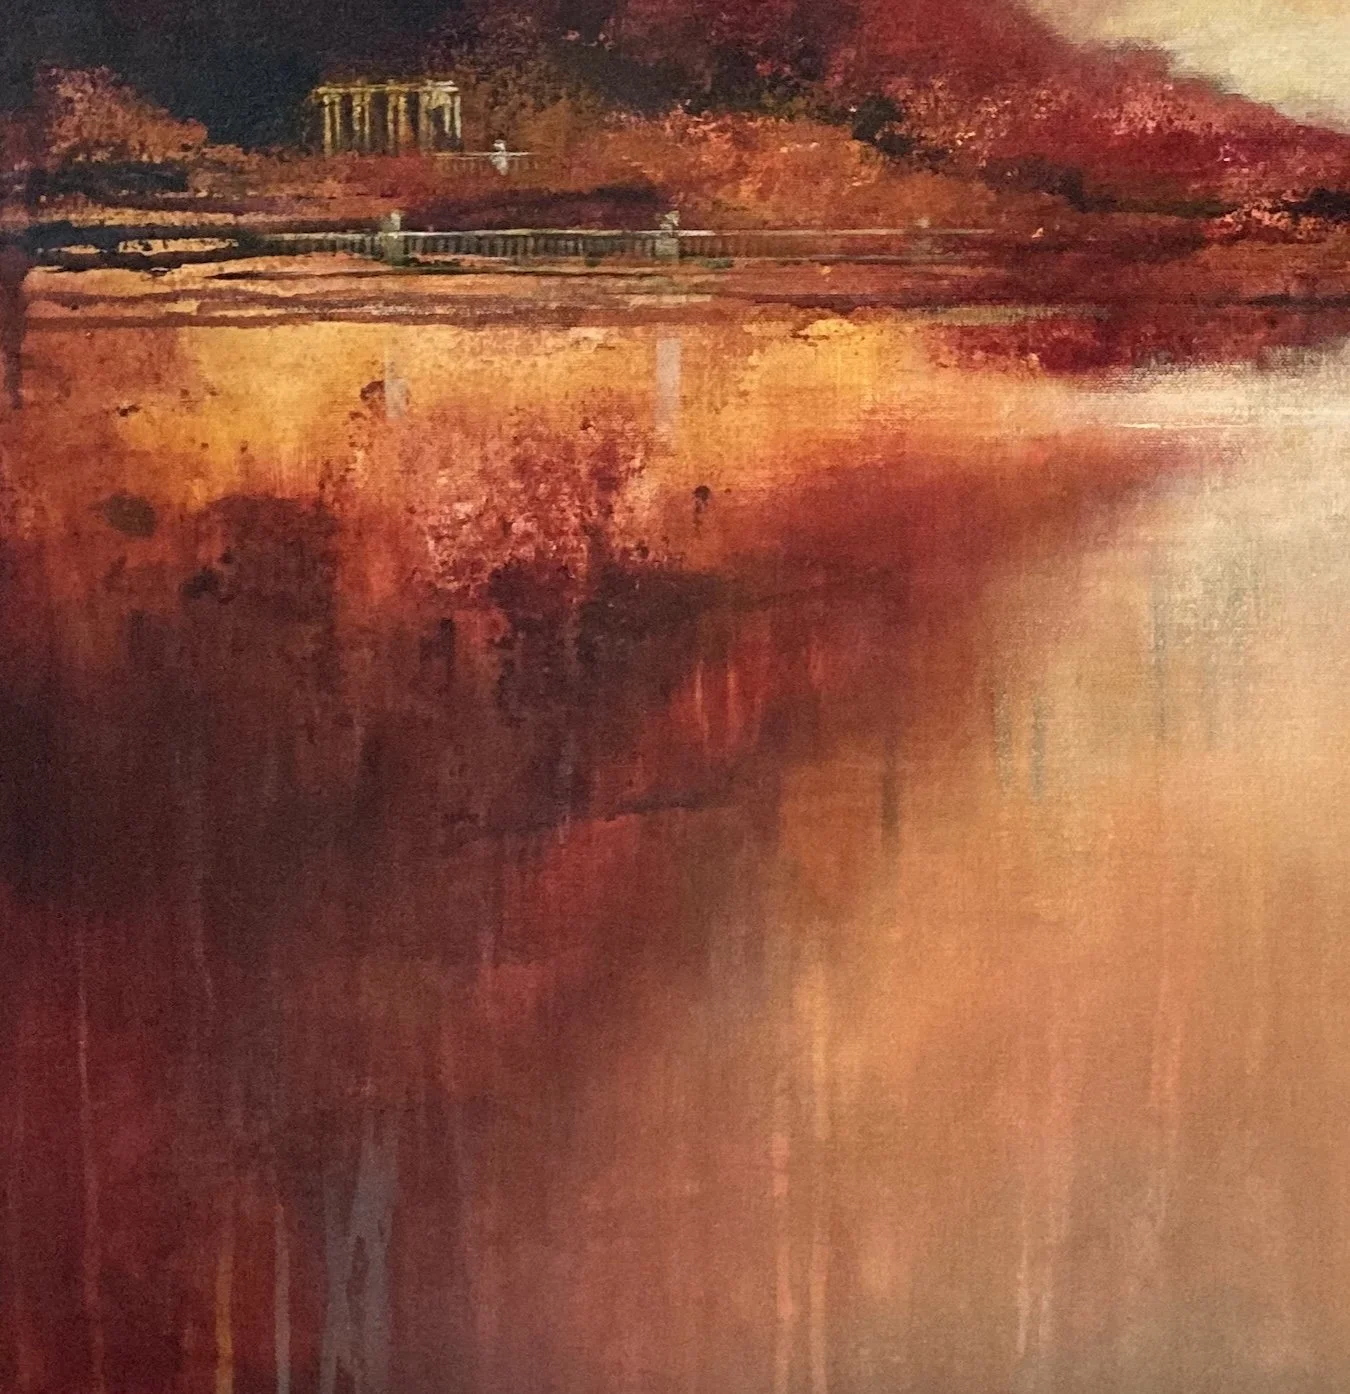
Detail from The Three Arches - acrylic on canvas - Jo Watson 2025
Thick or Thin…How to Use Them?
One of acrylic paint’s greatest strengths is that it can be used in so many different ways.
Unlike some materials that tend to follow only one particular way of working, acrylics offer much more scope - from thin, transparent washes, to thick sculptural texture. Understanding this range of options opens up so many possibilities - and are one of the main reasons acrylics appeal to so many artists.
How thick or thin you use acrylics will affect:
the appearance of colour
the texture of the surface
how brush-marks show
how light interacts with the paint
the overall character and feel of a painting
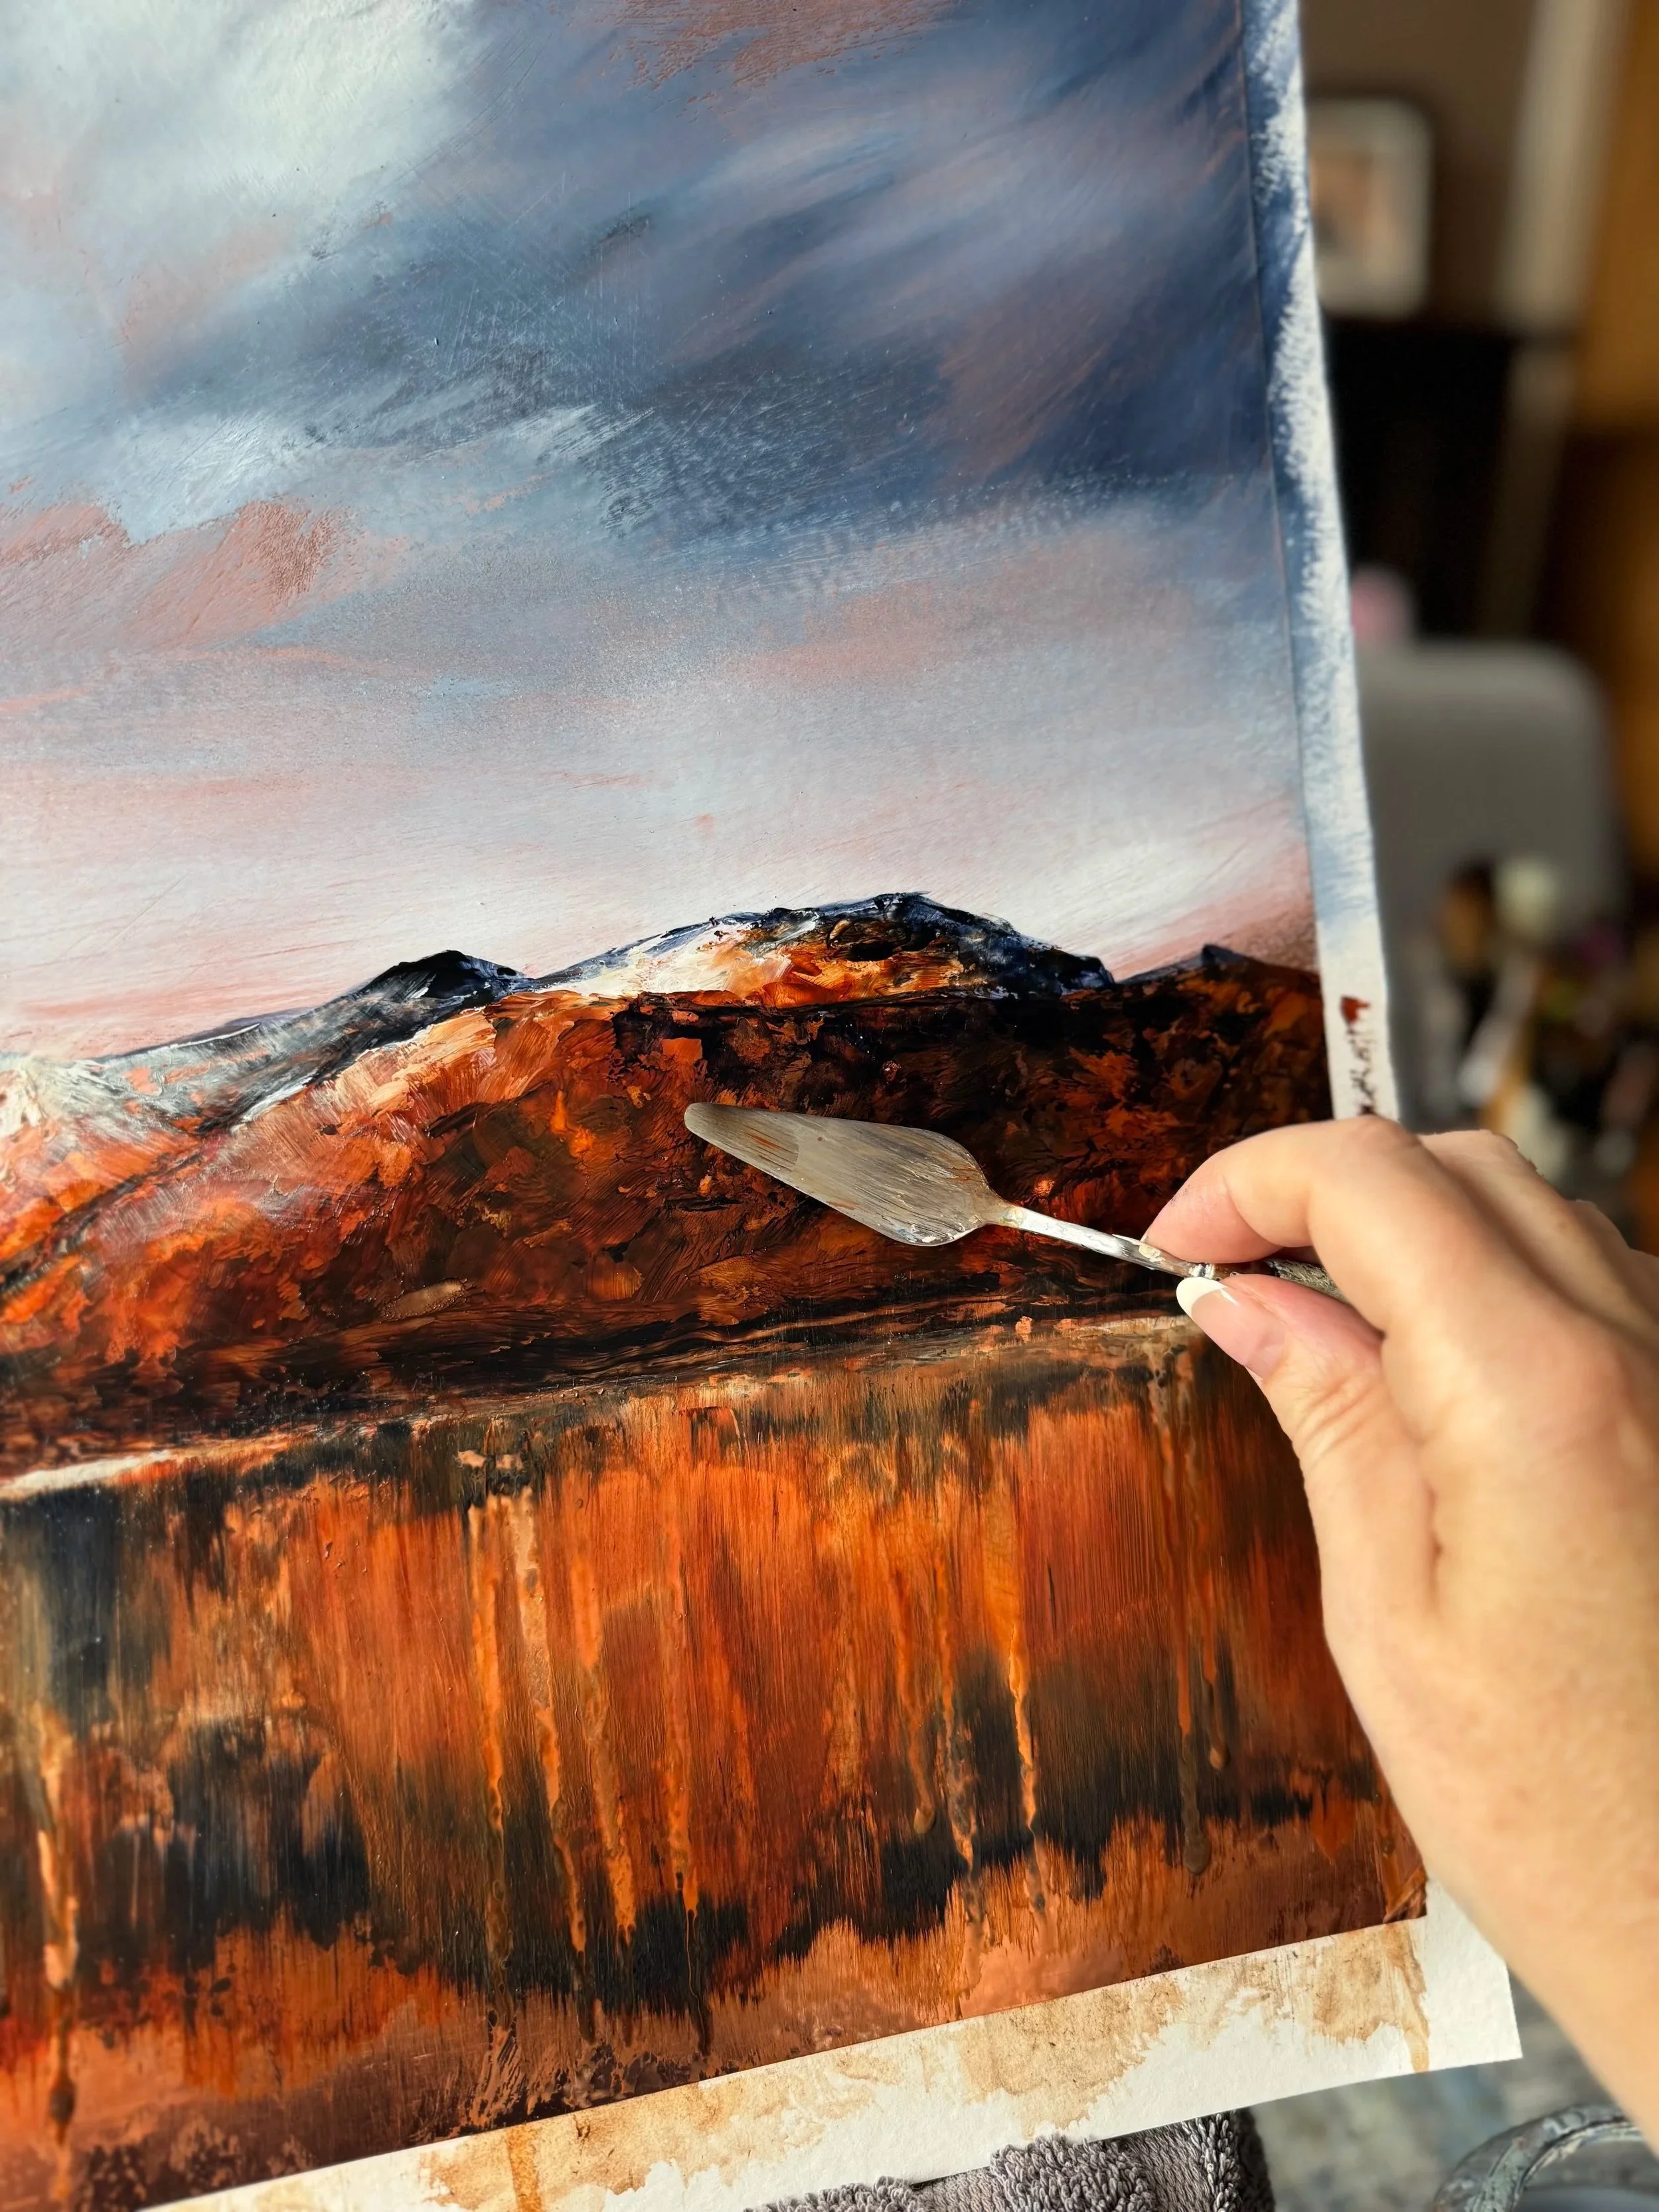
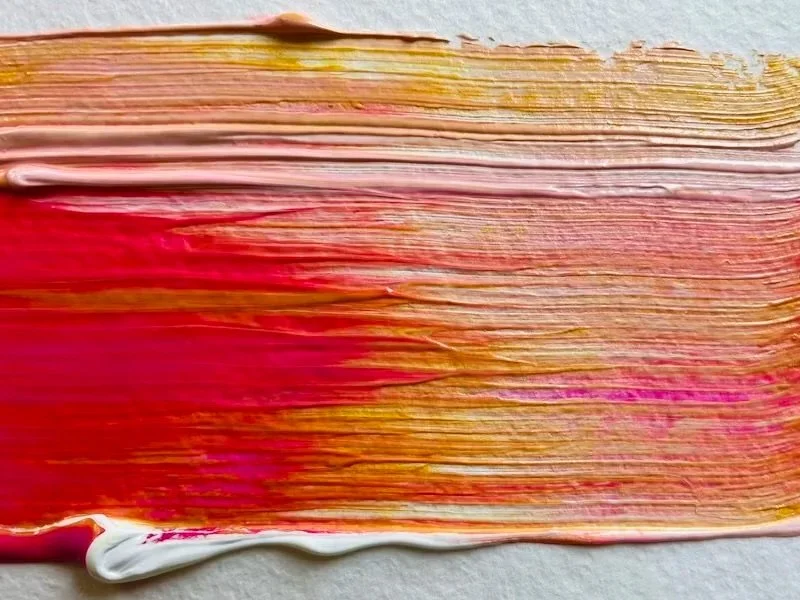
Thick Paint (Impasto)
Acrylic paint can be applied thickly to build rich texture and create real surface interest.
This technique, often called impasto emphasises visible brushstrokes and raised paint, adding expression and a sense of depth (almost a third dimension) to your work.
Used thickly, acrylic paint can create…
visible brushstrokes
tactile surface texture
expressive mark-making
a stronger sense of depth and structure
At this point, the paint becomes more than just colour, it starts to form part of the painting itself.
This approach works beautifully for…
expressive painting
textured landscapes
abstract work
bold floral painting
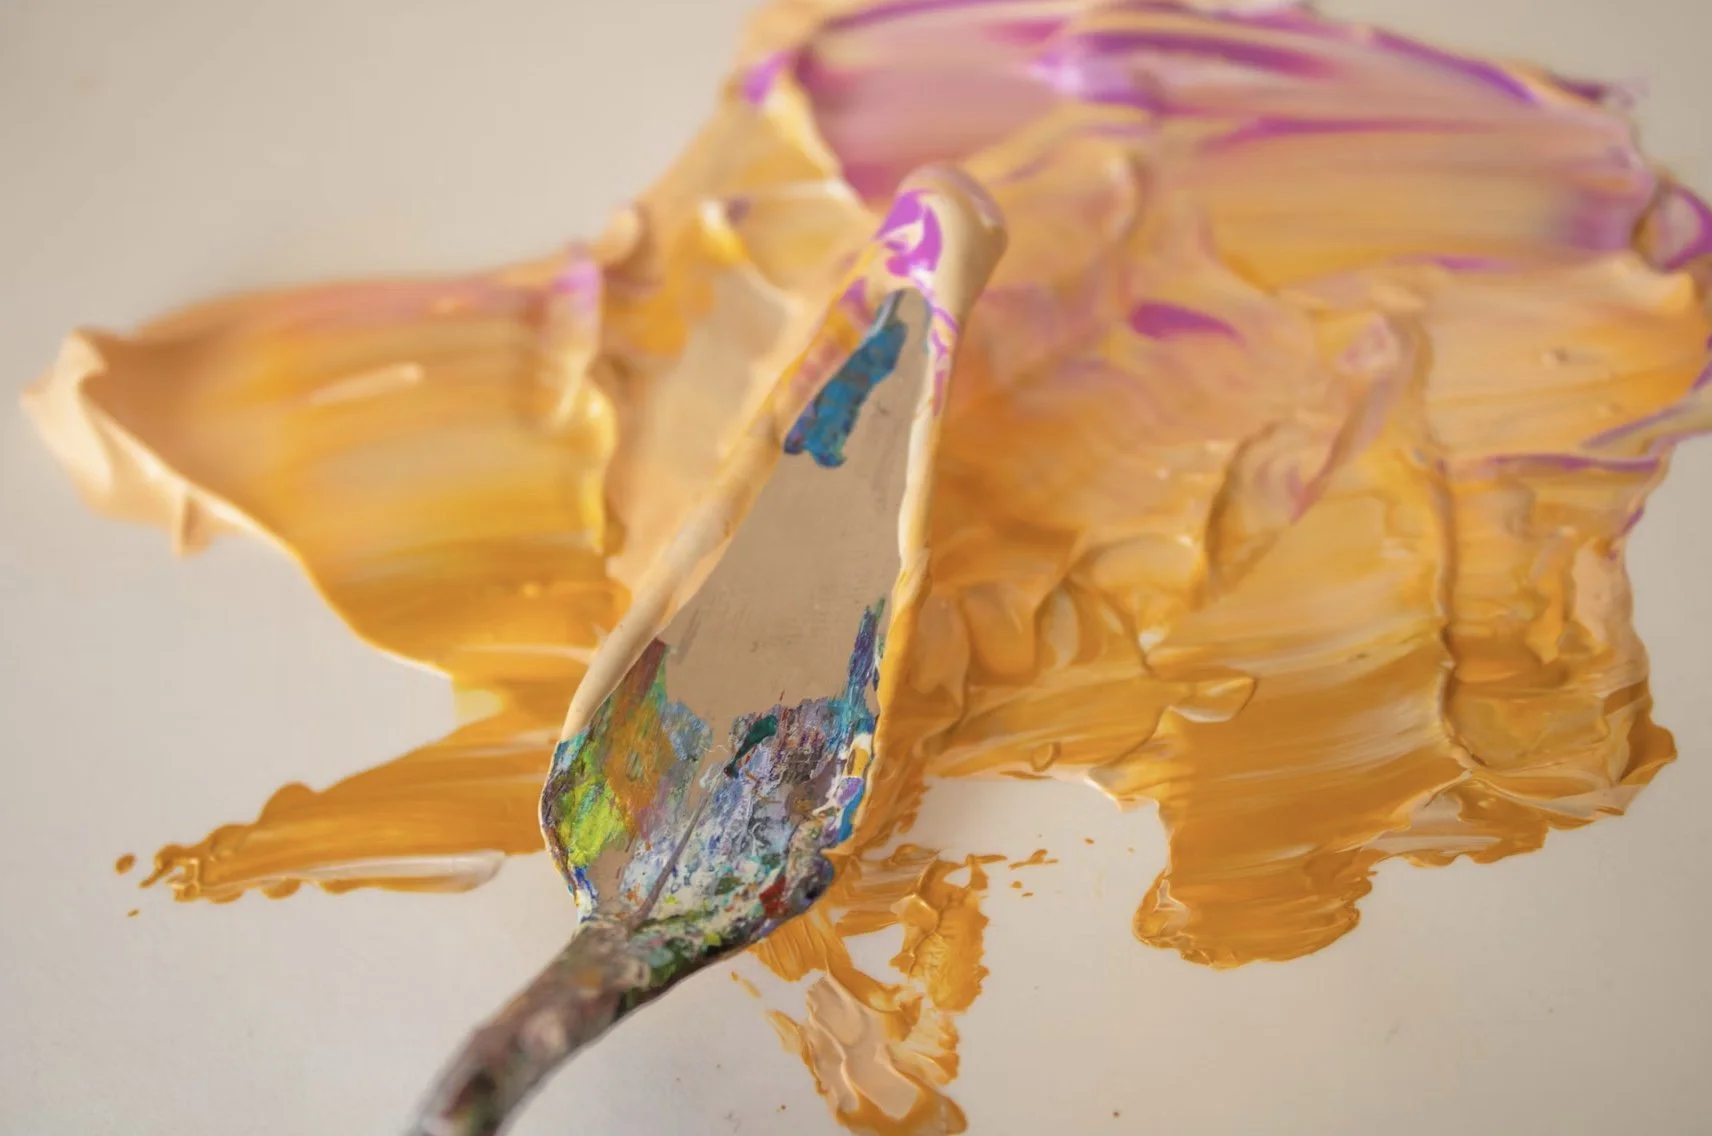
palette knife techniques
It can also bring a real sense of movement, adding energy and a physical presence to the surface. Using paint more thickly encourages you to think not just about colour, but about the surface you're building, and that’s where it can get really exciting.
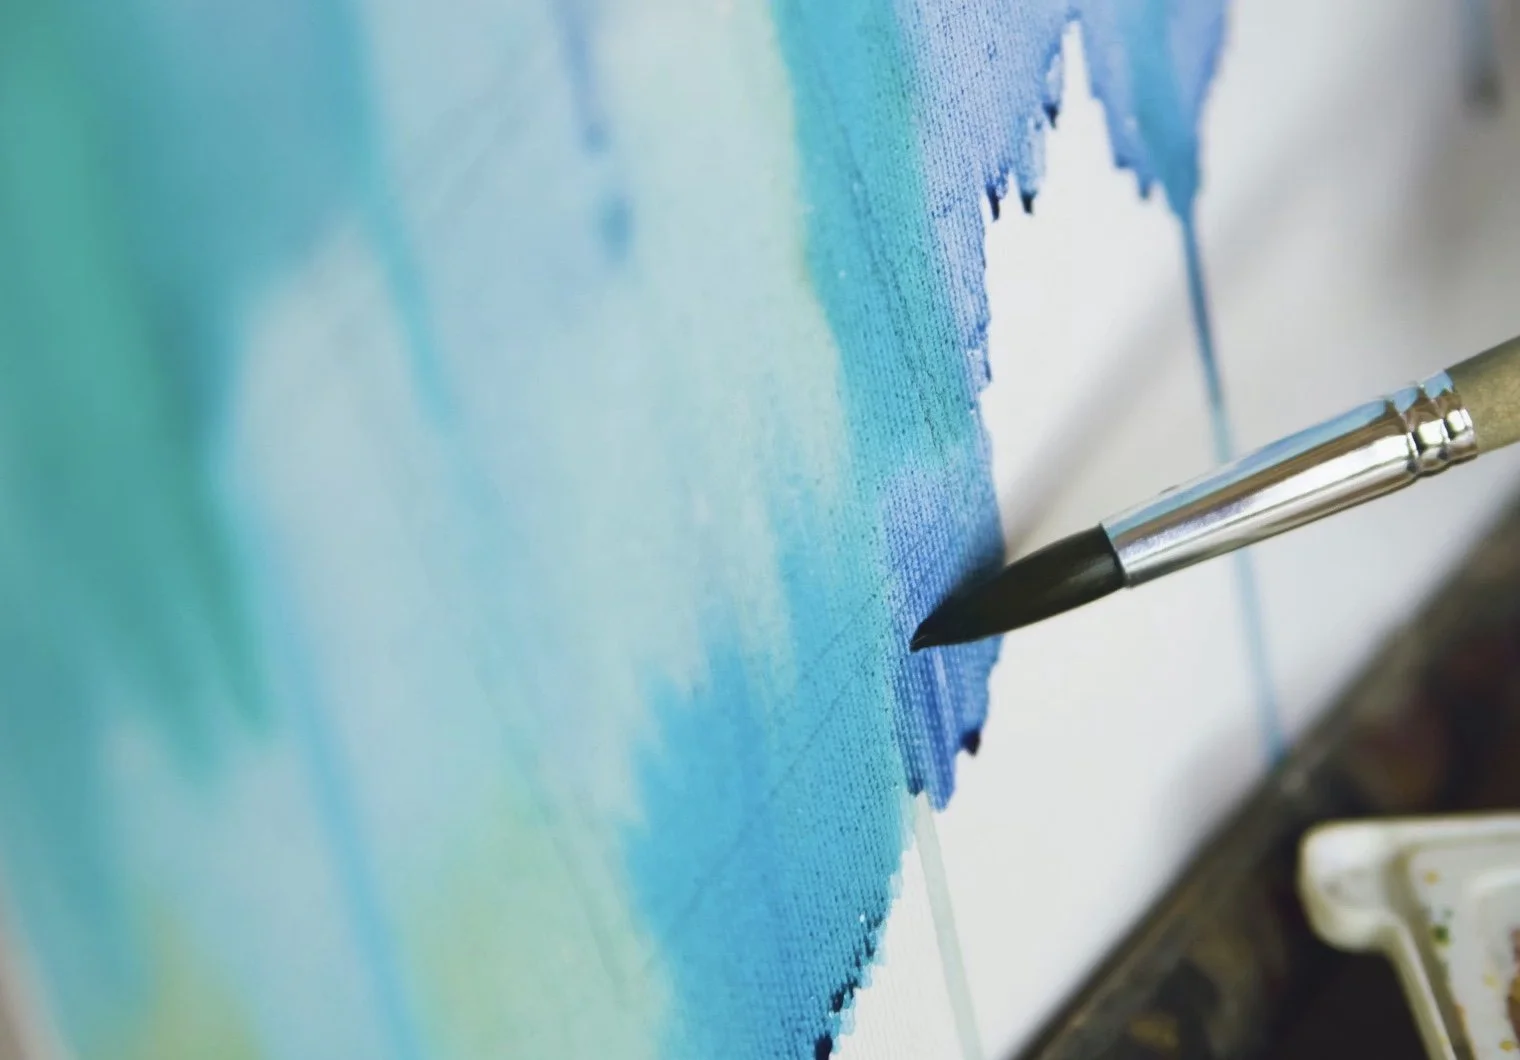
Thin Paint (Glazes & Washes)
Acrylic paint can also be used much more thinly, creating a completely different feel.
When diluted or applied in a more fluid way, it becomes lighter, more transparent, and often surprisingly luminous.
Used thinly, acrylic can create:
transparent layers
soft shifts in colour
atmospheric effects
delicate glazes
watercolour-like effects (to a degree)
Thin applications are especially useful for:
underpainting
building up layers of colour
soft transitions
glazing
creating a sense of depth
subtle passages of colour
This approach produces a very different character compared to thicker paint. Where impasto focuses on surface and texture, thin applications tend to emphasise light, transparency, and depth, allowing colours to build gently and glow through each other.
A Note on Glazing…
Glazing simply means applying a transparent layer of colour over a dried area of the painting. It acts like a veil, softening or muting the colour, or information underneath, but it doesn’t cover it up - it still allows the information to show through.
Ideal for…
sending information back in the distance
creating subtle or dramatic shadows
building luminous effects by layering
softening or enriching colour
Thick, Thin…and Everything In Between
One of the joys of acrylics is that it doesn’t ask you to choose between thin painting or thick painting, it allows you to explore both. Within a single painting, you can move from thin, transparent washes to solid opaque layers, and even into rich, textured impasto This sort of flexibility allows you to build contrast, variety, and visual interest, all in the same piece - well worth experimenting with.
Brushes for Acrylic Painting
You don’t need a huge collection of brushes to get started with acrylics - a small, simple selection will go a long way.
A few useful shapes include:
Flat brushes…great for blocking in colour, bold strokes, and more geometric shapes
Round brushes…ideal for detail, smaller shapes, and more controlled lines
Filbert brushes…a versatile middle ground, perfect for softer, more rounded edges and general painting
Synthetic brushes are an excellent choice for acrylics. They’re usually more affordable, durable, and give you smooth coverage with good control.
Stiffer, bristle-style brushes (like hog hair) can be useful when you want to create more texture, while softer synthetics are better for smoother applications.
A quick care tip:
Try not to leave your brushes sitting in water, as this can bend and damage the bristles. Instead, give them a quick swish in water while you work, resting them on a cloth to keep them clean, and stop paint drying on them, and clogging up the bristles. Once you’ve finished painting for the day, wash them properly in warm, soapy water.
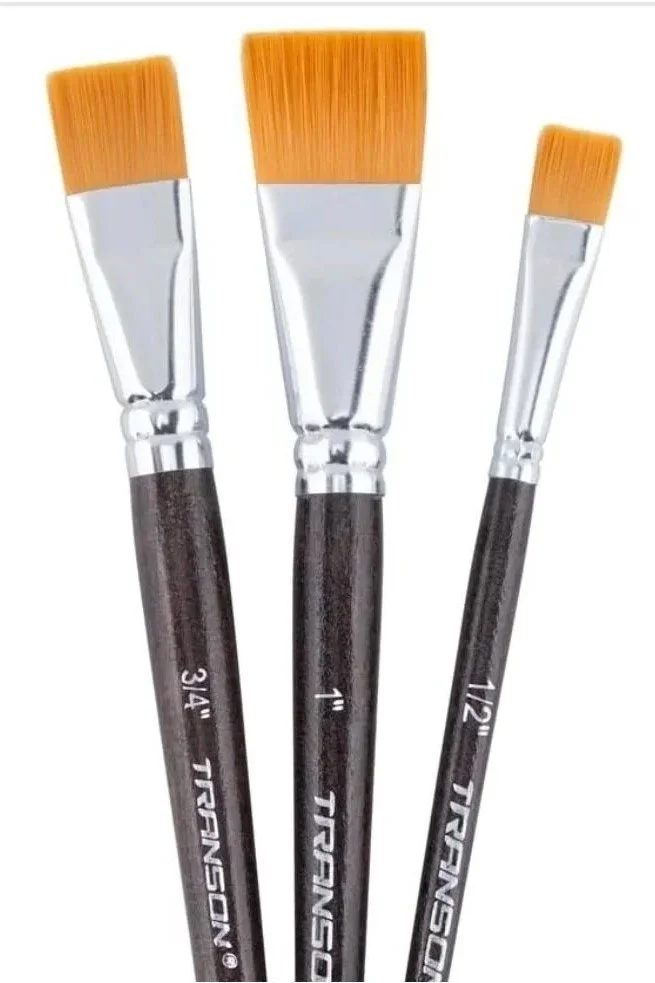
Flat head
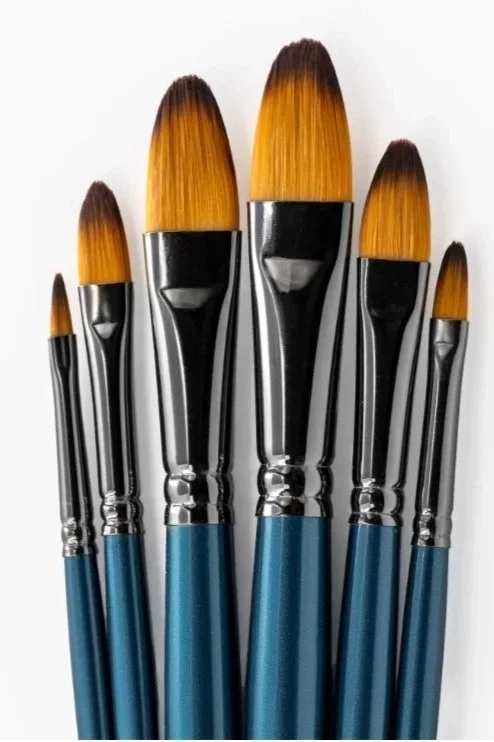
Filbert
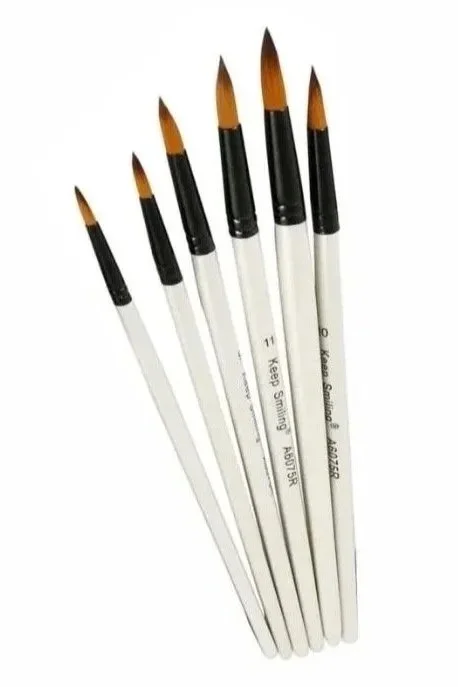
Round head
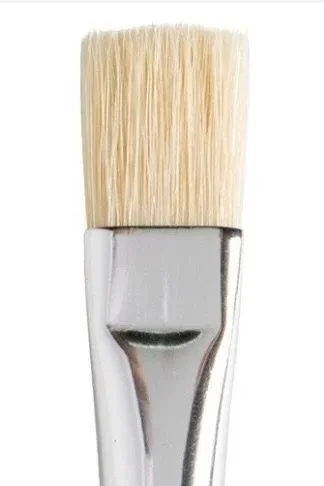
Hog Hair
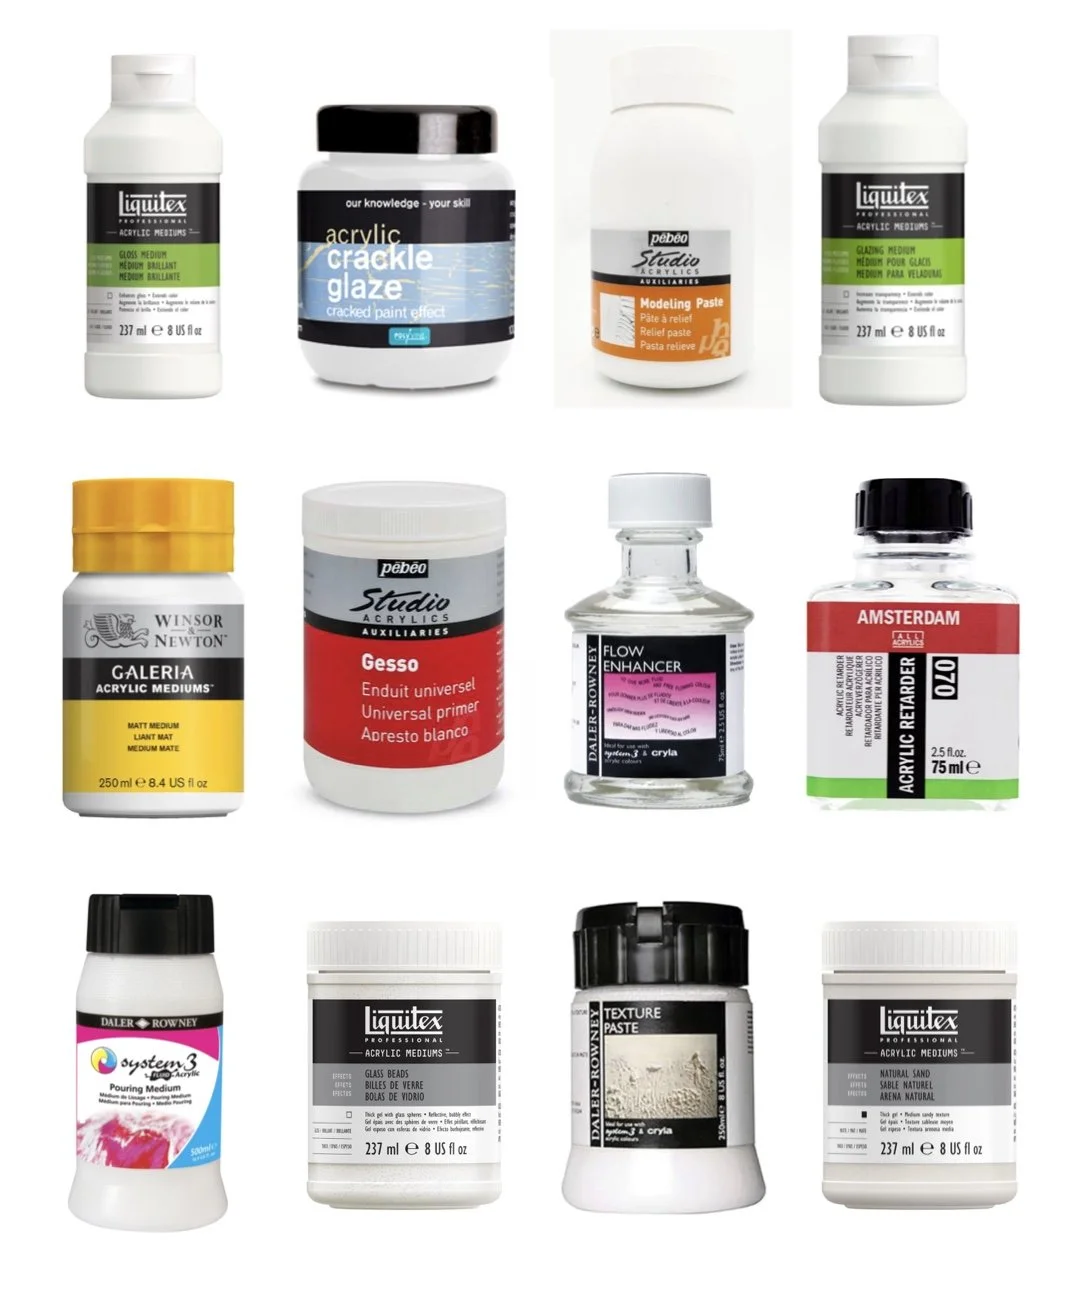
A Note on Mediums
Acrylic paints can also be mixed with mediums - substances that change how the paint behaves. By adding a medium, you can adjust things like:
drying time
gloss or matt finish
transparency
texture
thickness
This means you can adapt your paint to suit what you’re trying to achieve, whether that’s extending drying time for blending, creating soft transparent glazes, or building thicker, more textured surfaces.
Mediums open up a wide range of creative possibilities, and are well worth exploring as you become more confident with acrylics.
(I’ll be adding a more in-depth section on mediums, at a later date)
So Many Ways to Play
Mediums offer a simple way to expand what your paint can do, giving you more control and a wider range of effects with very little adjustment. Even small additions can subtly shift how the paint behaves, allowing you to play with your work and explore different techniques with ease.
Surfaces for Acrylic Painting
Acrylic paint is very adaptable, but the surface you choose has a big influence on how it behaves and the final look of your work.
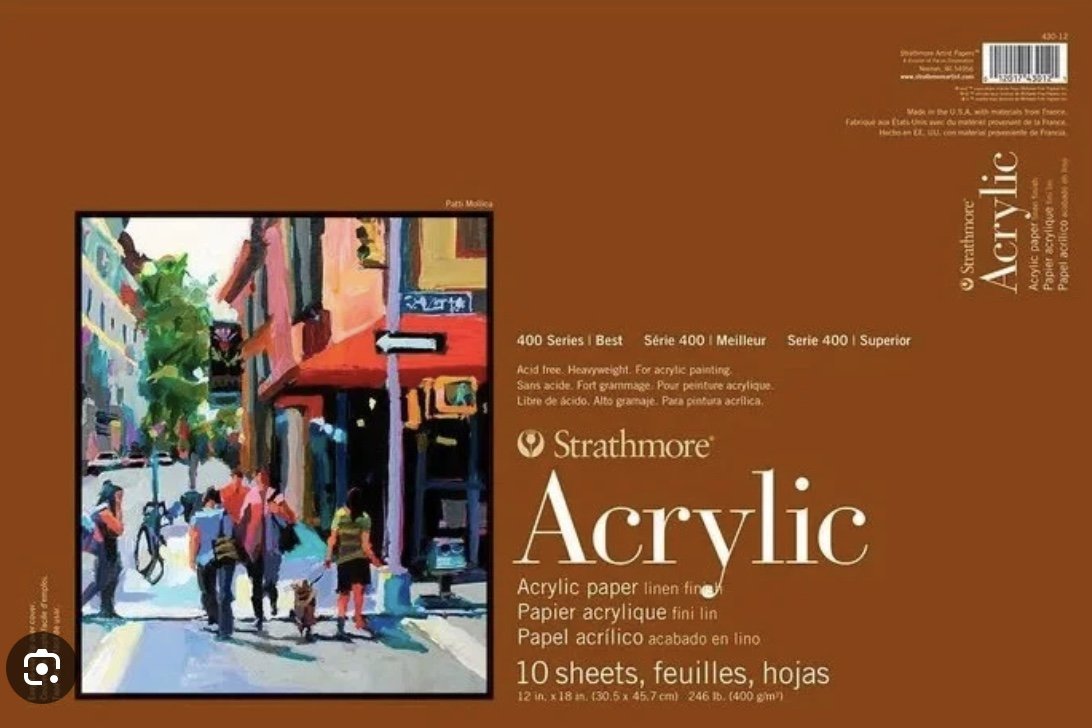
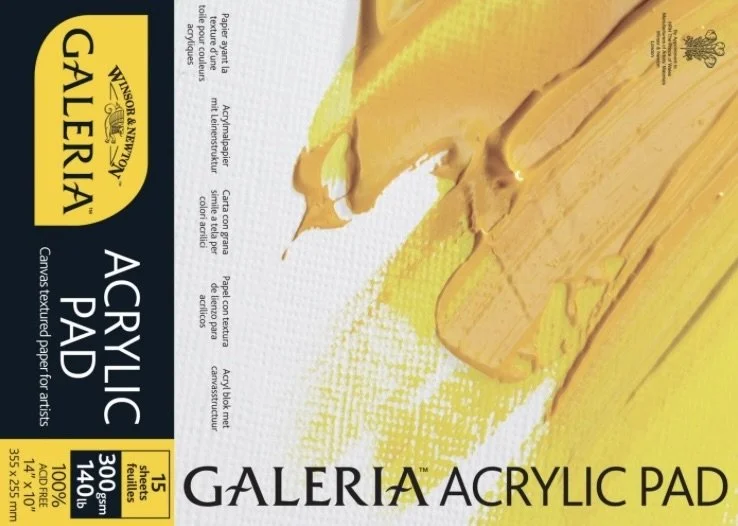
Acrylic Paper
Great for practice studies, and smaller finished pieces.
Look for…
300gsm or heavier weight
“acrylic paper” or heavy mixed media paper
Examples…
Strathmore 400 Series Acrylic Paper Pad
Winsor & Newton Acrylic Pad
Best for…
colour studies
experimenting and practice
small finished paintings
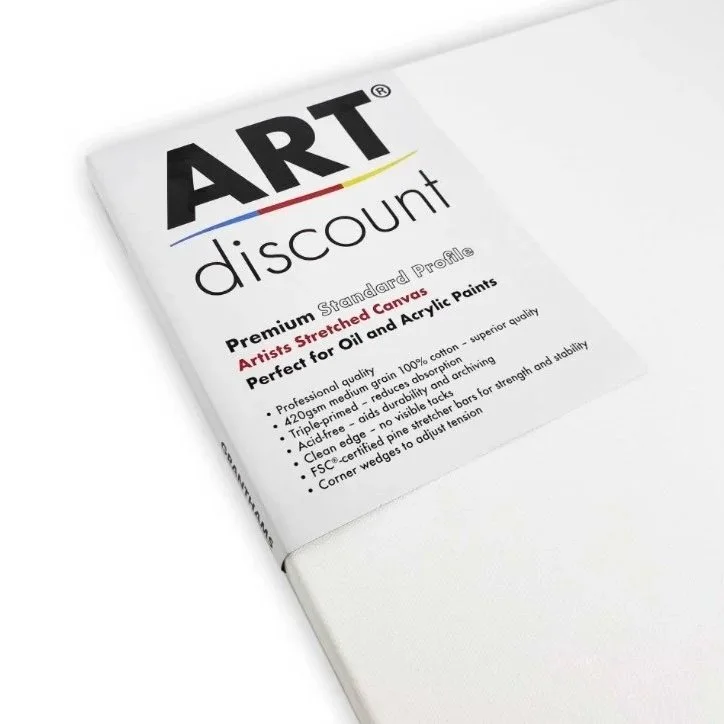
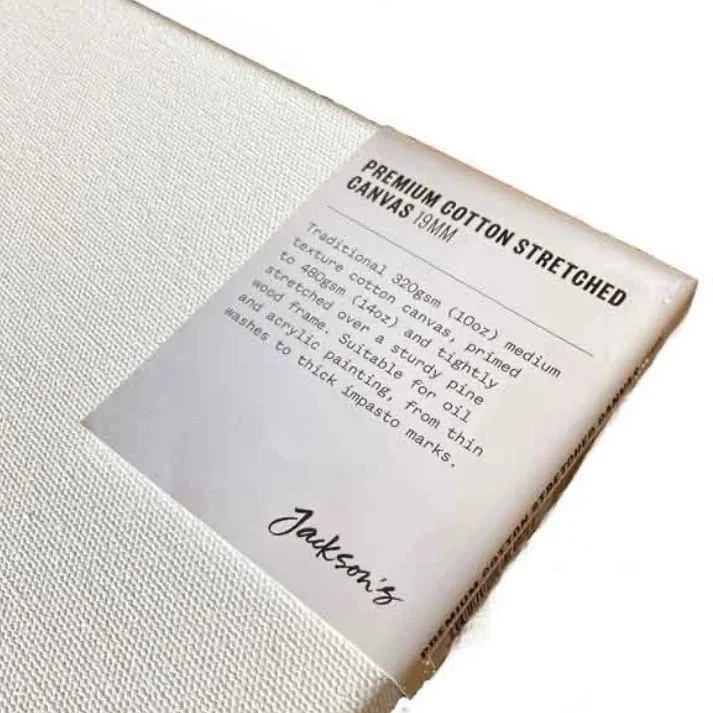
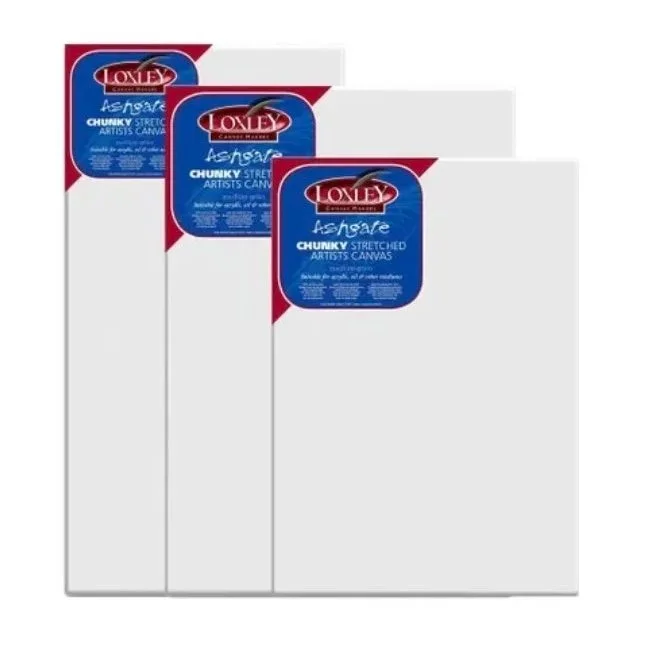
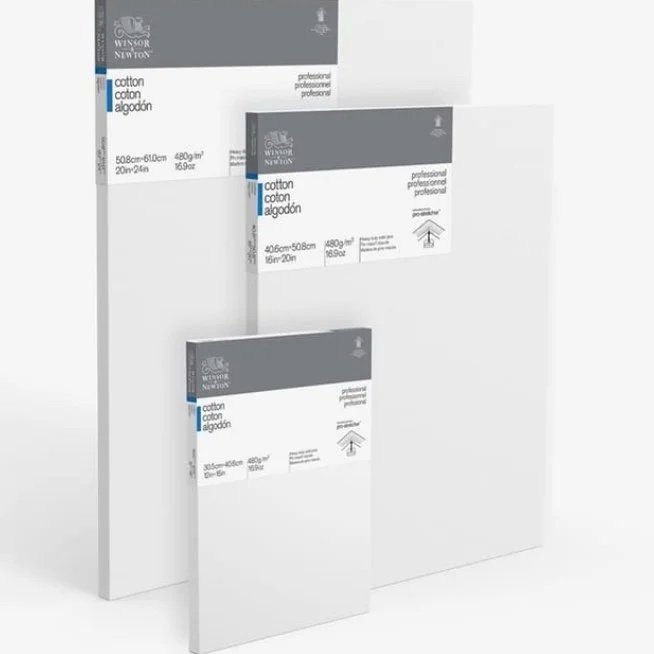
Stretched Canvas
The most traditional surface for acrylic painting.
Usually…
Cotton (most common and affordable)
Linen (higher quality, more expensive)
Pre-primed with gesso
Examples…
Winsor & Newton
Loxley
Best for…
finished paintings
displaying directly on the wall
impact - various sizes and depths
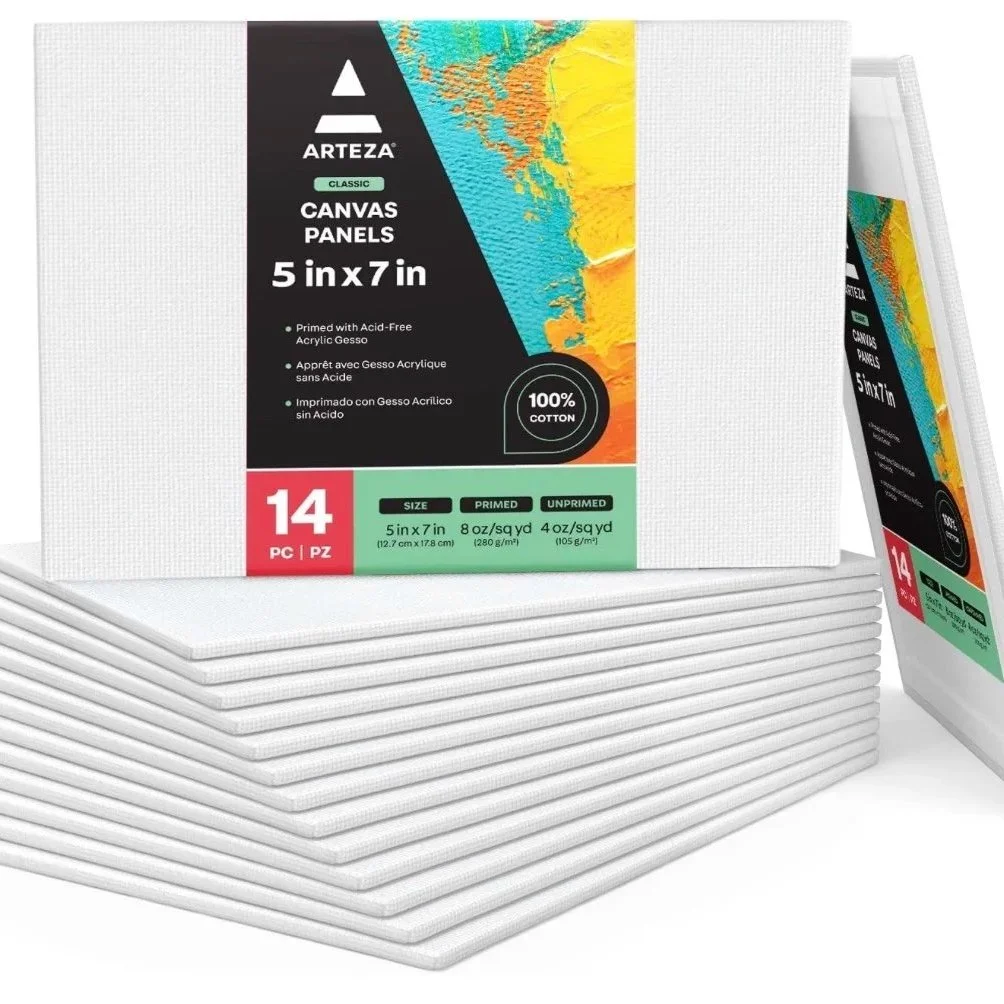
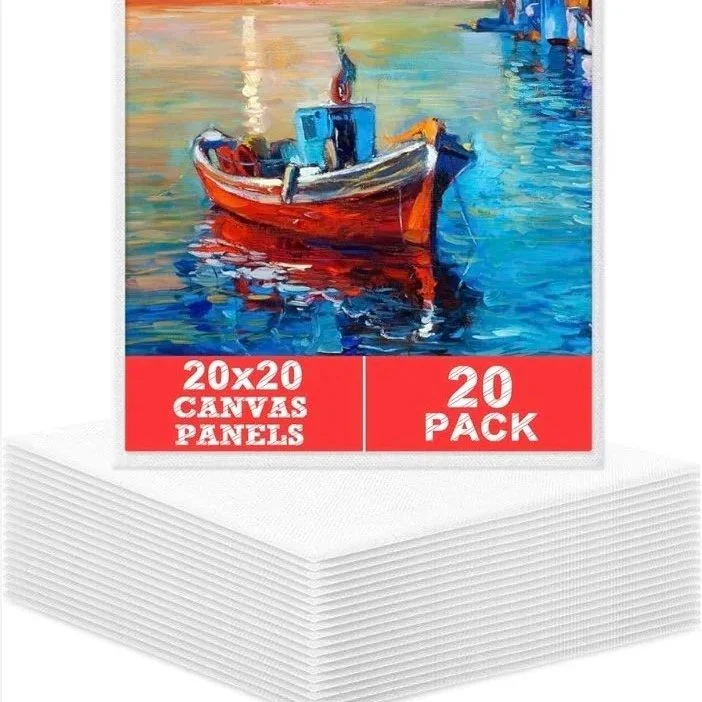
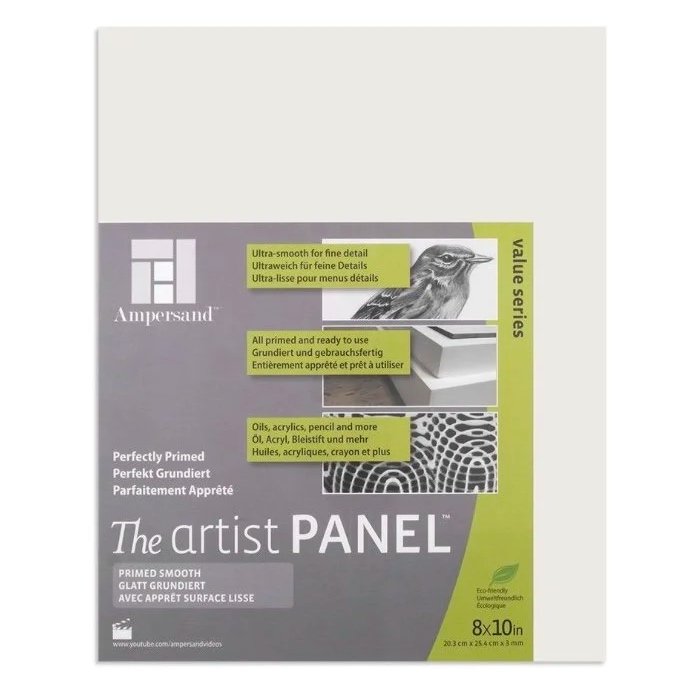
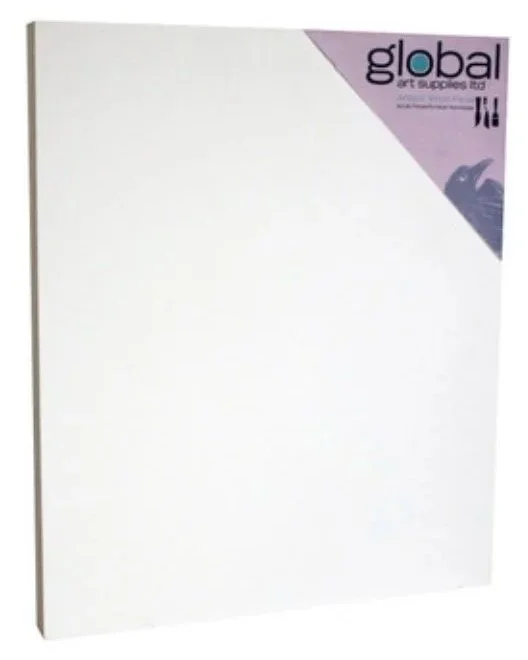
Canvas Panels
A simple, practical option, especially for beginners.
Pros…
affordable and lightweight
usually pre-primed with gesso
thin enough to be framed
Examples…
Arteza
Ampersand
Best for…
knife work (sturdy)
experimenting with texture
easy storage and transportation
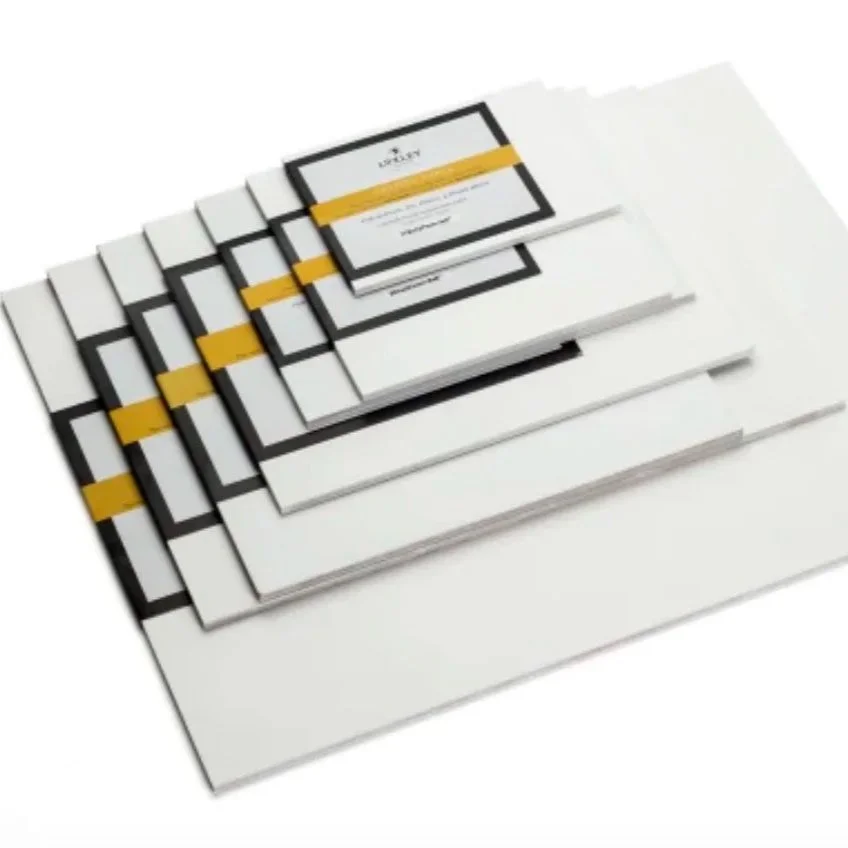
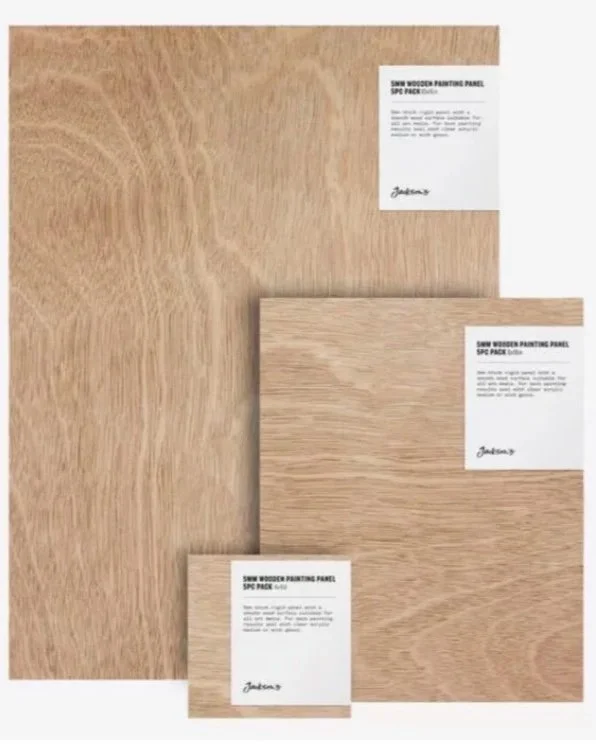
Wooden Cradled Panels
A smoother surface that’s often overlooked, can be primed with gesso, or left natural. Has wooden battens on the back so can be hung directly on the wall - but are also often framed.
Examples…
Jackson’s Cradled Gesso Panels
Belle Arti Gesso Panels
Best for…
smooth for detailed painting
sturdy for applying multiple layers
can sand back layers for added texture
artists who don’t like the canvas surface
How the surface affects your painting
Each surface naturally changes how acrylics feel to use:
Canvas - more texture, visible brushwork, traditional feel
Paper - quick, flexible, ideal for experimentation
Panels - smooth, stable, and great for precision and detail